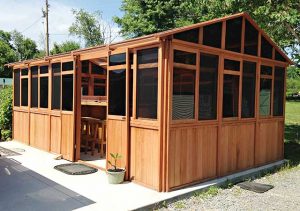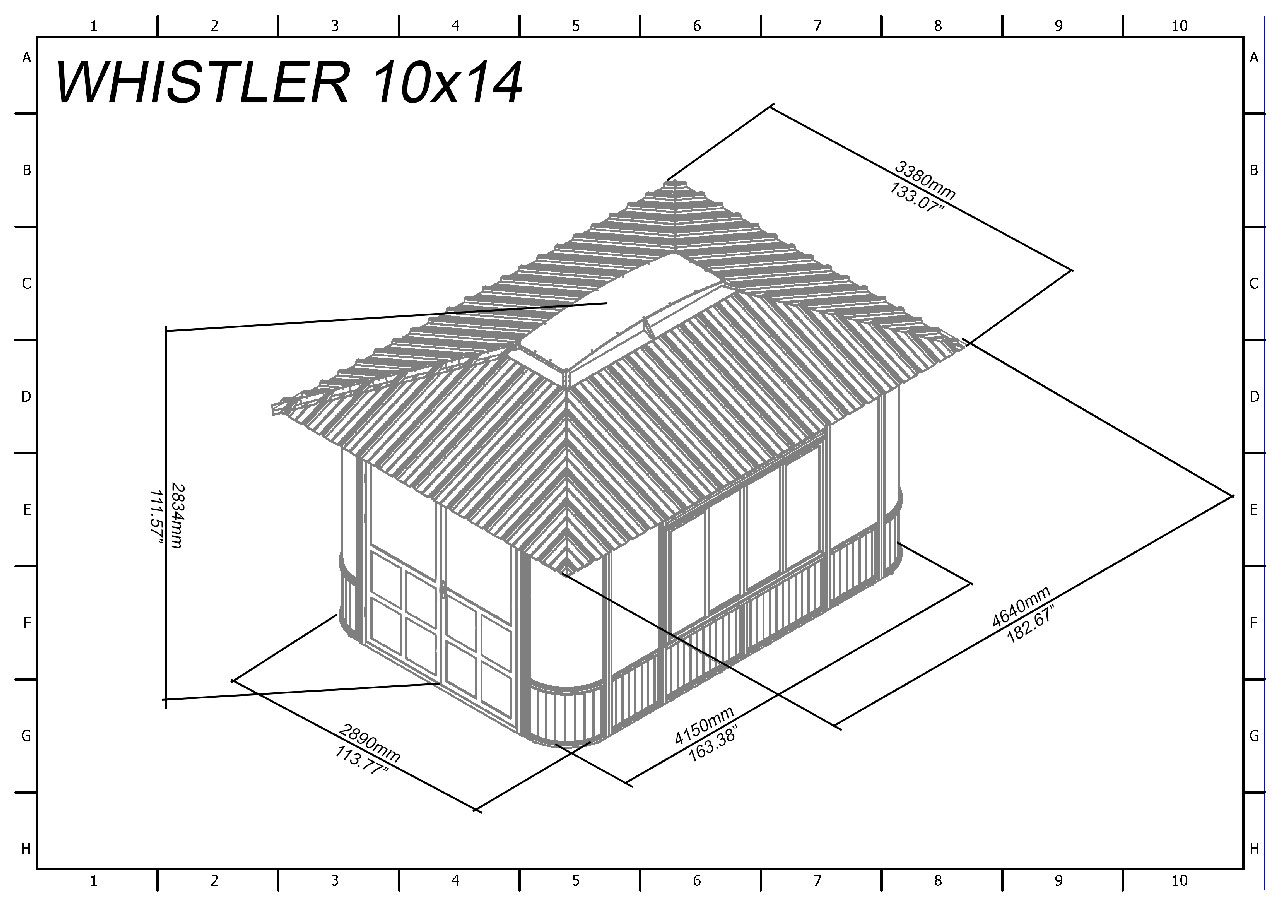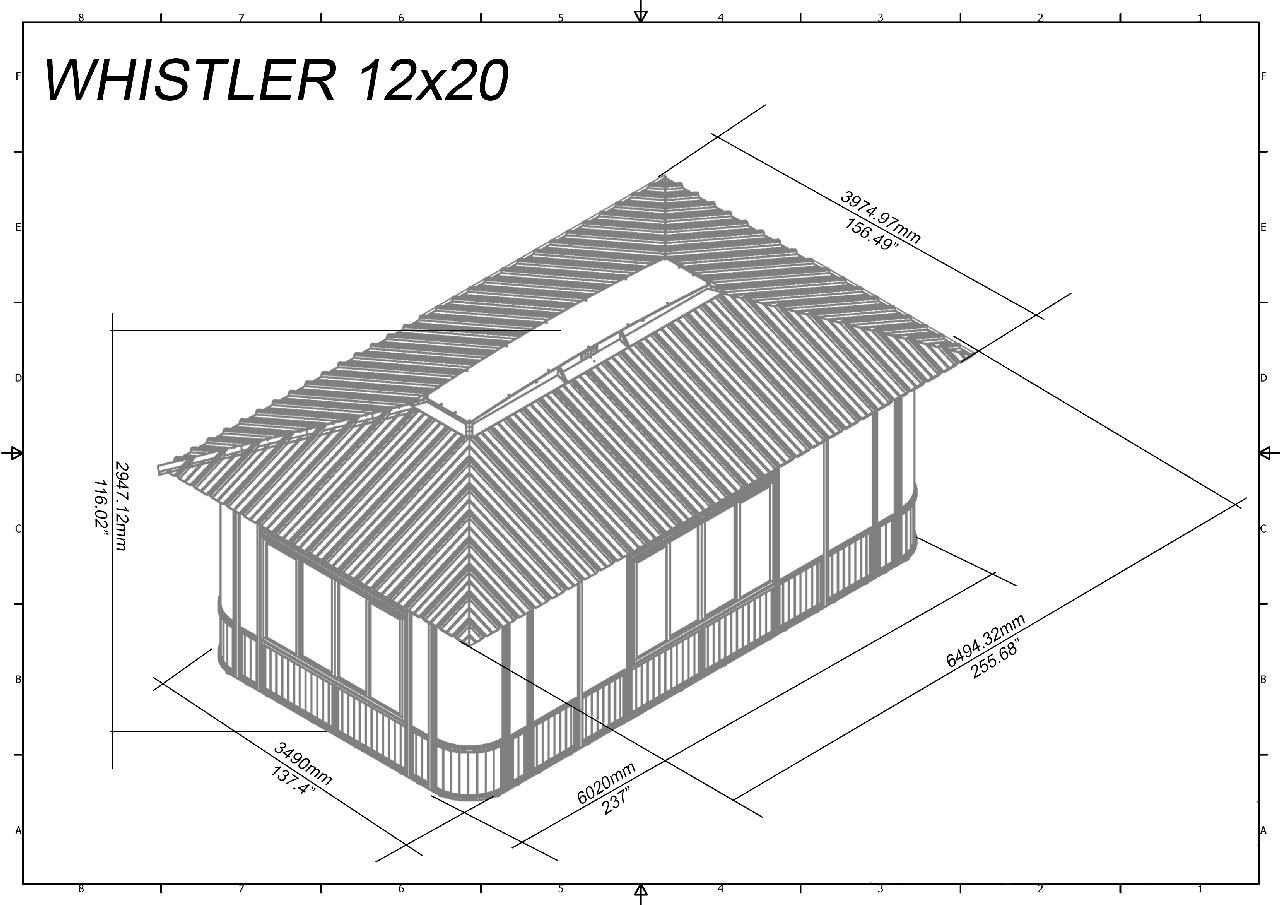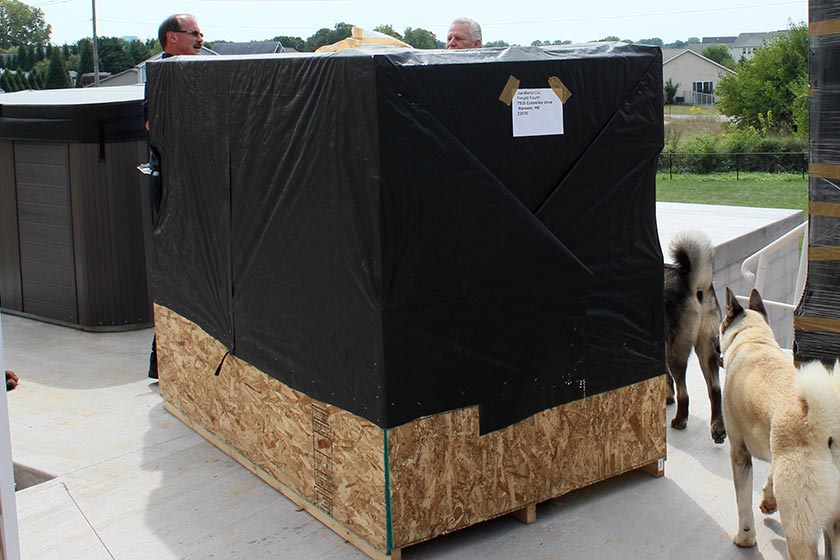
1. Gazebo arrives.
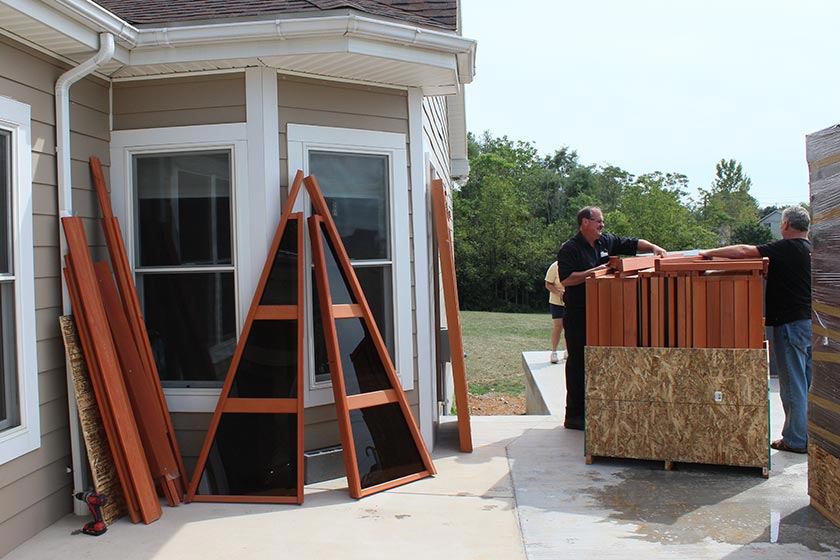
2. Unpack the gazebo.
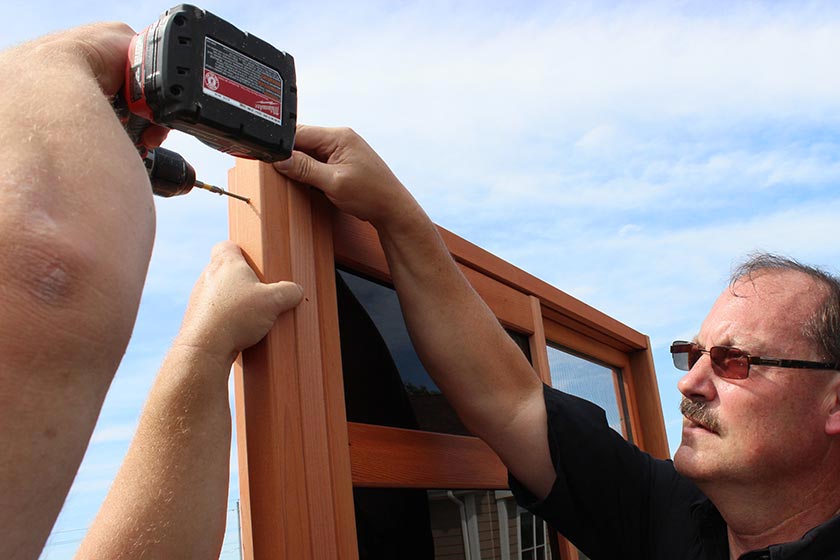
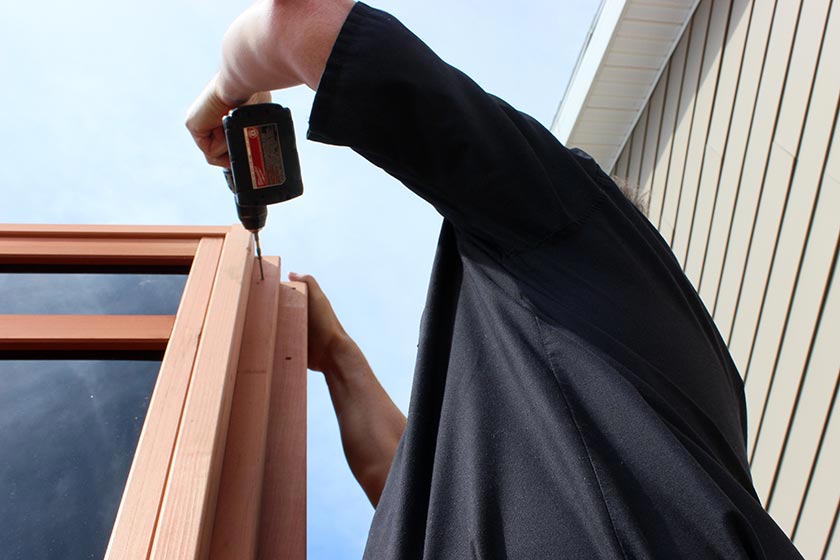
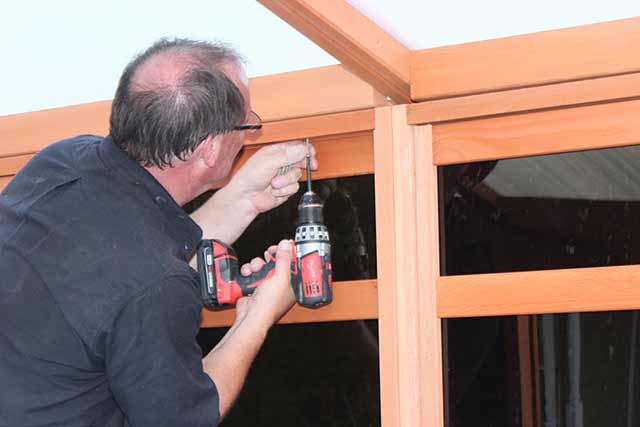
3. Start constructing the gazebo body by attaching a 2×2 Corner to one of the Window Wall sections.
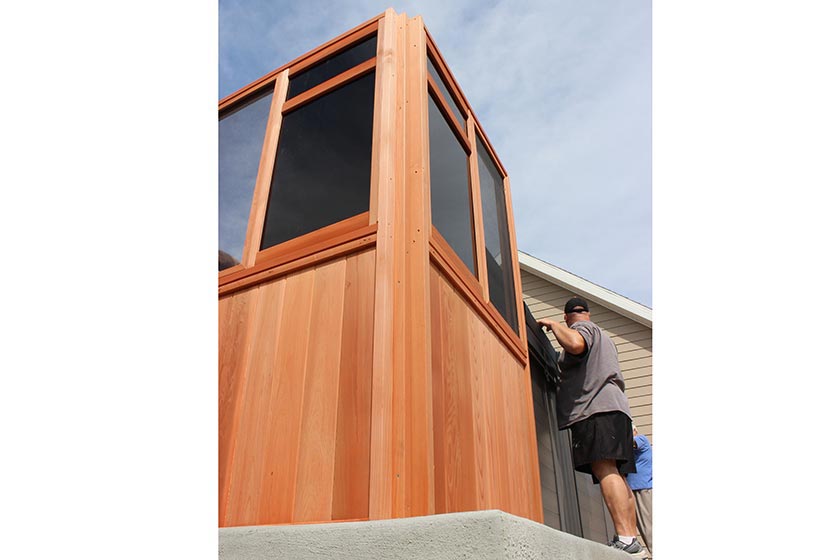
4. Proceed to attach another Window Wall panel at a 90 degree angle from the same 2×2 Corner.
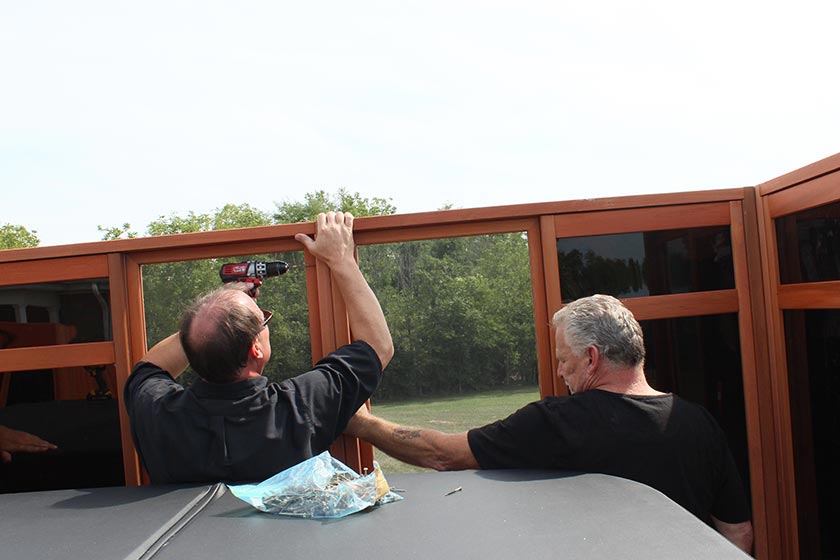
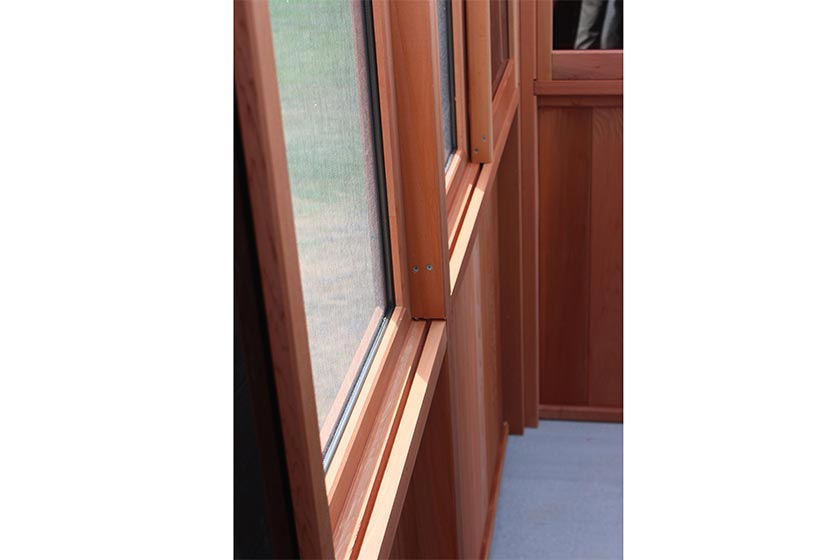
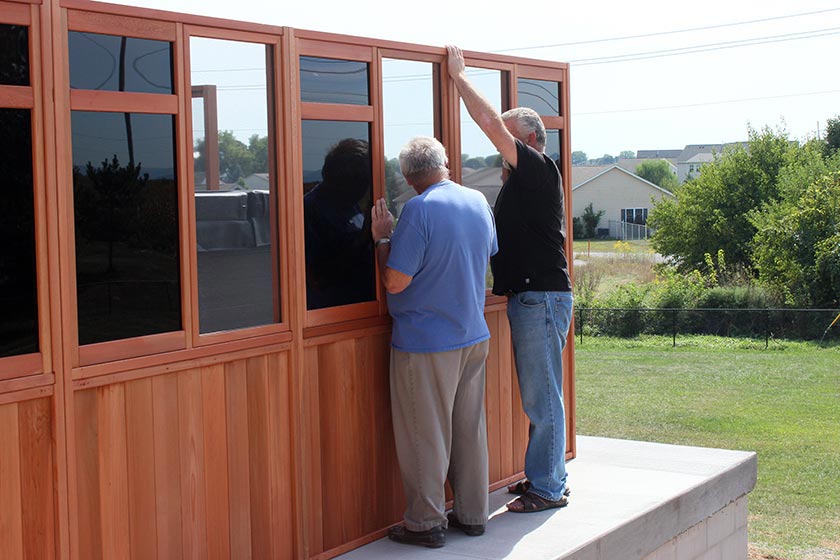
5. Now you will continue construction of the long side of the gazebo. Attach another Window Wall to the first Window Wall on the long side of the gazebo.
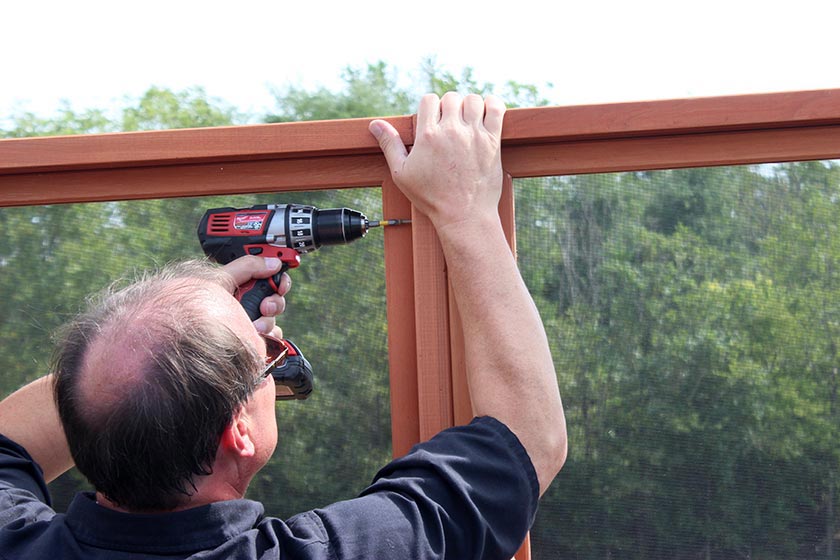
6. Continue constructing the long side of the gazebo by attaching a third and then a fourth Window Wall.
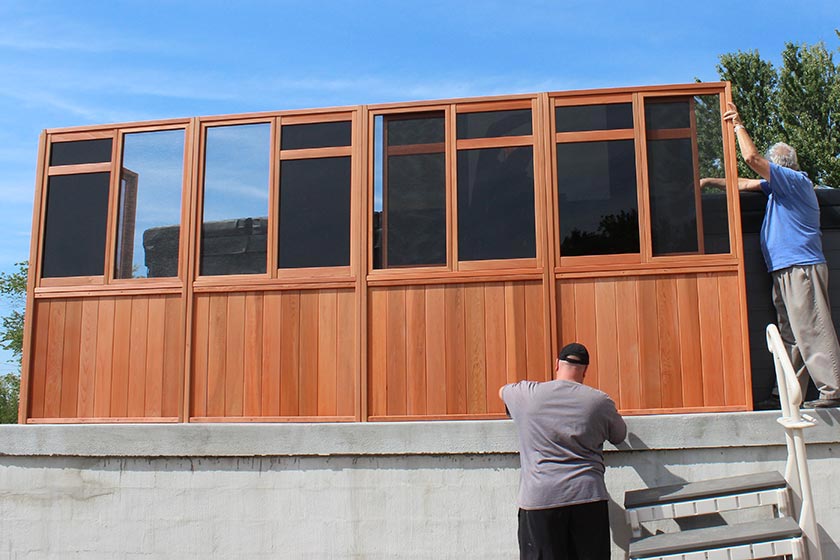
7. Continue attaching Window Walls along the long side of the gazebo until all five Window Walls on the long side of the gazebo have been attached.
8. Attach a Corner to the end of the Window Wall.
9. Start constructing the short side of the gazebo by attaching a Window Wall at a 90 degree angle from the Corner in the previous step 8 above and then adding another Window Wall along the short side of the gazebo.
10. Add a third Window Wall to the short side of the gazebo and then attach a 2×2 corner to this third Window Wall.
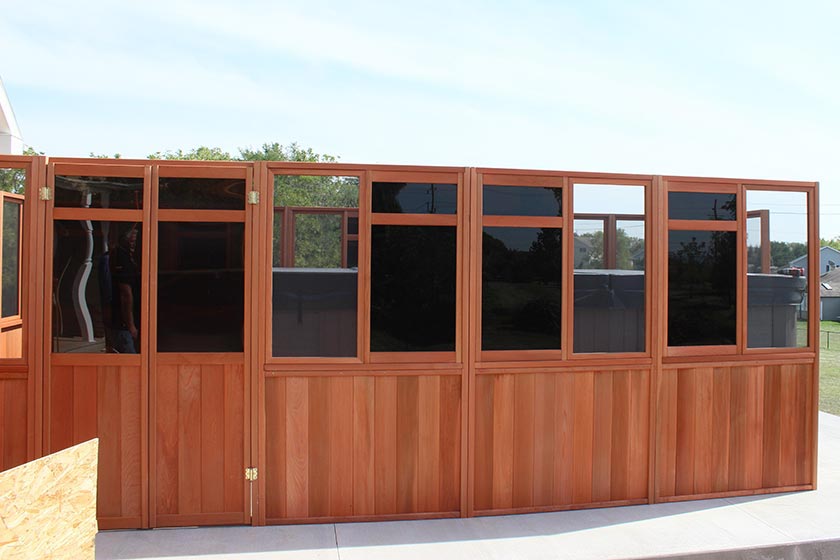
11. Construct the other long side of the gazebo by attached four Window Walls and one Door and place the door in any location along this long side of the gazebo.
12. Once the last Window Wall on the long side is attached you can attach a 2×2 corner to this last Window Wall.
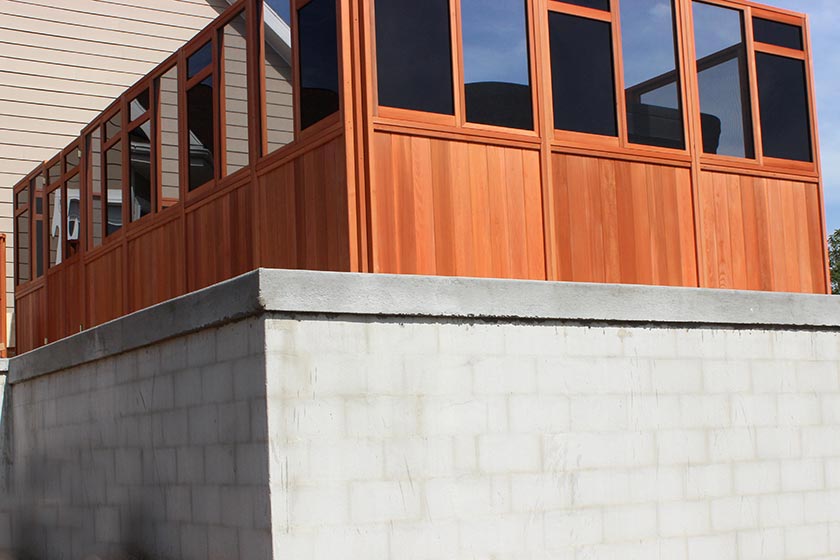
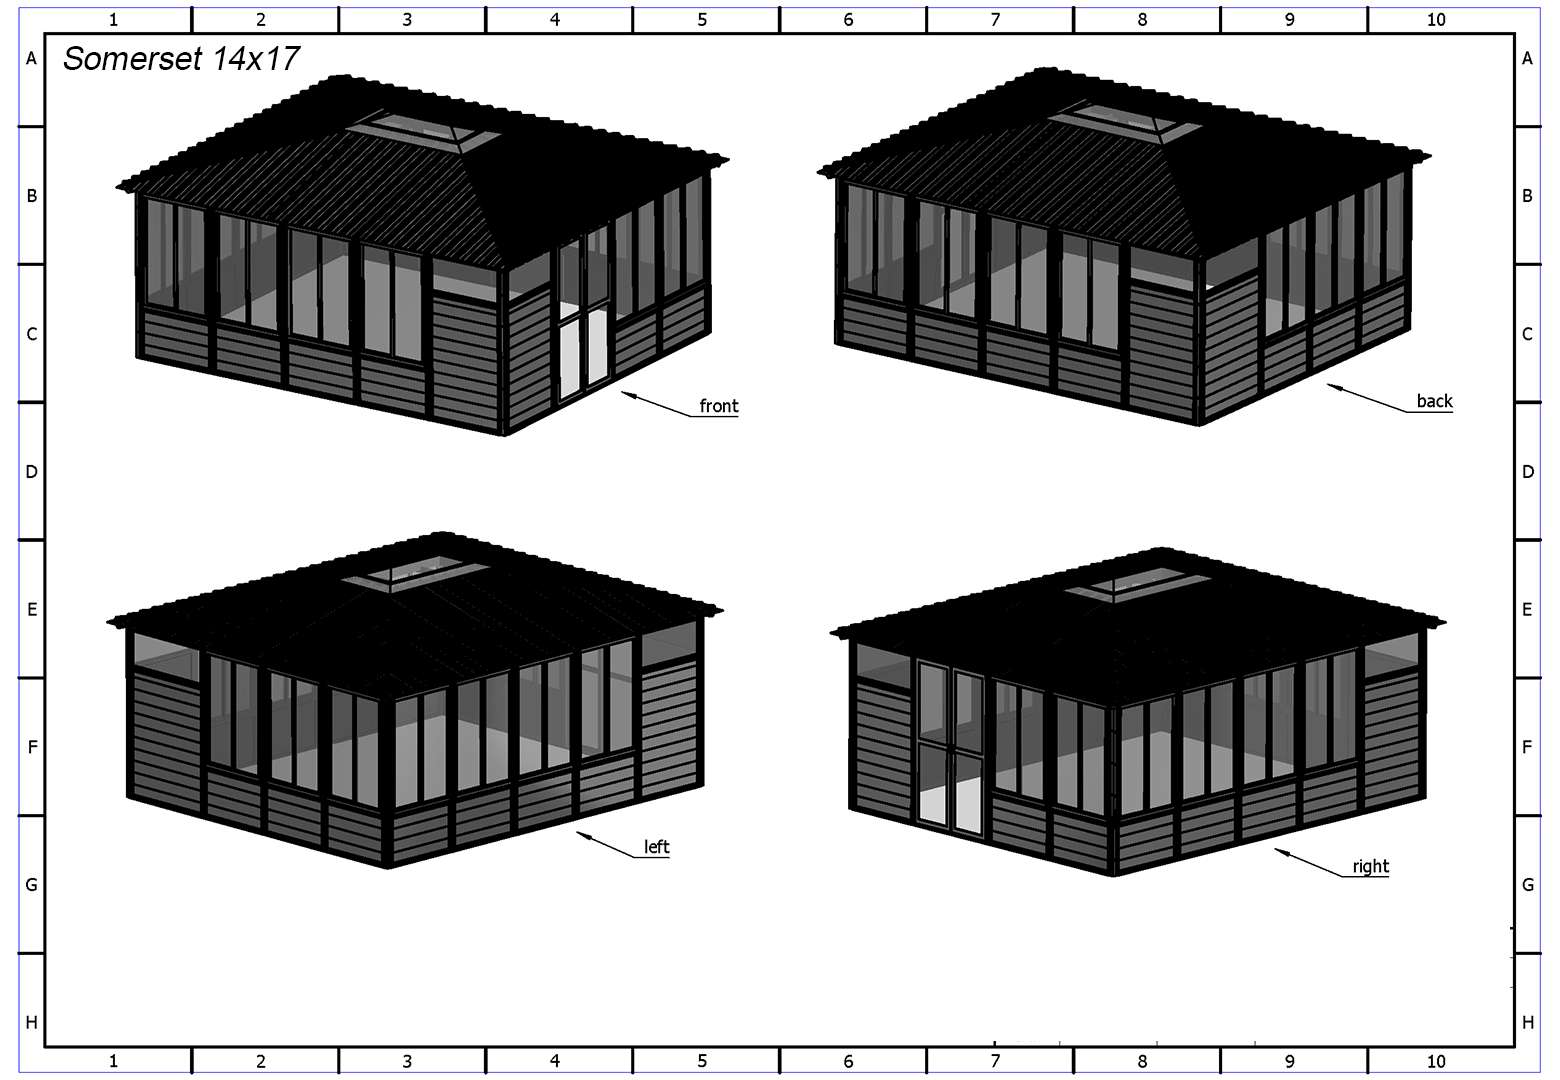
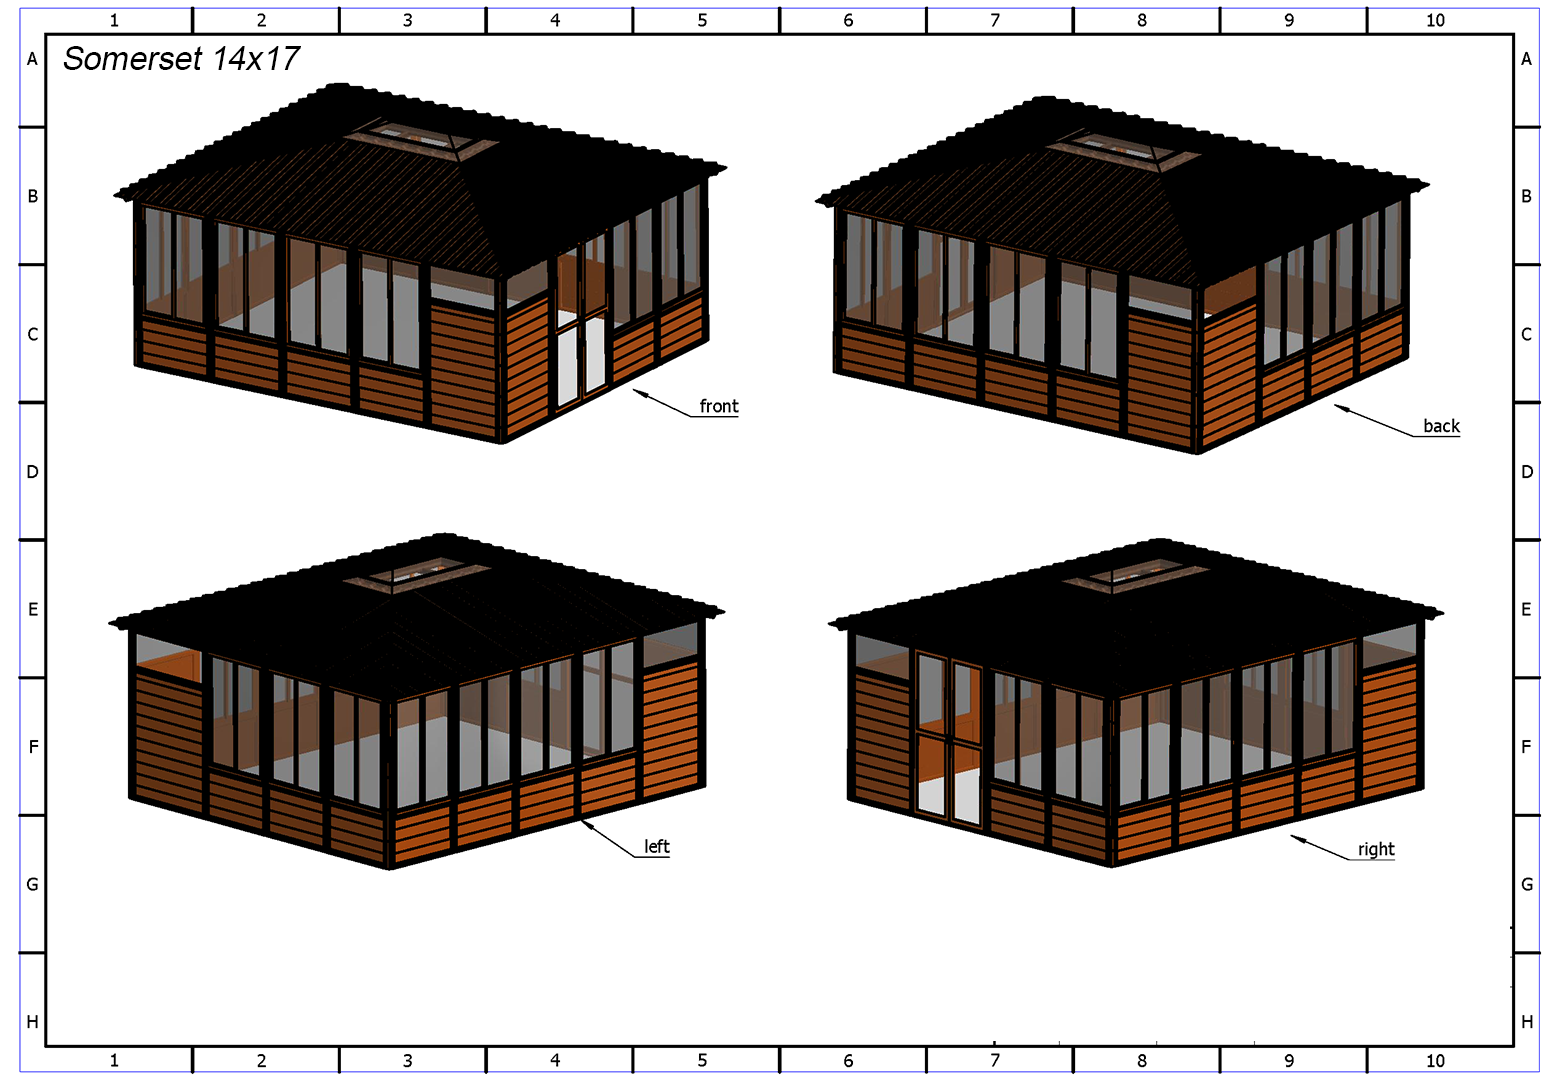
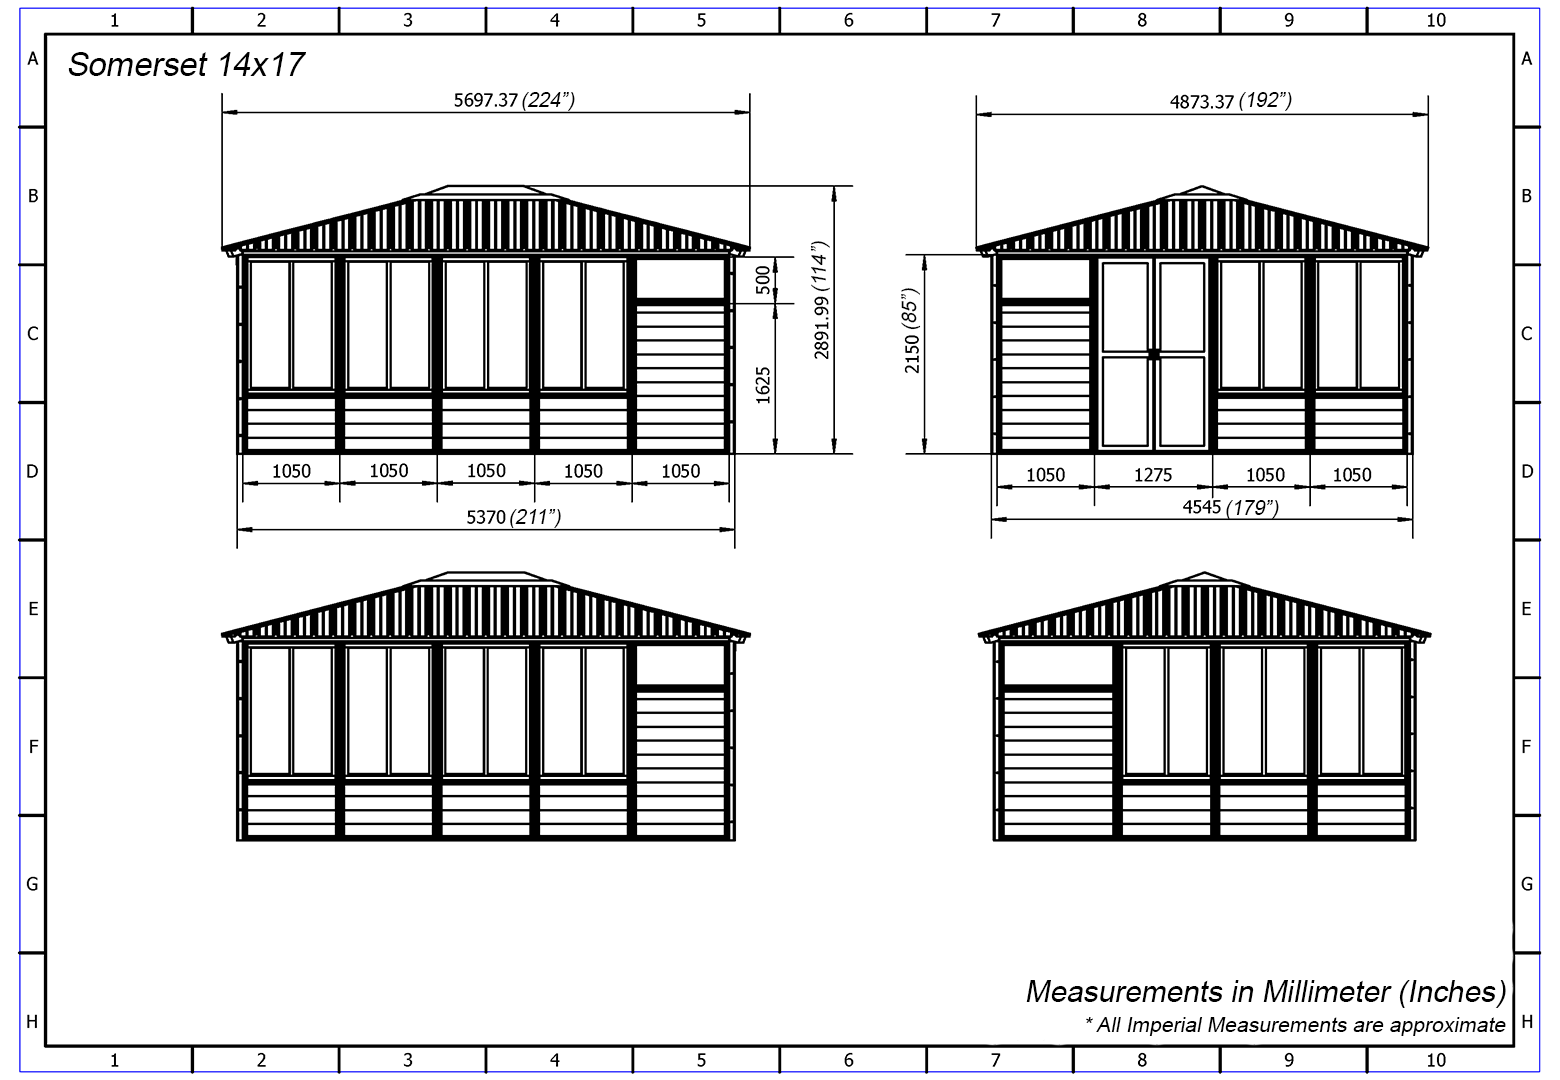
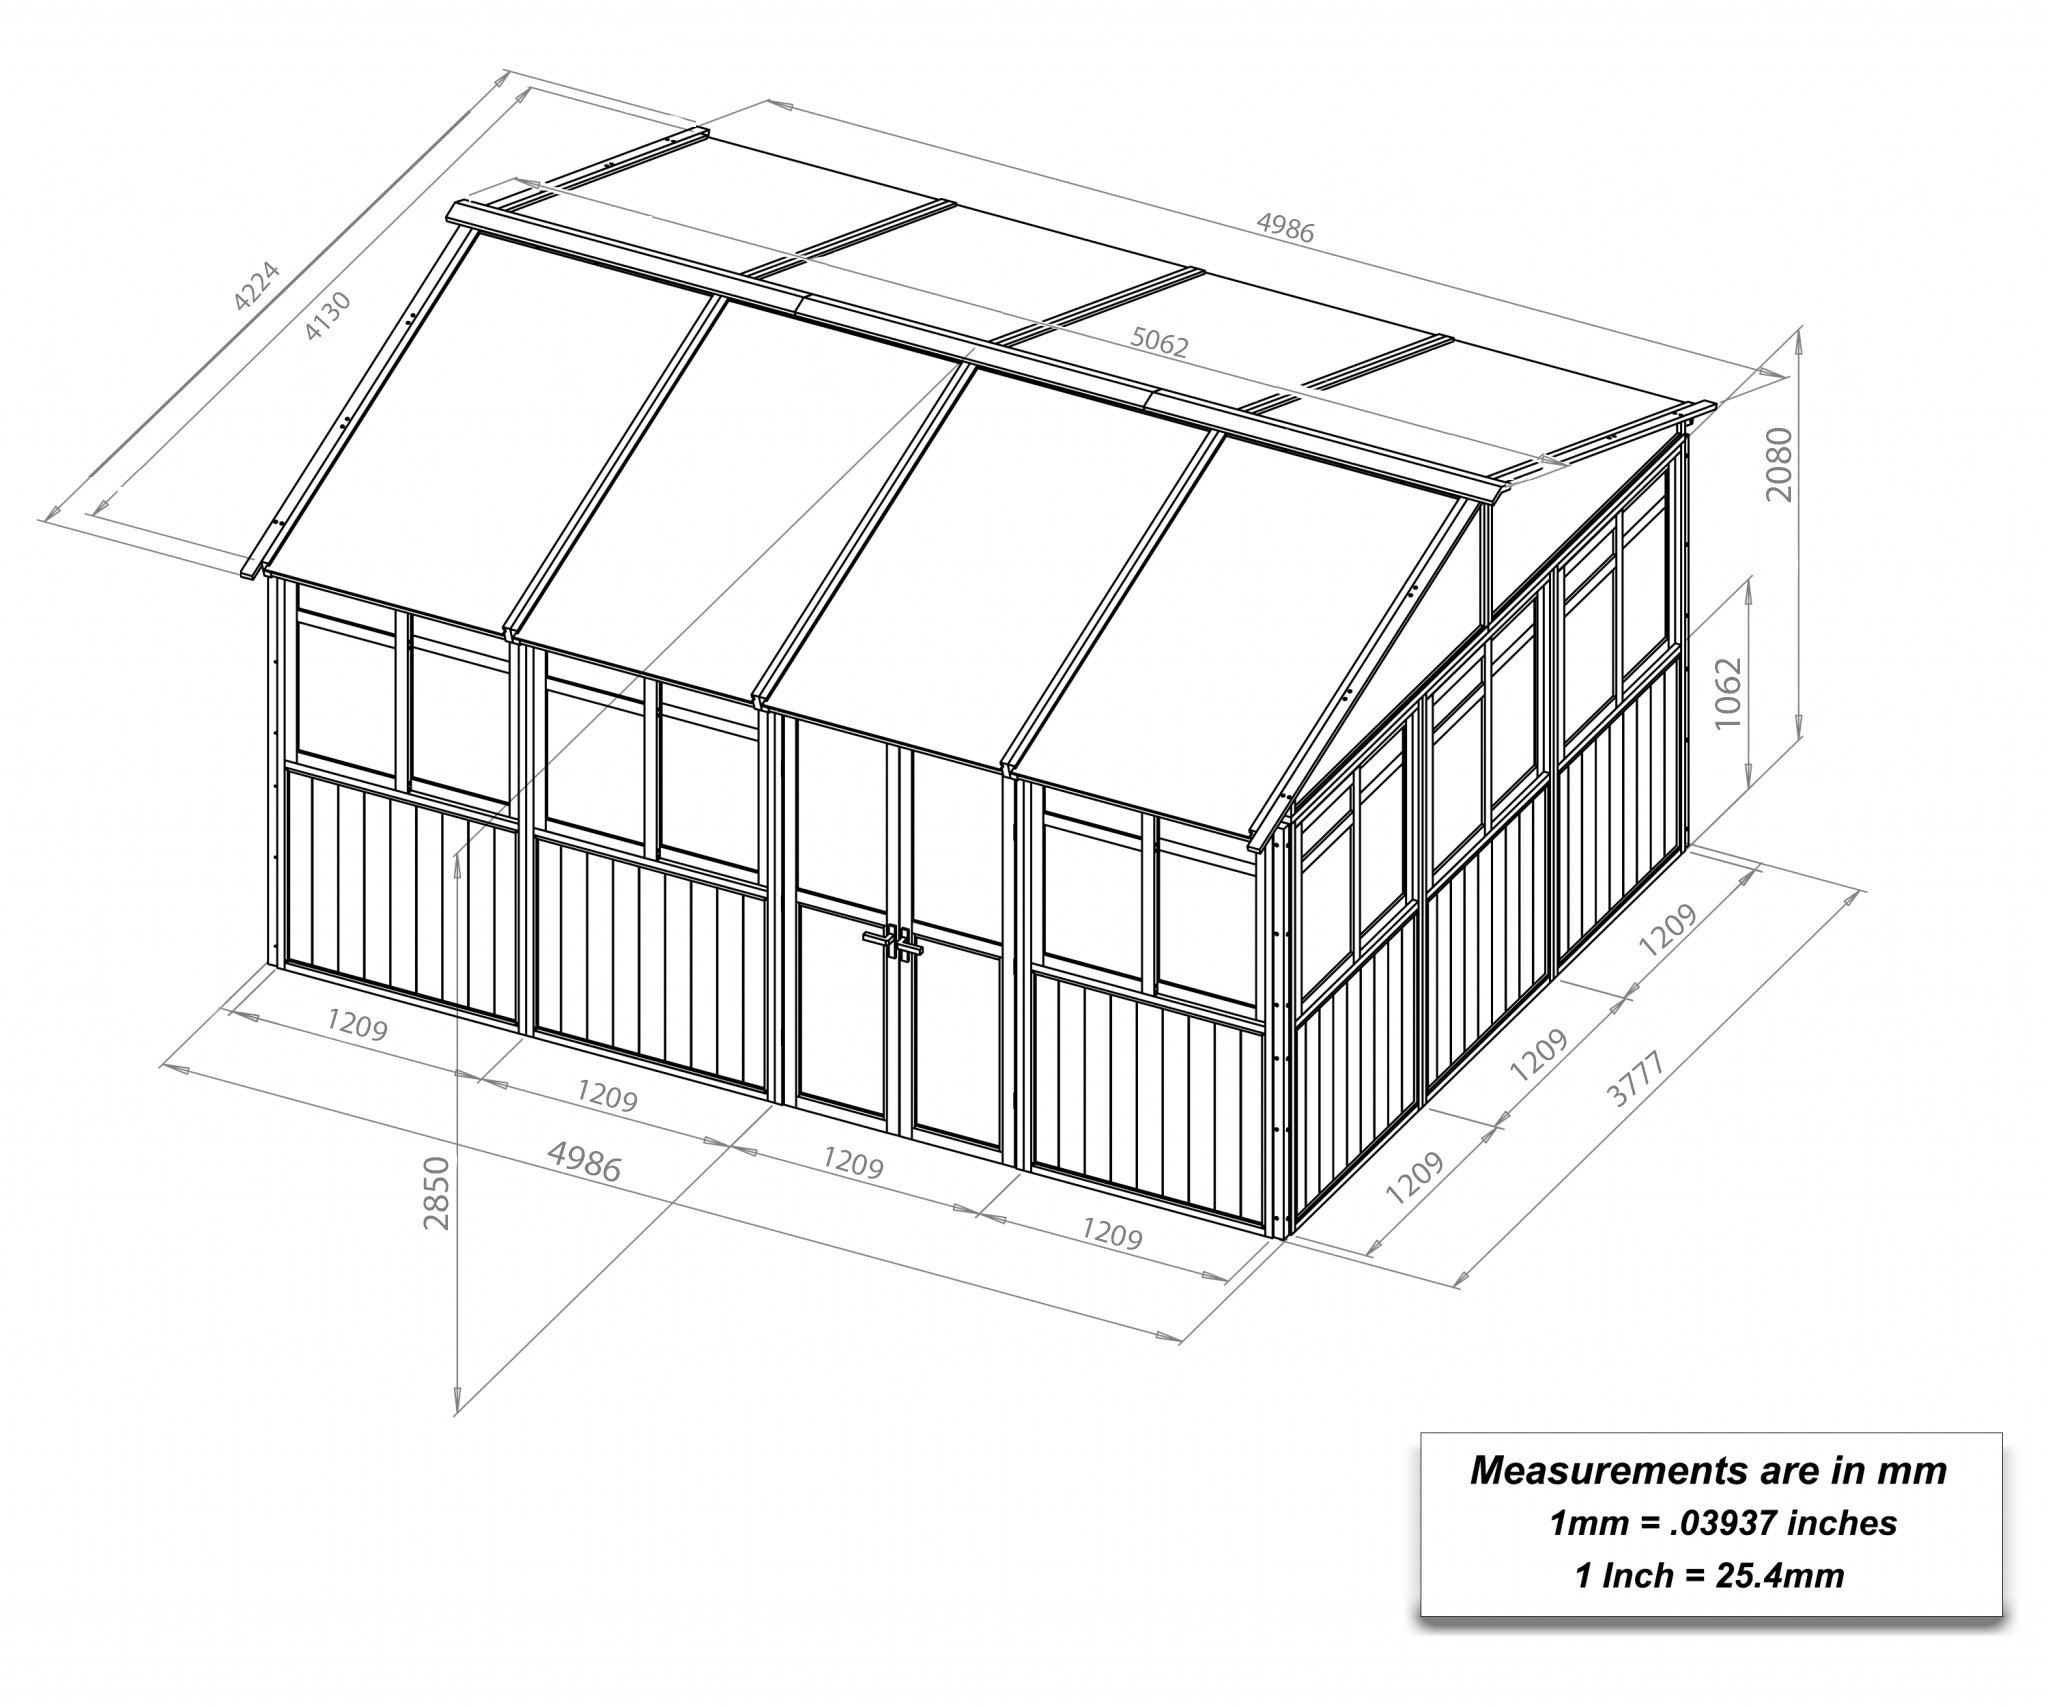
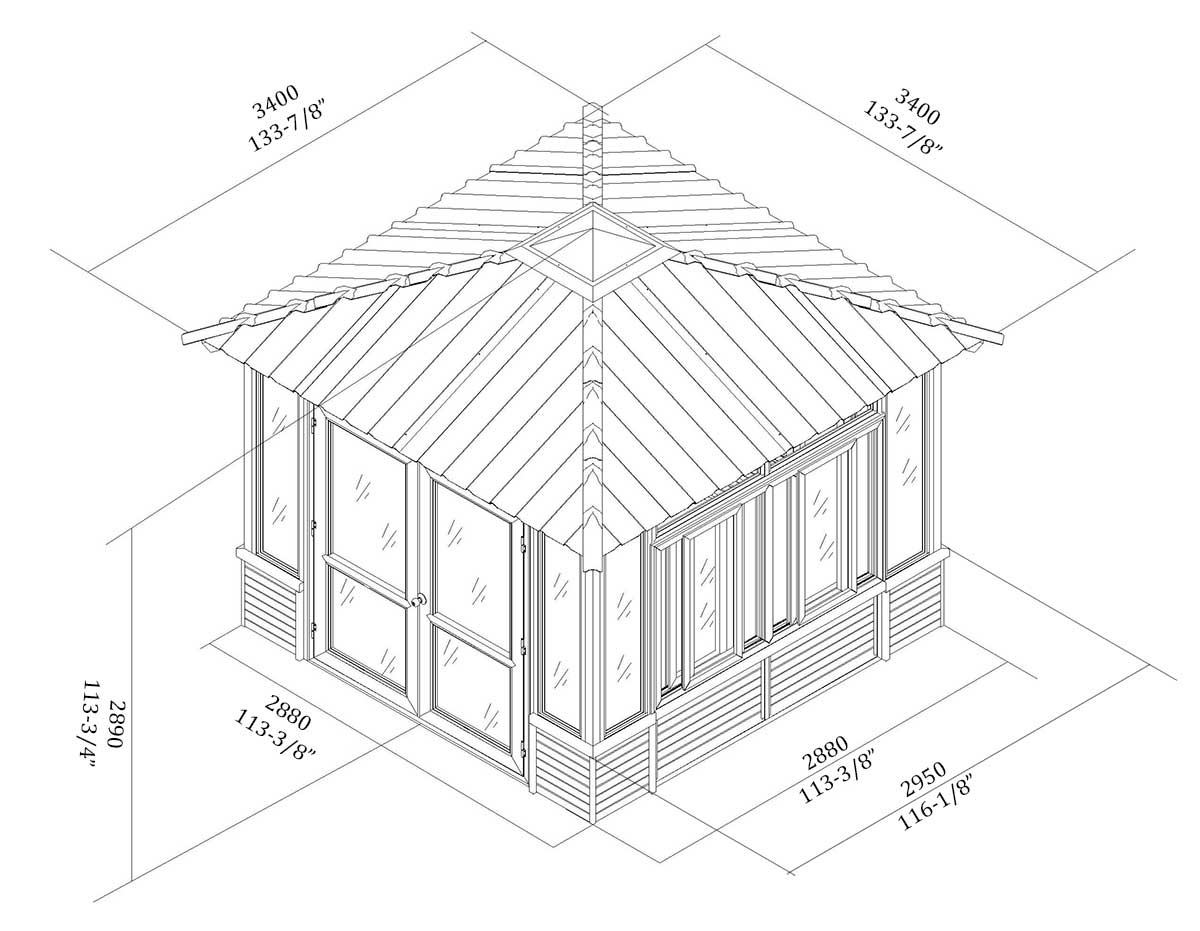
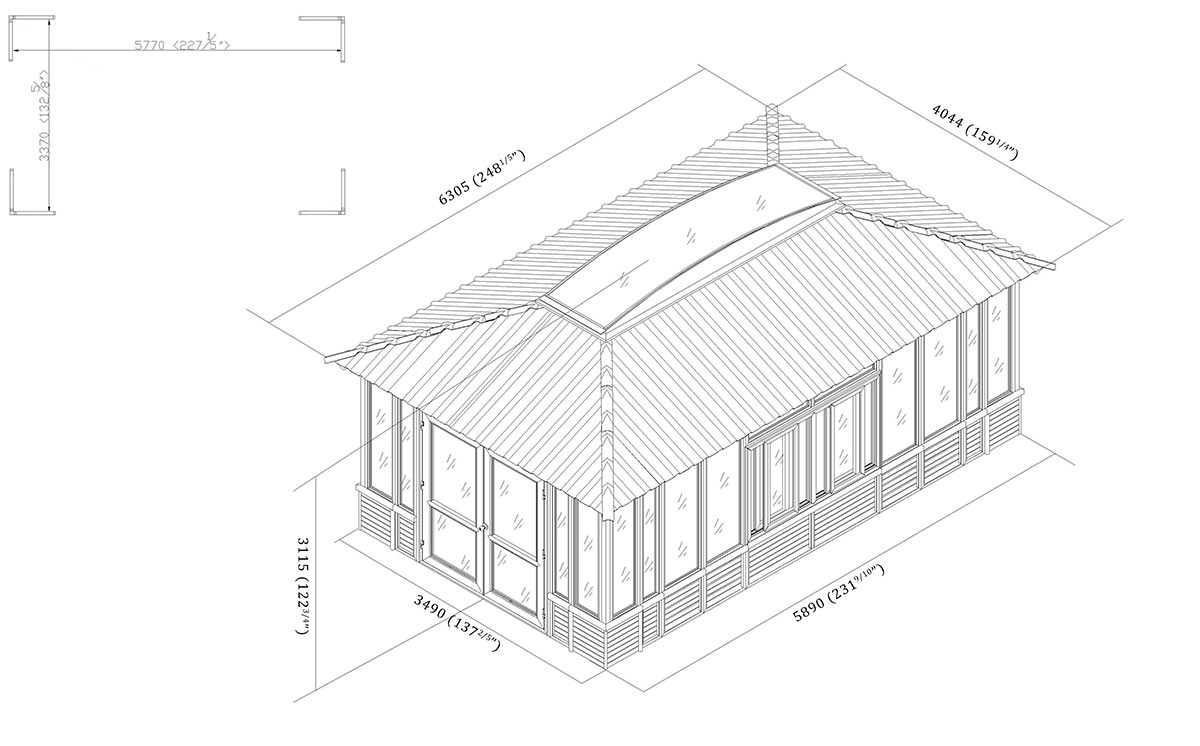
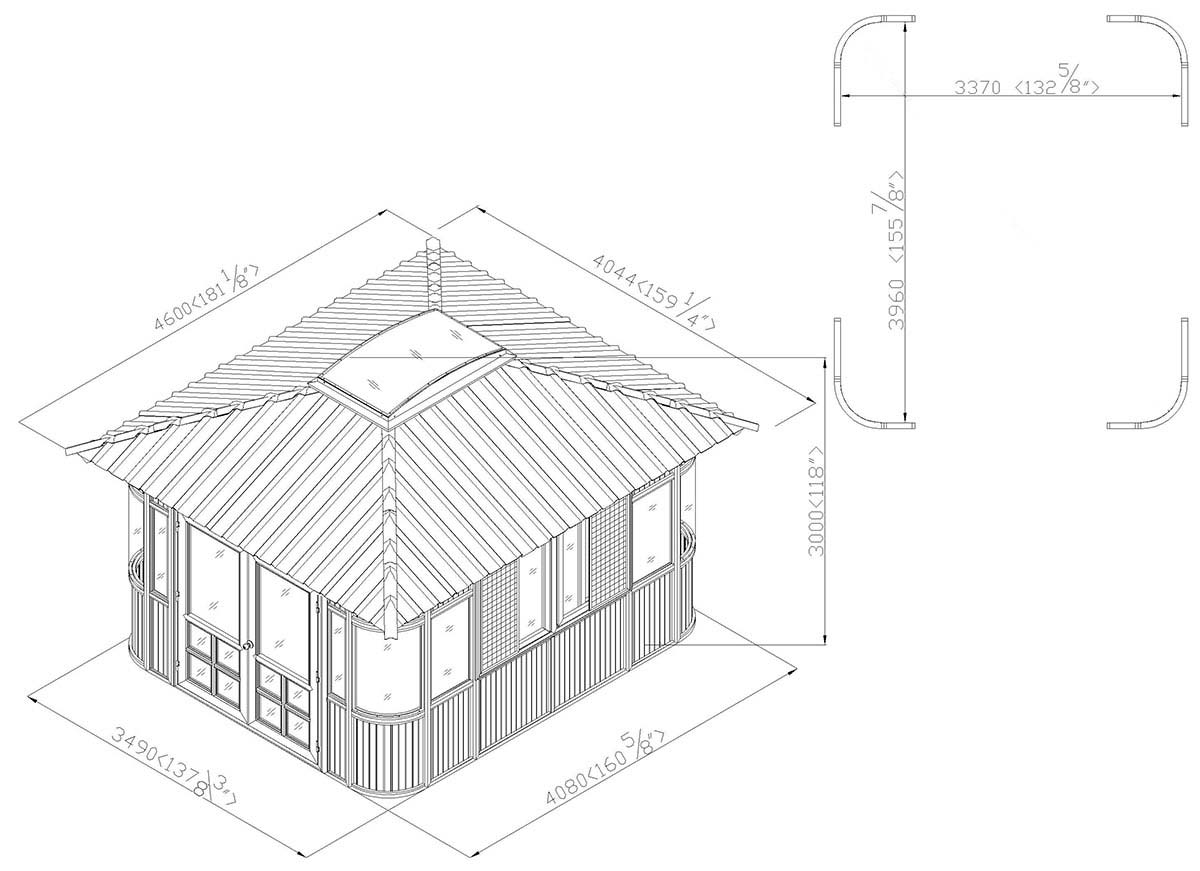
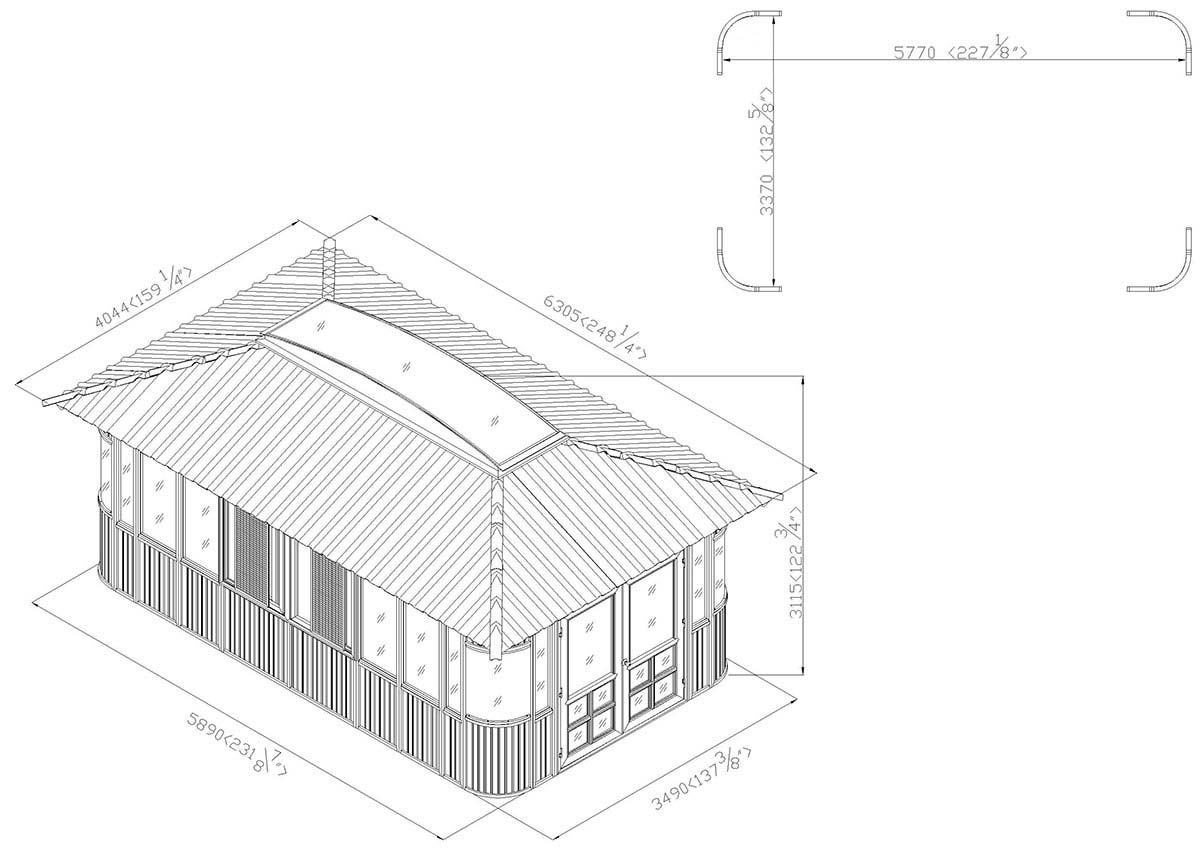
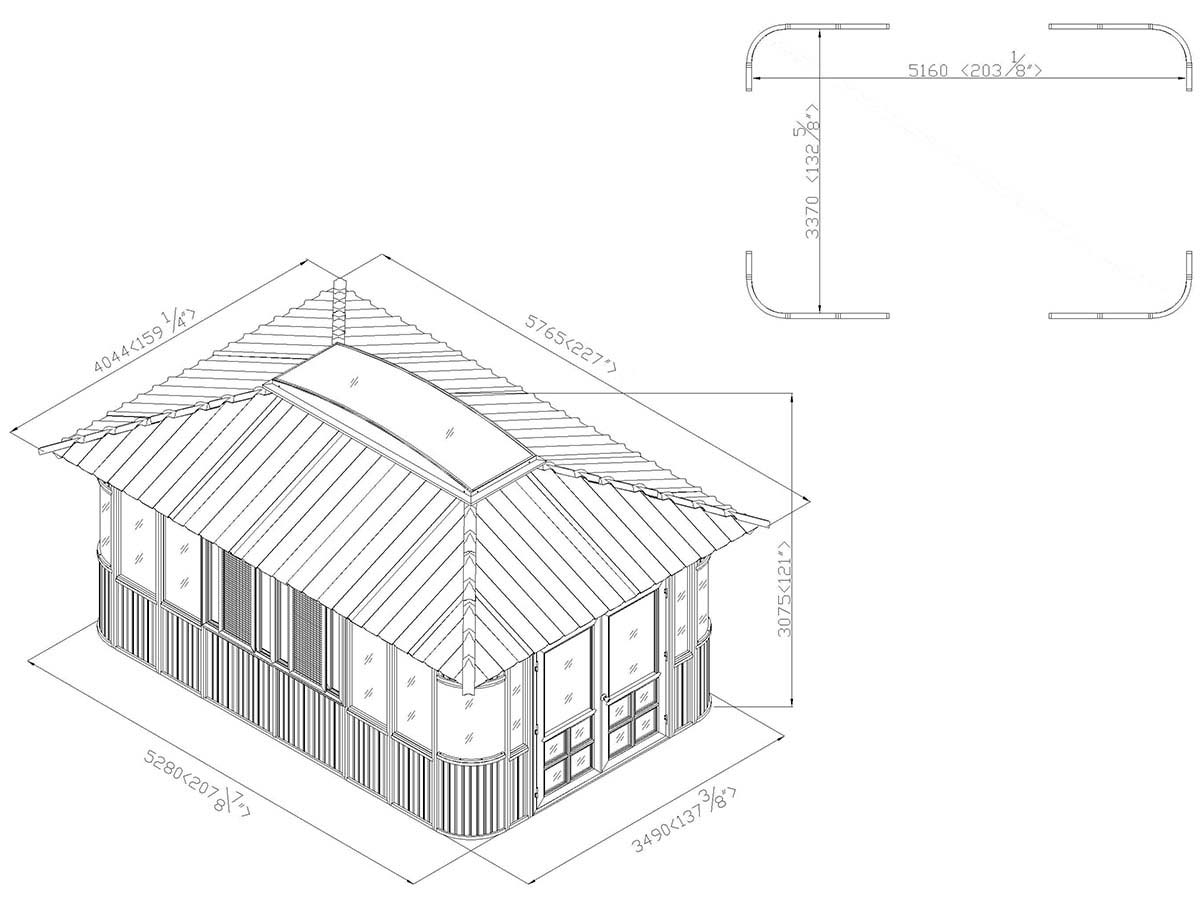
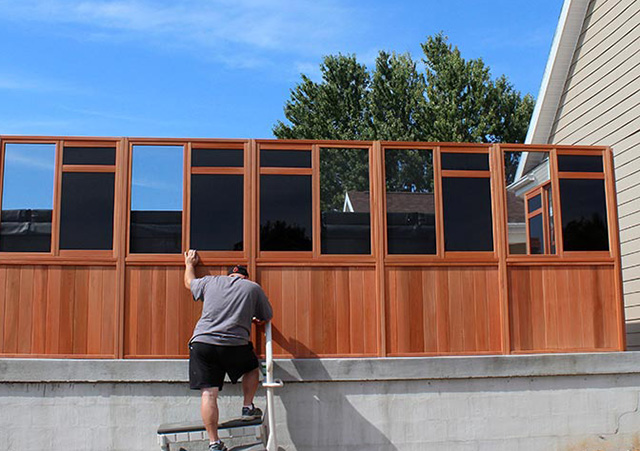
13. Attach three Window Walls on the final short side of the gazebo and now your gazebo perimeter should be complete.
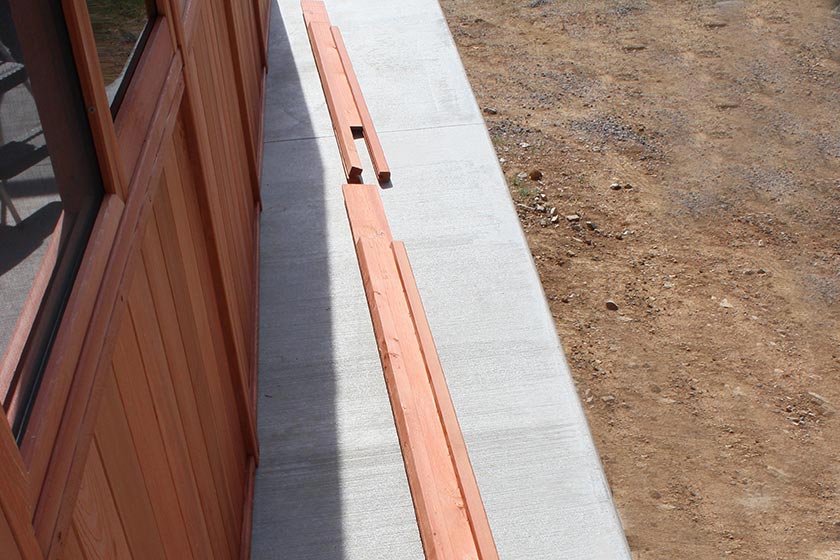
14. Now it is time to construct the roof frame. First start with assembling the Beam.
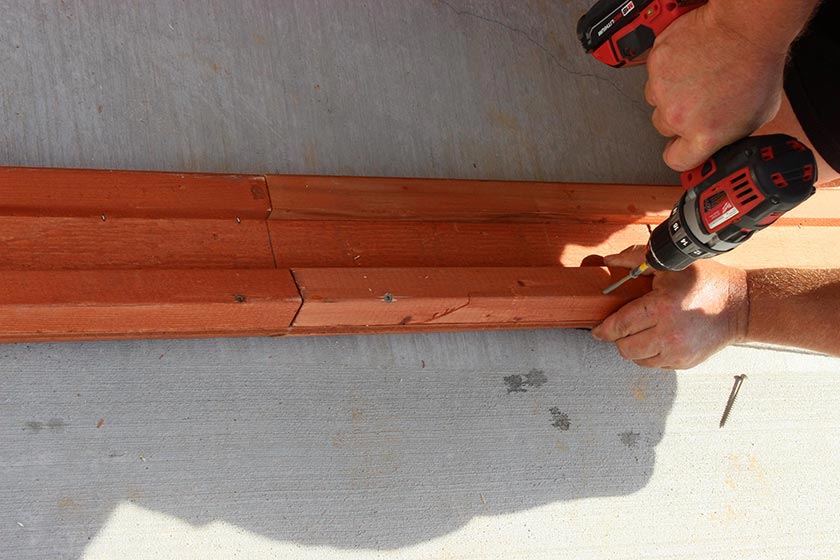
15. Fasten the Beam sections together with screws provided.
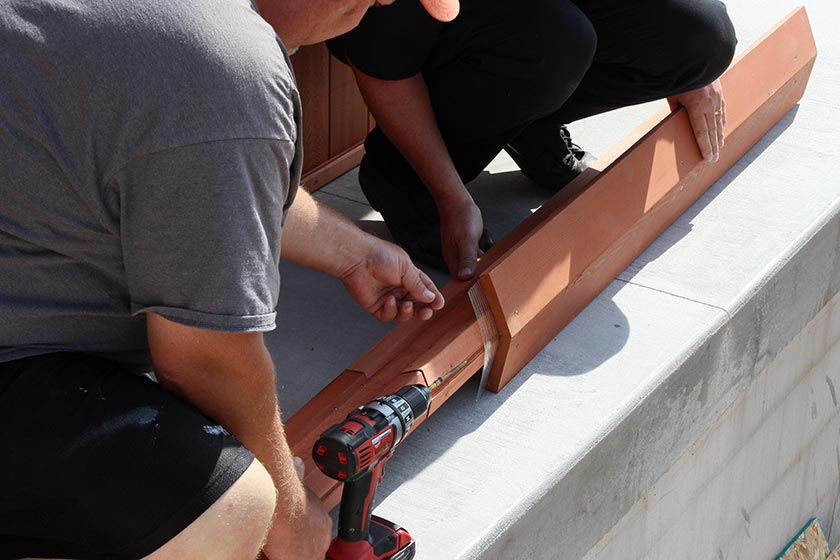
16. Assemble the Beam Cap and secure to the Beam.
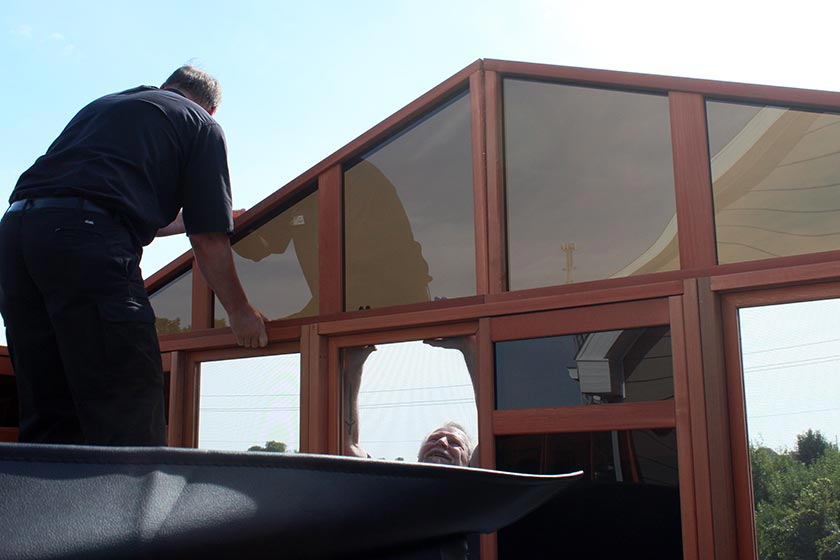
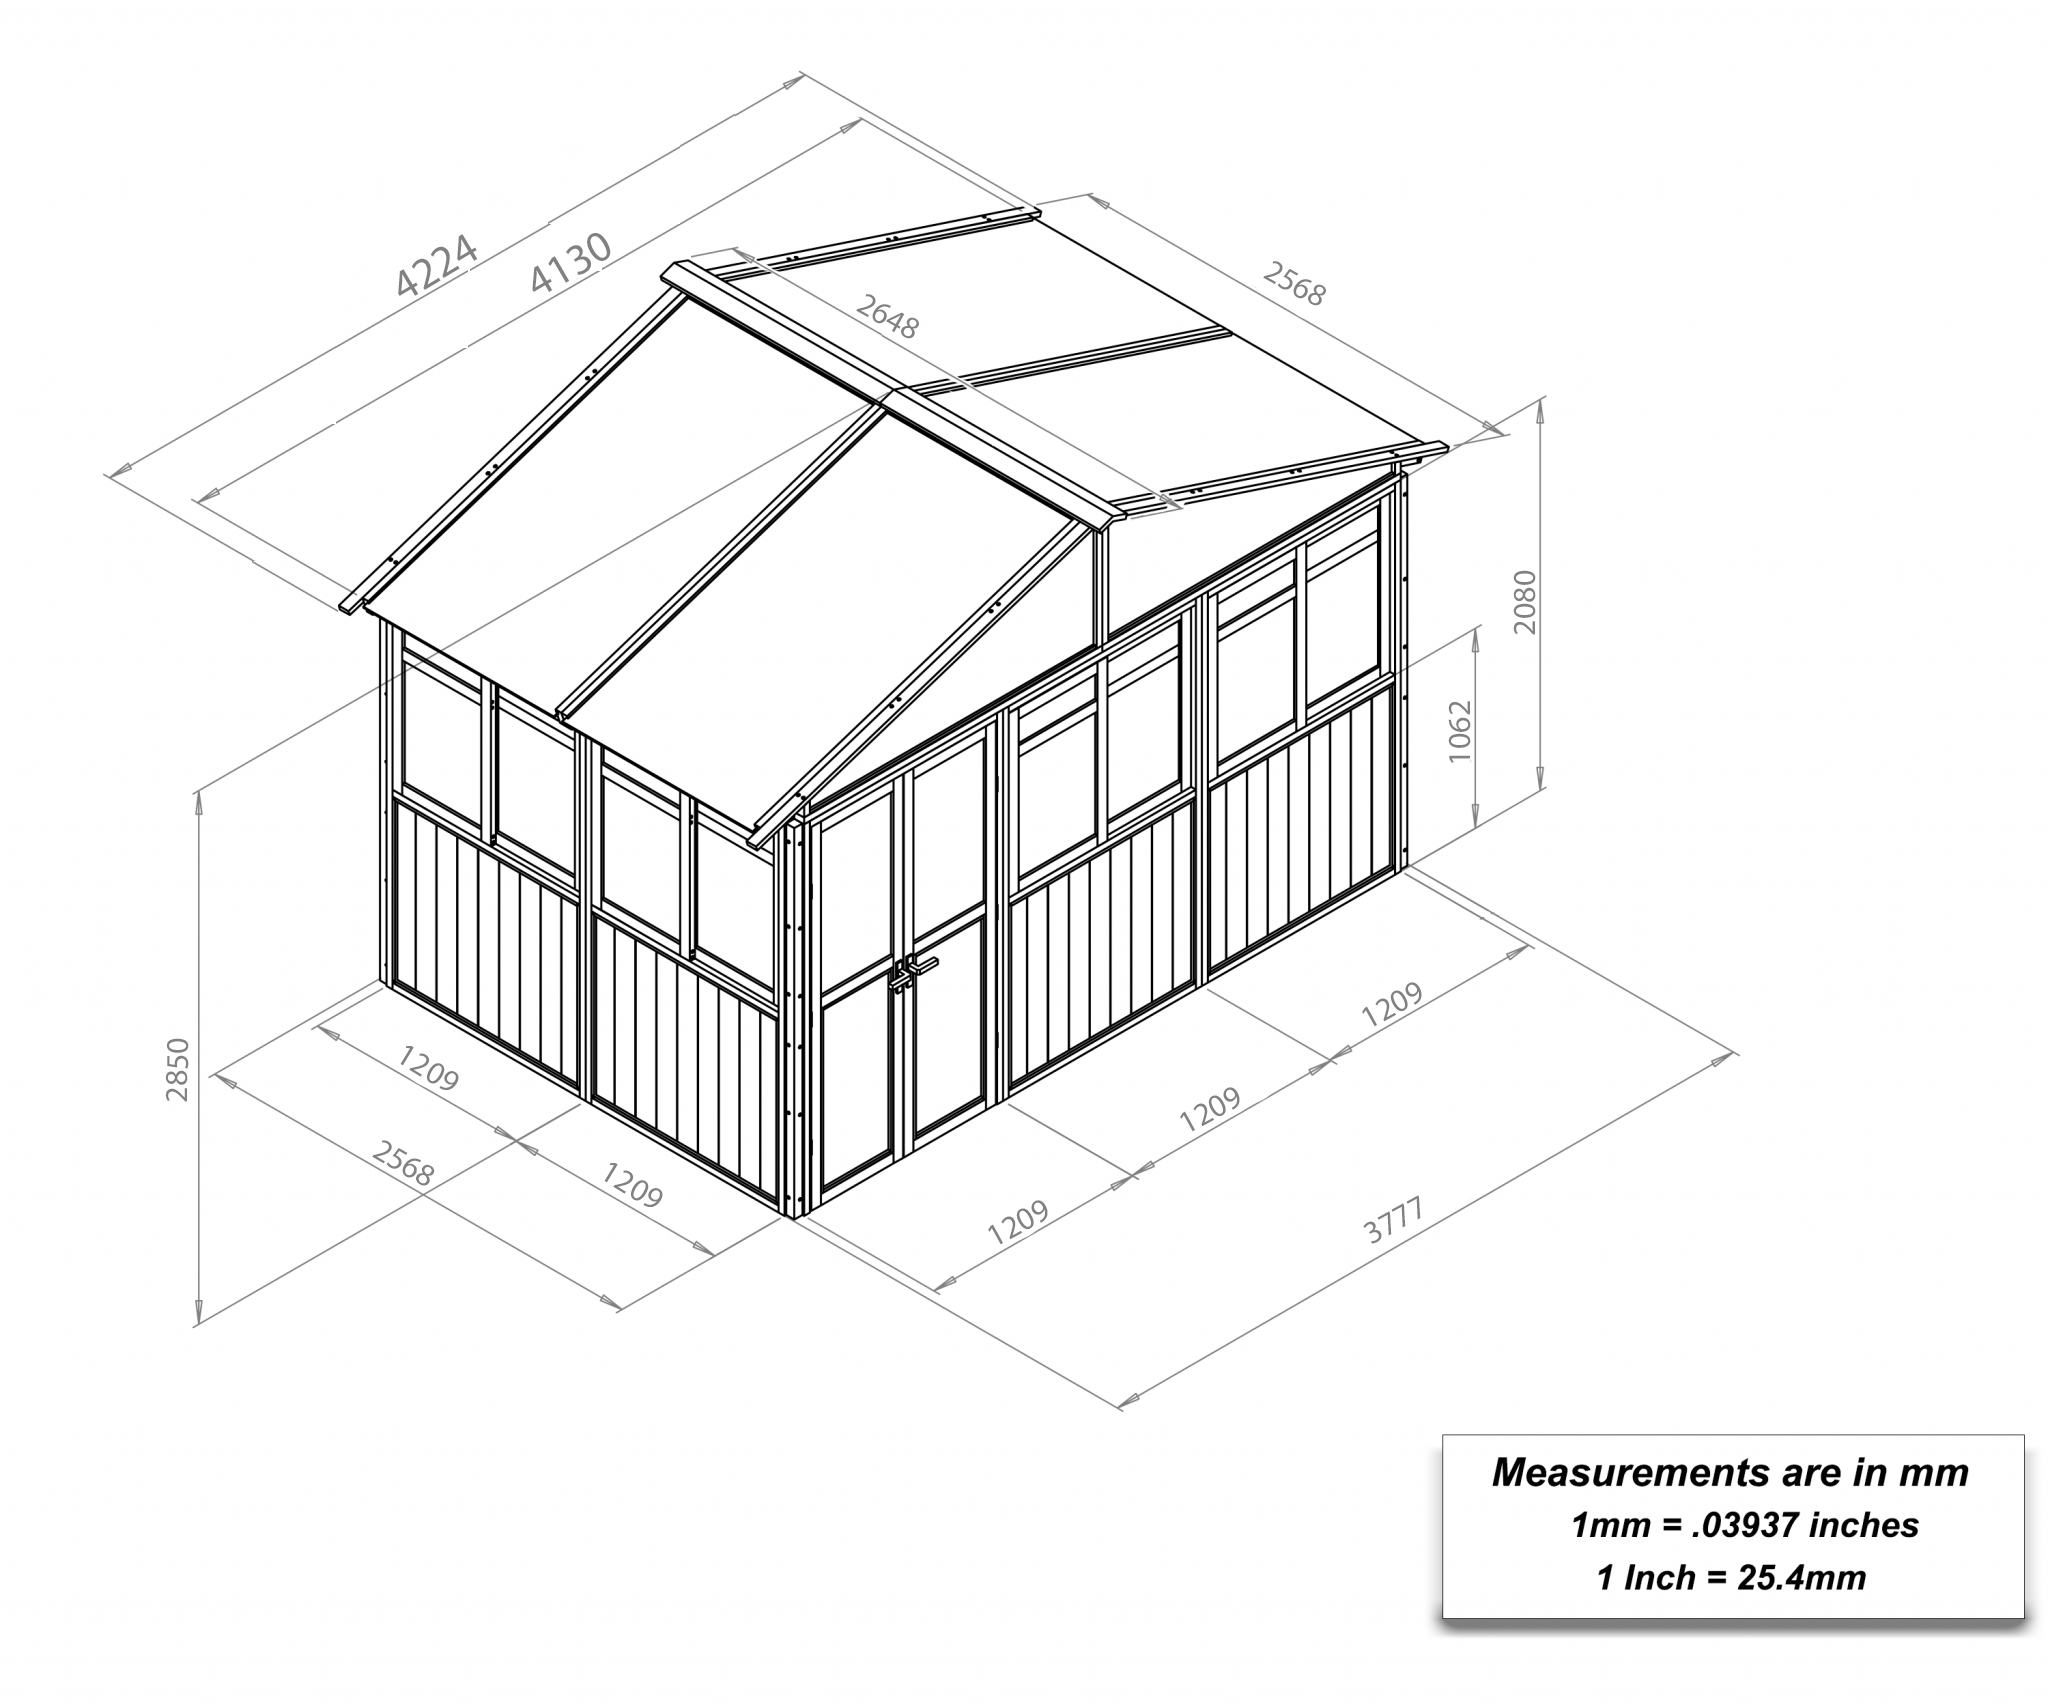
17. Attach a left and right Gable to one another and secure to the top of the gazebo wall end. Repeat this step for the other short side of the gazebo so now you will have four gazebos (two on each end).
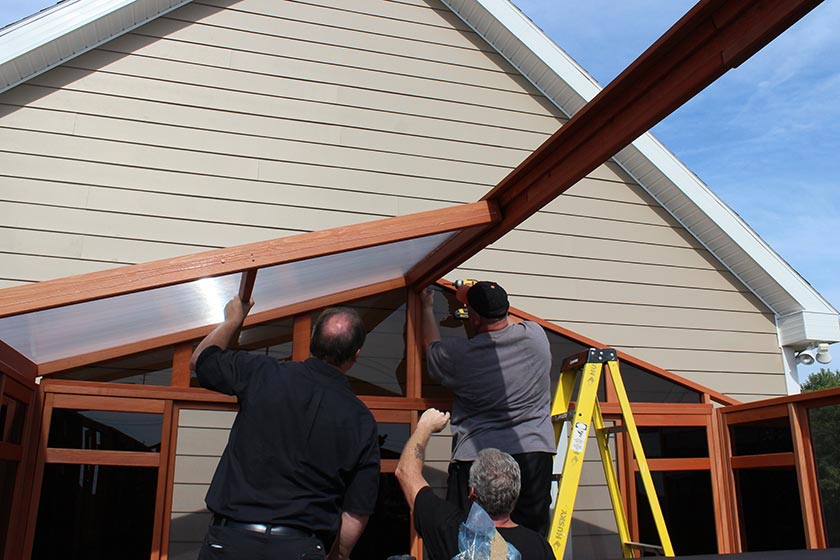
18. Attach the assembled Beam with Beam Cap to the top of the Gables and then start securing the first Roof Panel.
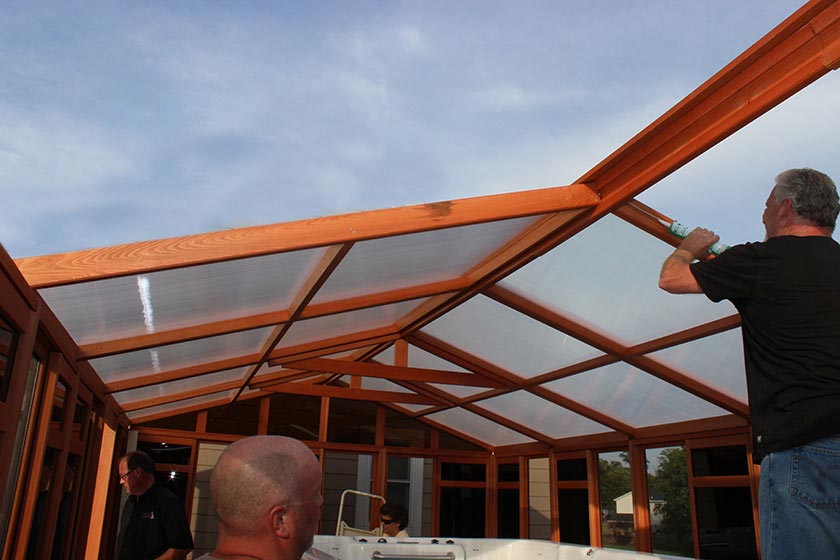
19. Continue attaching Roof Panel one after another.
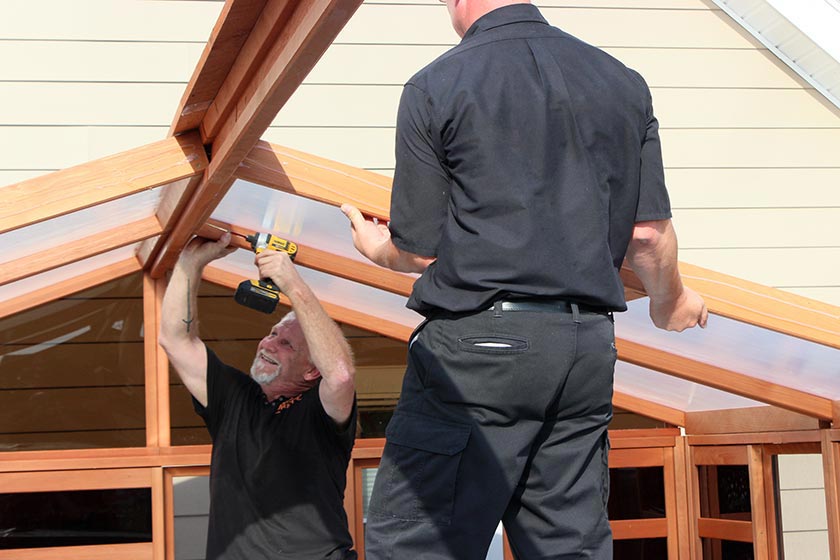
20. Alternate attaching one Roof Panel to each side of the Beam.
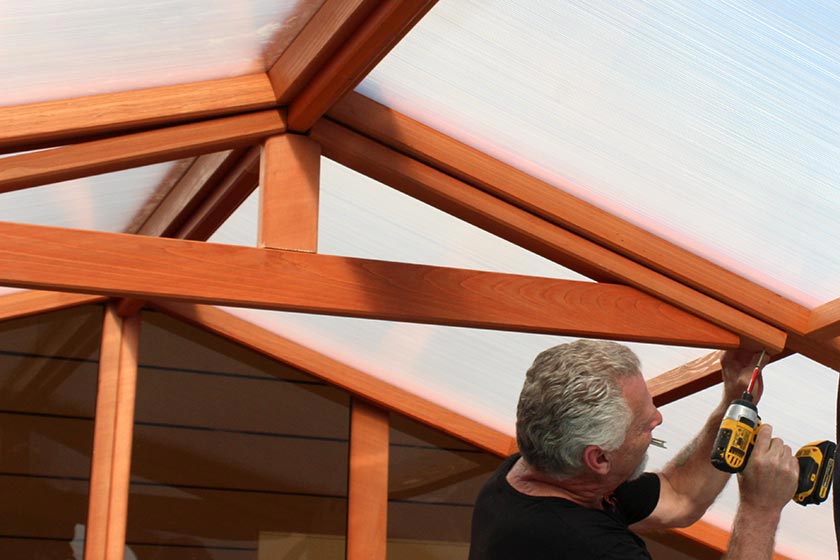
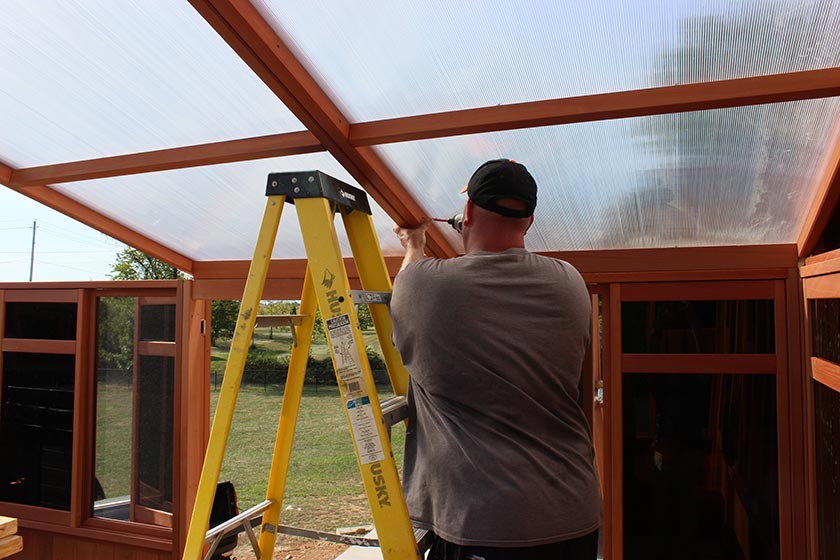
21. Attach a Truss between each of the Roof Panels.
22. Remember to Caulk between each of the Roof Panels and place a Truss between each of the Roof Panels.
23. Secure the Roof Panel to the Window Walls by screwing up from the Window Wall into the Roof Panel frame.
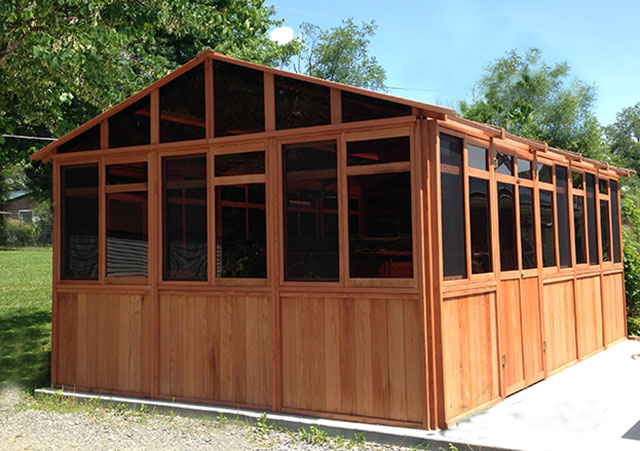
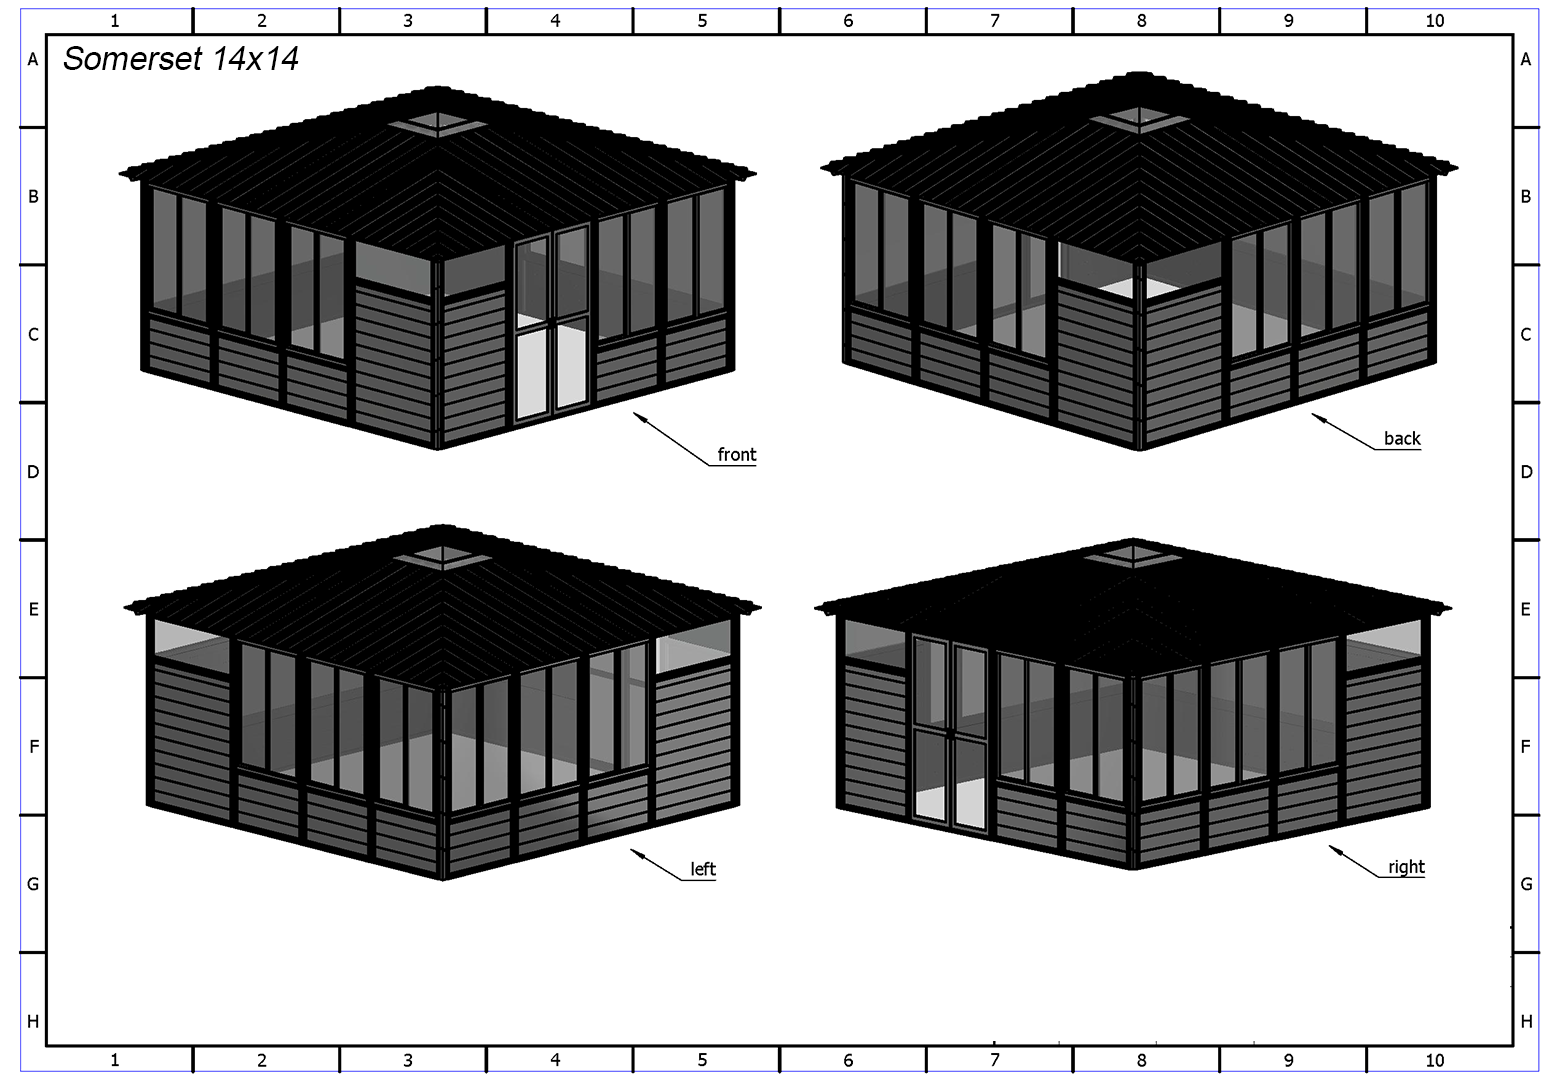
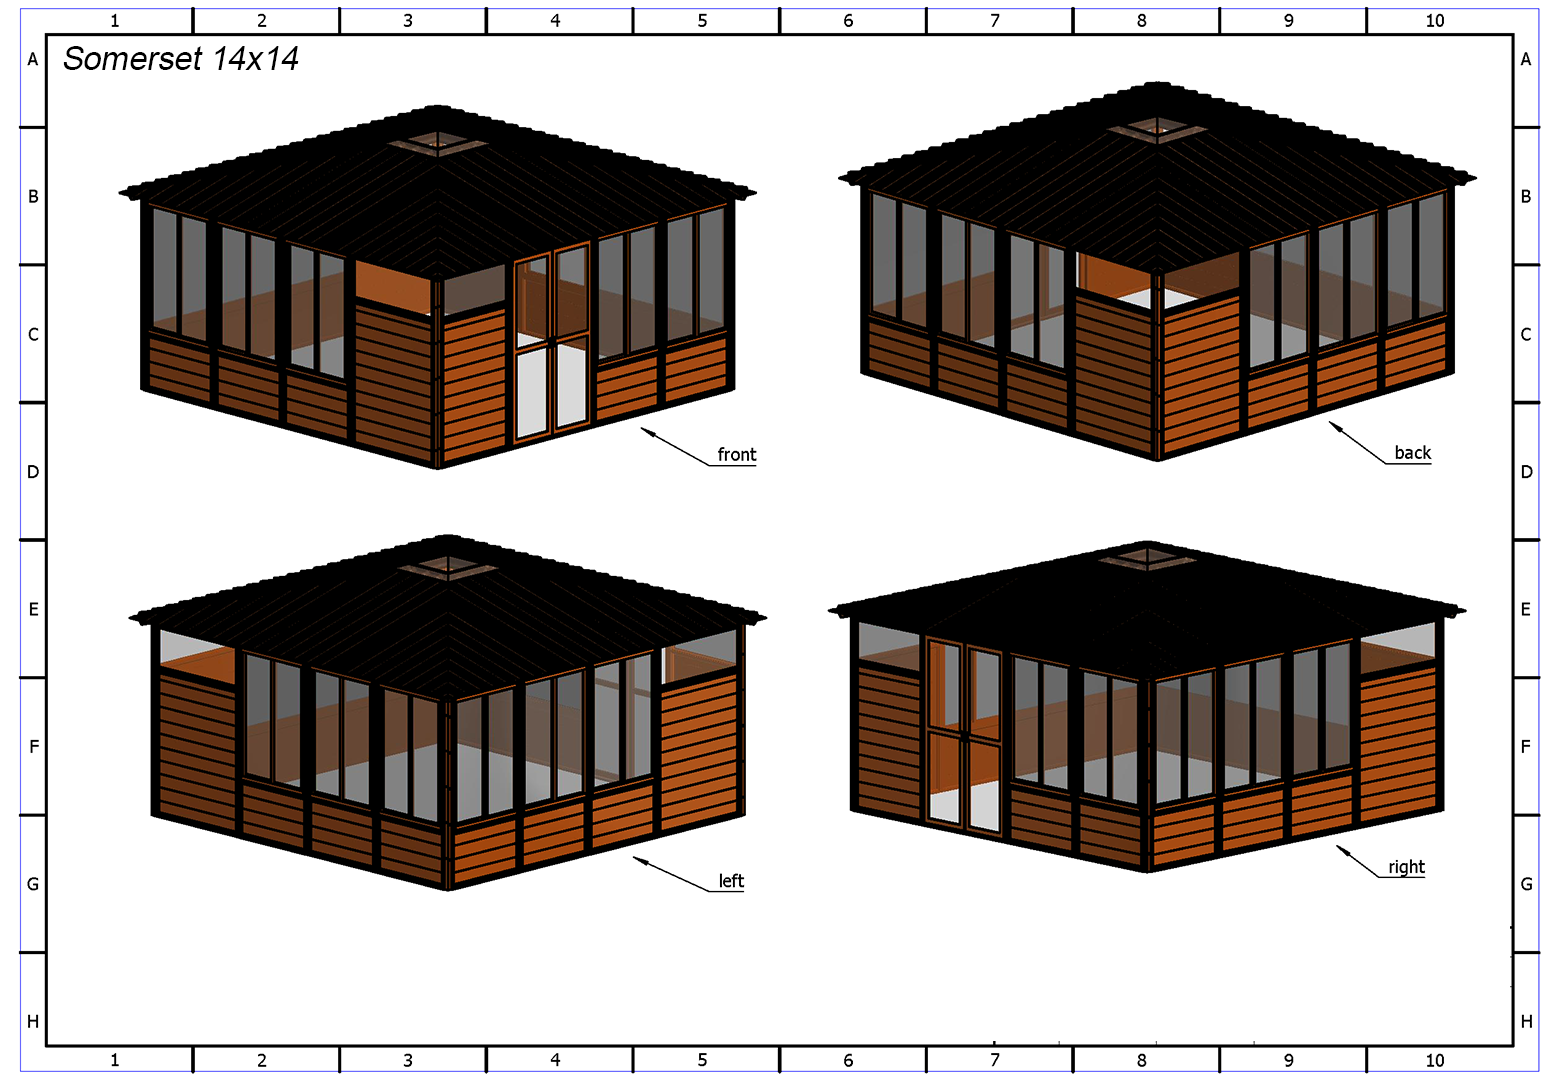
24. The Gazebo is now complete.Time to enjoy and relax.