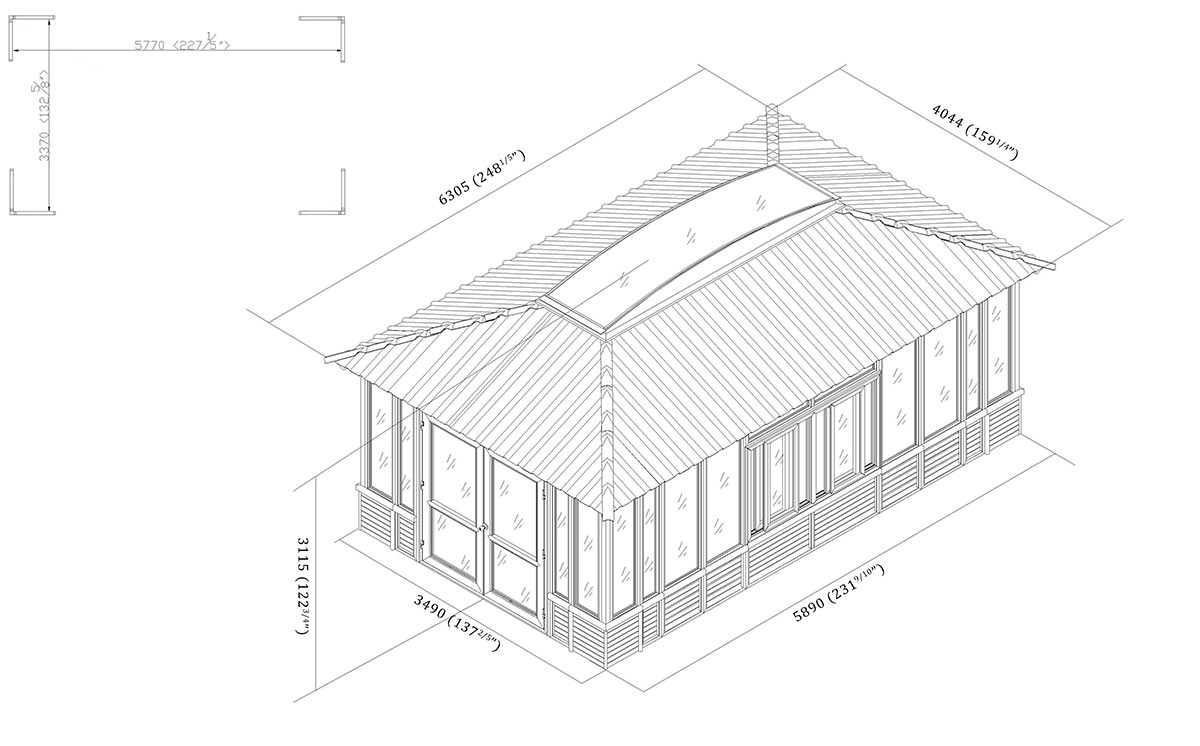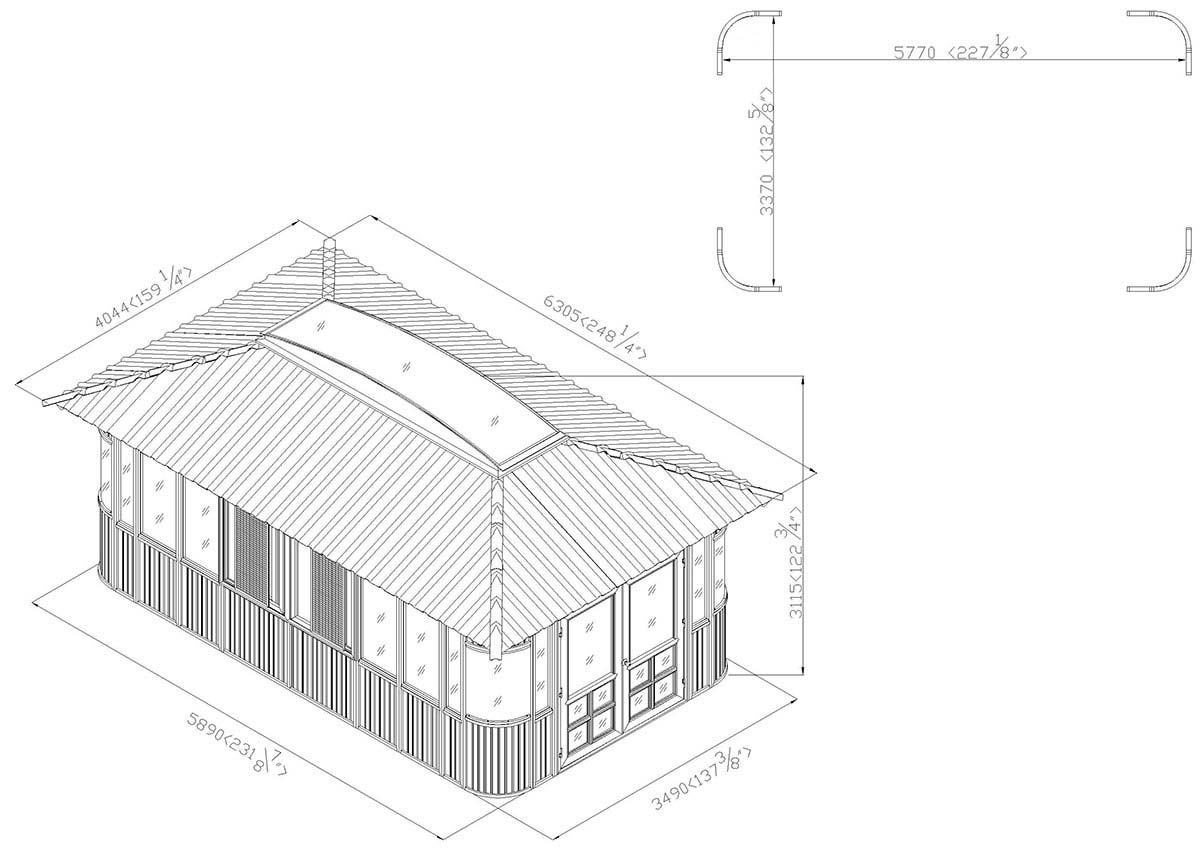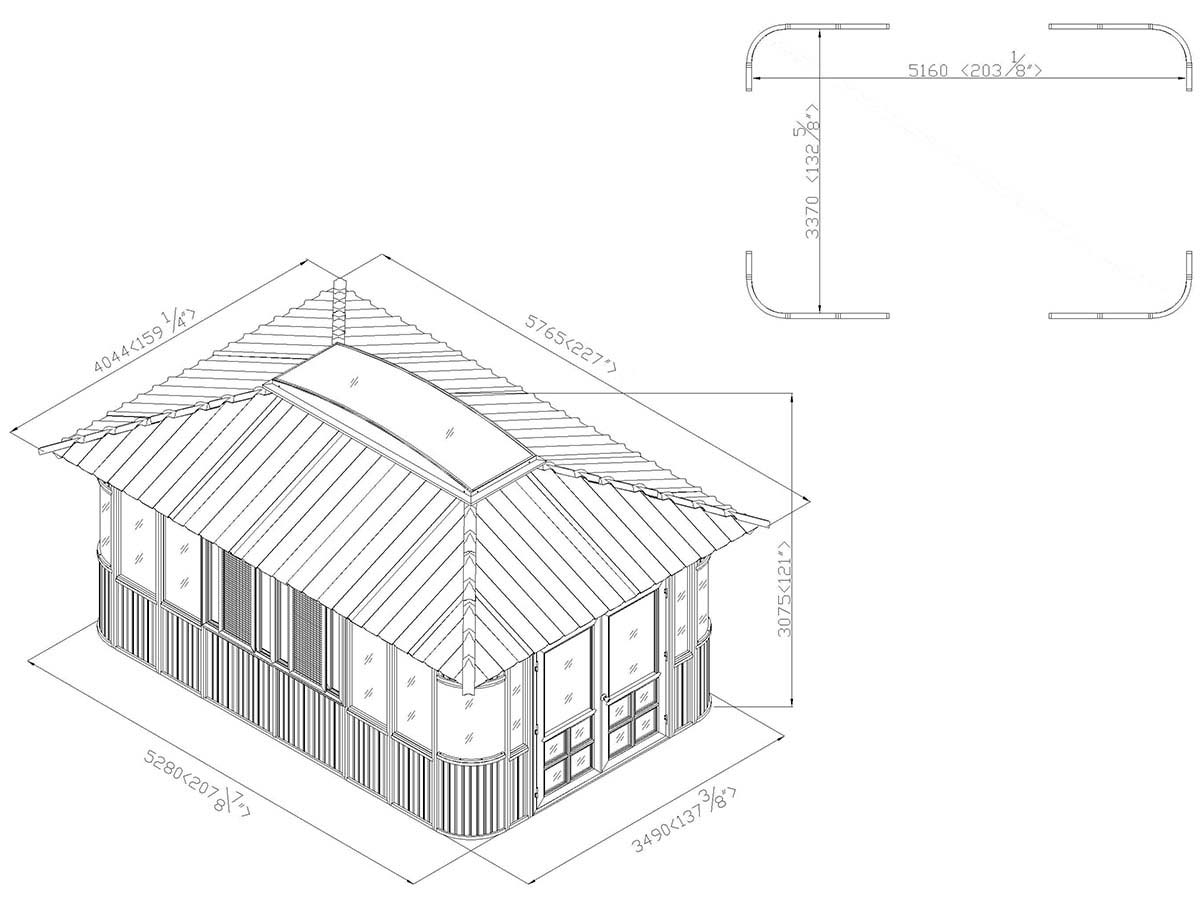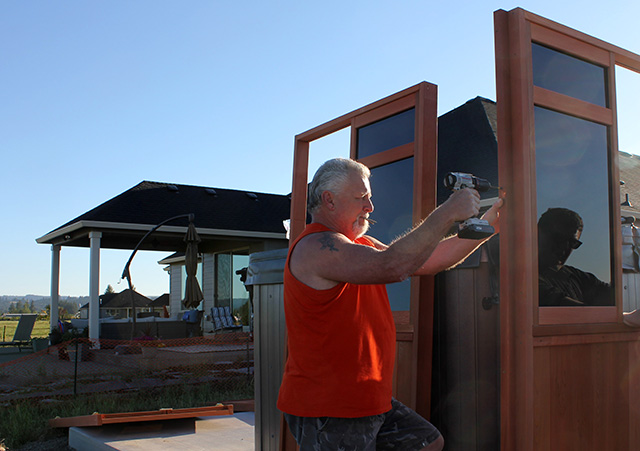
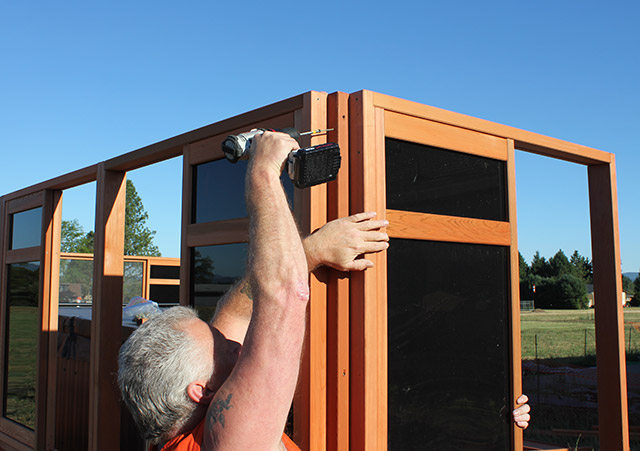
1. Start by attaching a 2×2 Corner to one of the Window Walls.
2. Align a second Window Wall at a 90 degree angle from the first Window Wall and attach the same 2×2 Corner to this second Window Wall.
3. Connect the third and fourth Window Walls to the second Window Wall to complete one short side of the gazebo.
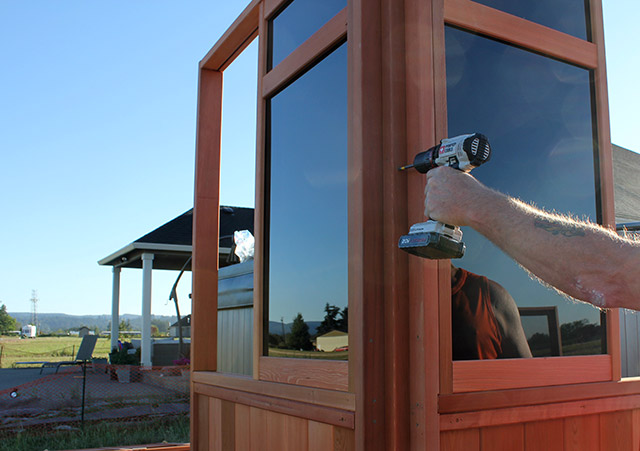
4. Start building the long side of the gazebo by attaching the fifth Window Wall to the first Window Wall.
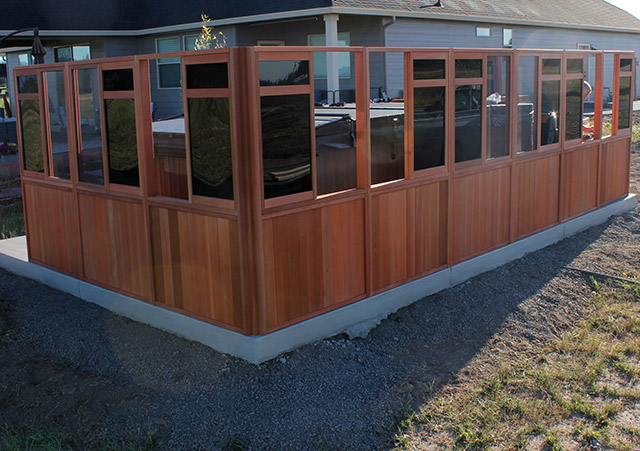
5. Continue attaching four more Window Walls to complete the long side of the gazebo.
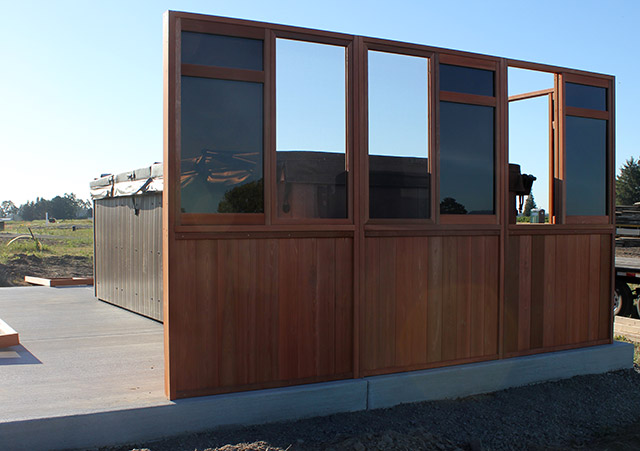
6. Attach a 2×2 Corner piece to the last Window Wall on the long side of the gazebo and start building the other short side of the gazebo by attached a Window Wall at a 90 degree angle from the long side of the gazebo.
7. Attach two more Window Walls and a 2×2 Corner to complete this short side of the gazebo.
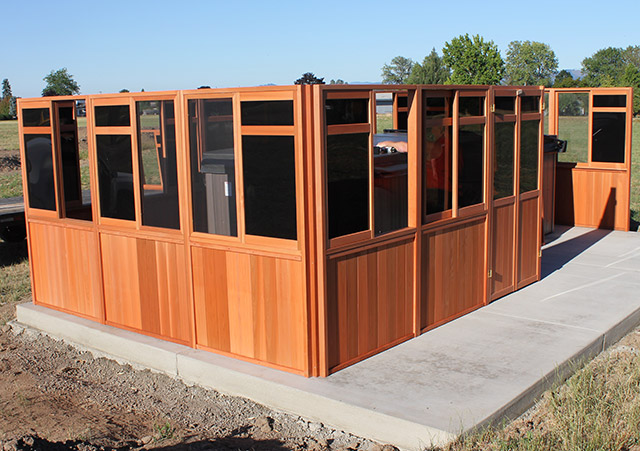
8. Start constructing the front side of the gazebo by attaching a Window Wall at a 90 degree angle from the short side of the gazebo. Screw from the 2×2 Corner to the Window Wall.
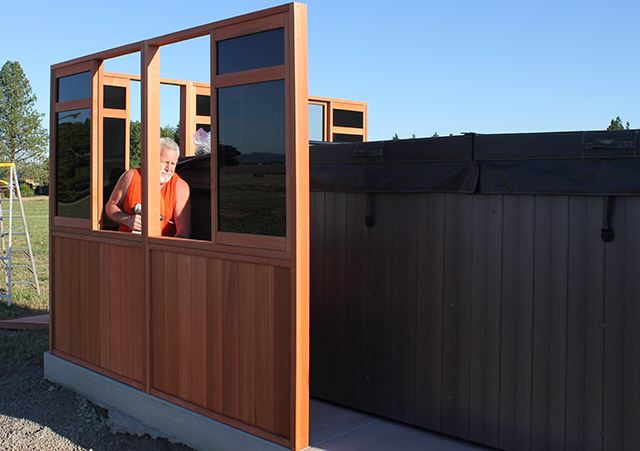
9. Attach another Window Wall and then a Door as you continuing building the front side of the gazebo. The door can be placed anywhere a Window Wall can be placed as they are interchangeable.
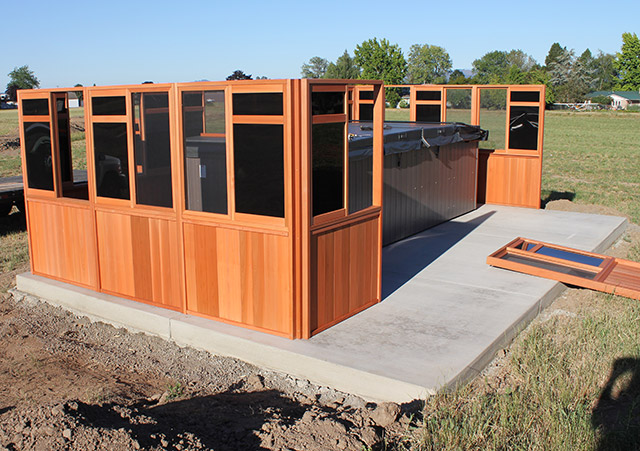
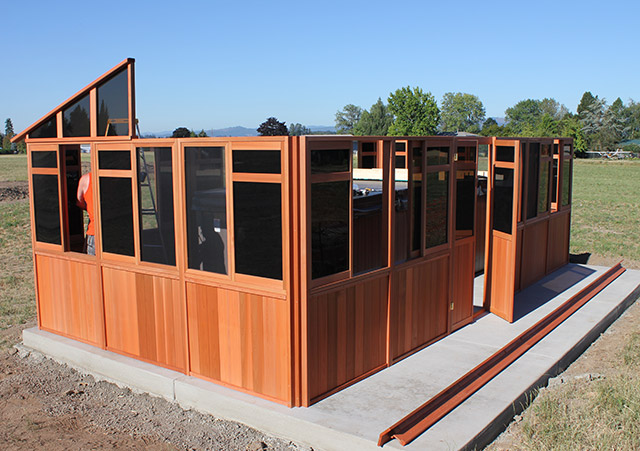
10. Continue attaching Window Walls along the long side of the gazebo until the all walls are connected.
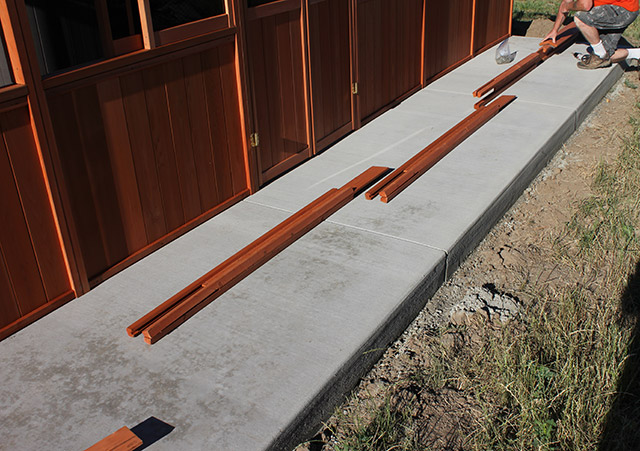
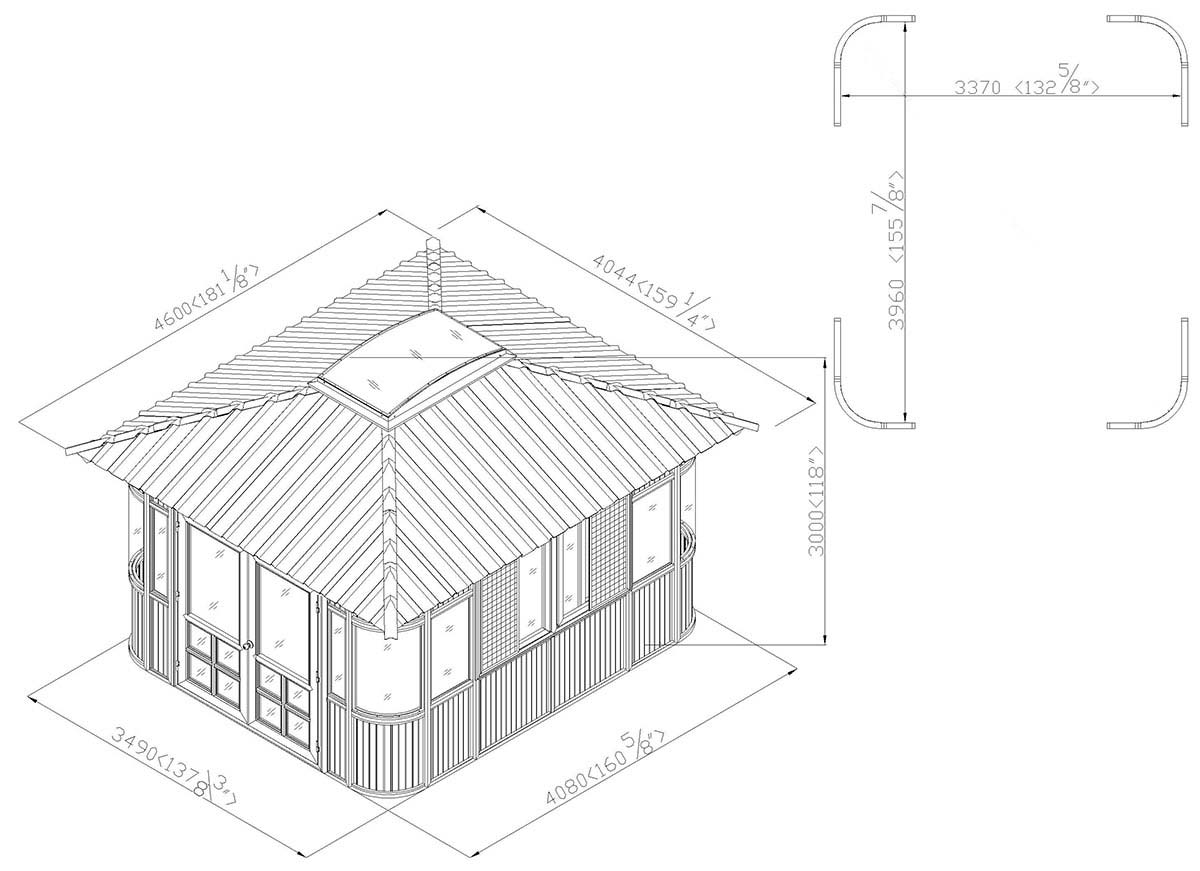
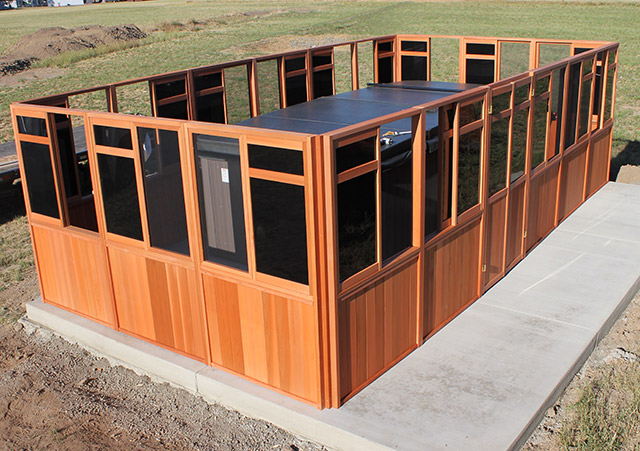
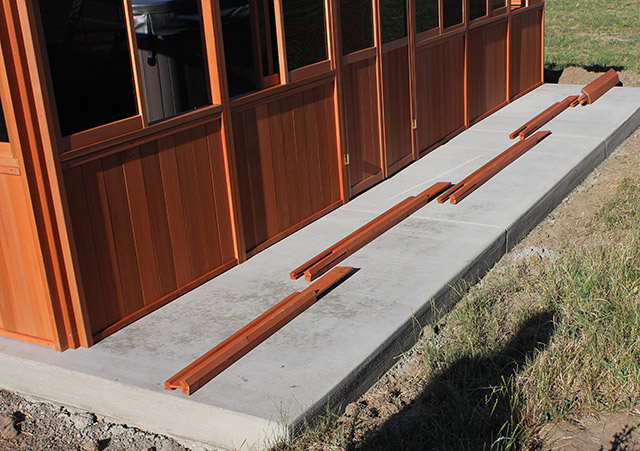
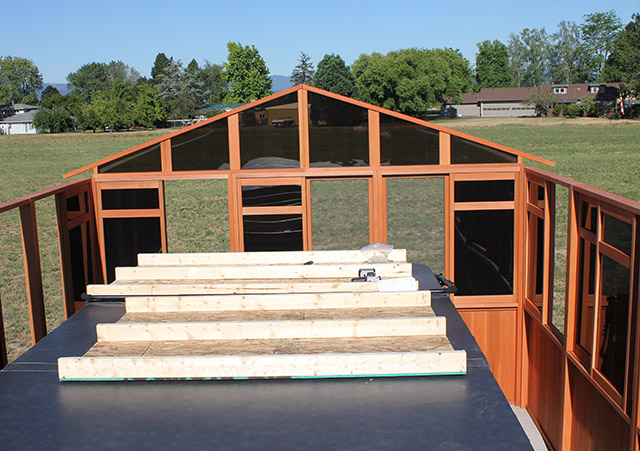
11. Layout the Beam sections near the gazebo.

12. Insert the second Beam section into the first Beam section. The first Beam section has the Beam Cap already installed at the factory.
13. Connect the remaining Beam sections until the Beam is complete.
14. Attach all Beam Caps to the Beam.
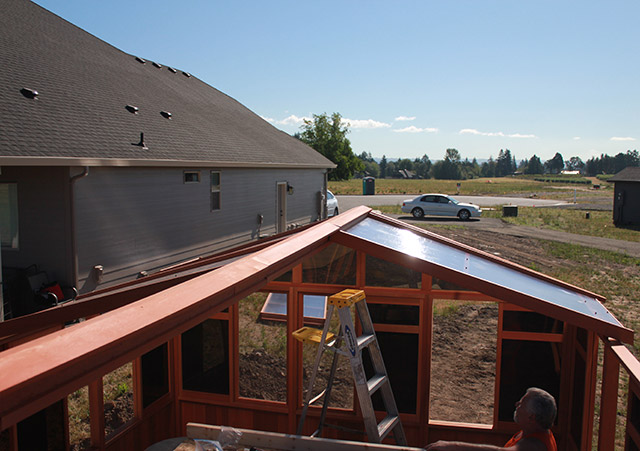
15. Start at one end of the gazebo and attached a Gable to the top of the short wall side.
16. Attach gables on top of the short side walls of the gazebo.
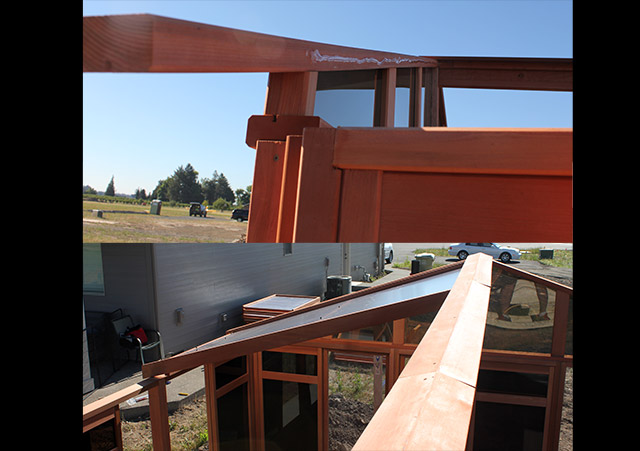
17. Attach the assembled Beam to one Gable end of the gazebo. Leave the other end of the Beam unattached to the other Gable for now.
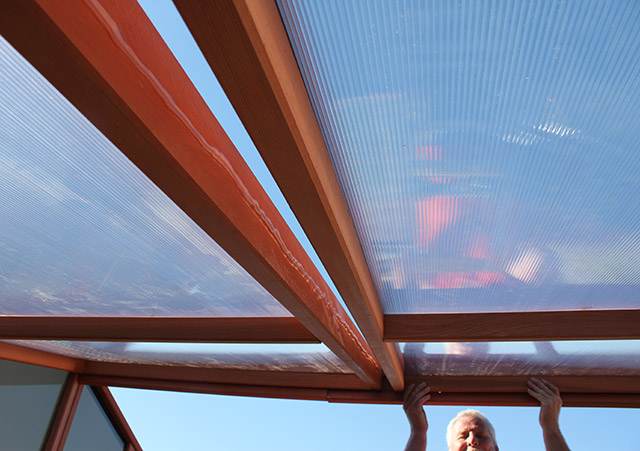
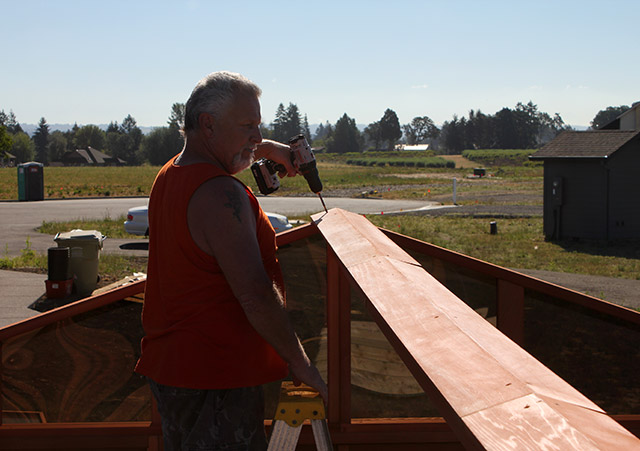
18. Caulk the side of the Gable and attach the first end Roof Panel.
19. Caulk the side of the first end Roof Panel and attached a center Roof Panel to this first end Roof Panel.

20. Attach another end Roof Panel to the other side of the roof.
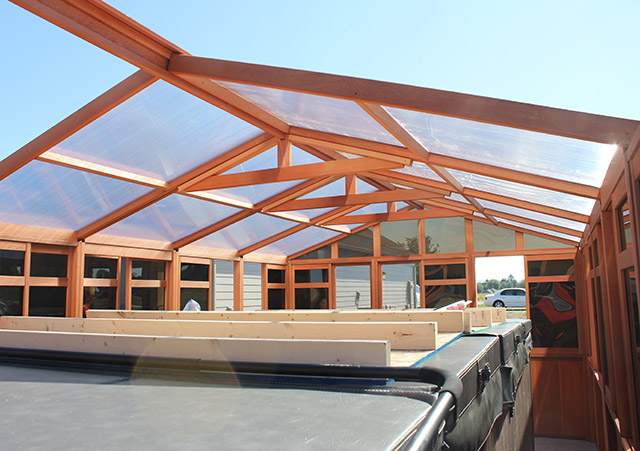
21. Attach a center Roof Panel to the end Roof Panel in the previous step and then attach a Truss to support the first four roof panels.
22. Continue attaching Roof Panels and Trusses until the Roof is complete. Remember to Caulk between each of the Roof Panels.
23. Attach the final two End Roof Panels to the Gable and then secure the end of the Beam to the Gable.
24. Enjoy your completed Gazebo.