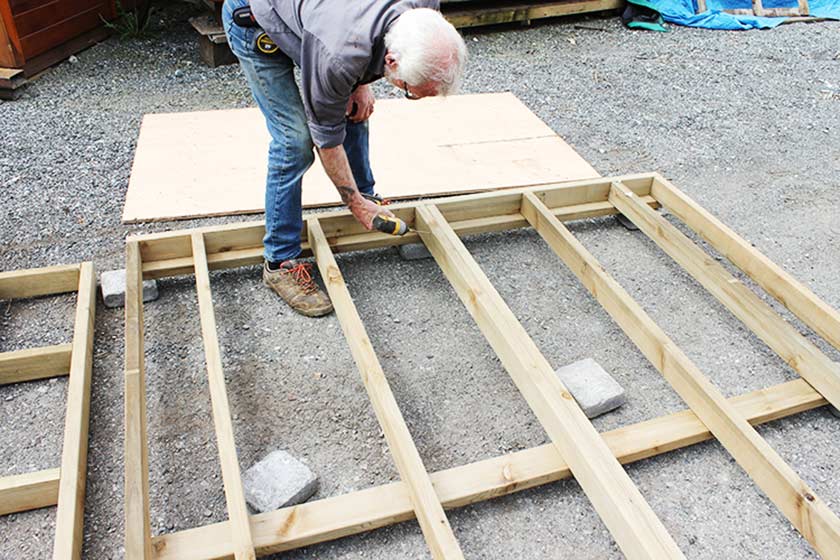
1. Align 2 pieces of the floor frames on a flat surface and attach them together with screws.
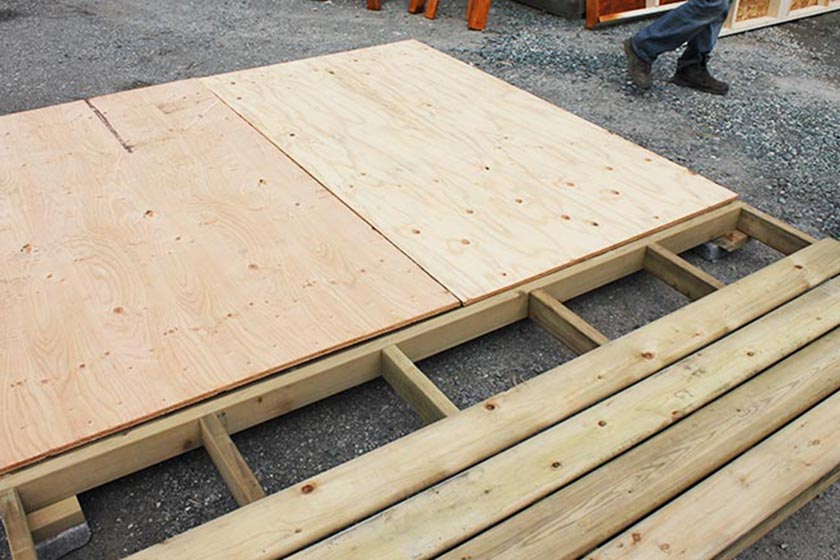
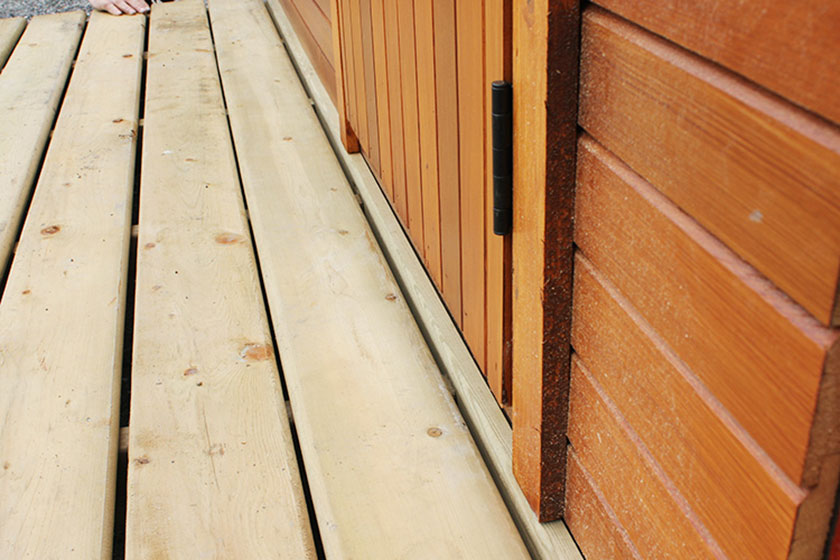
2. Attach plywood sheets to the floor frame and porch boards to the porch frame.
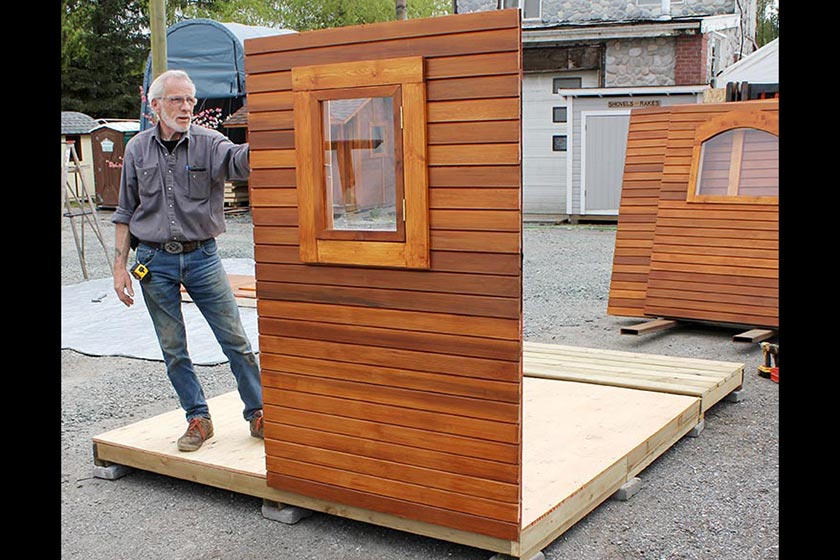
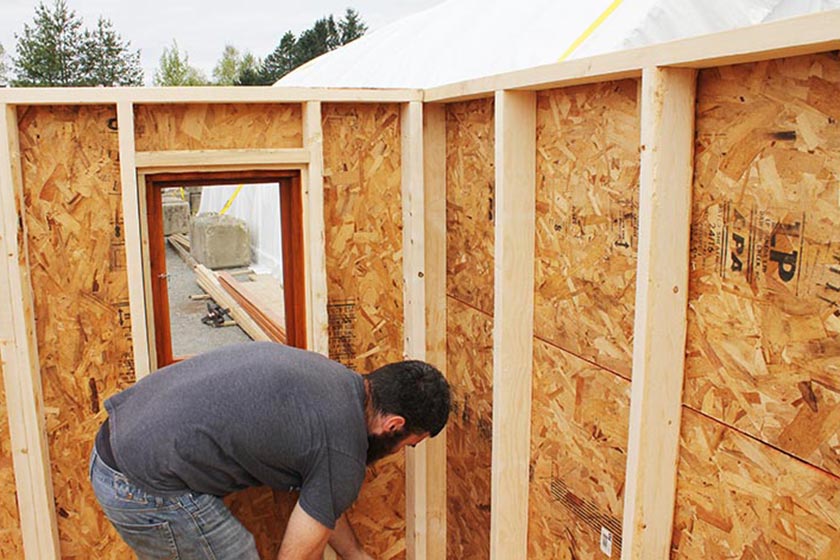
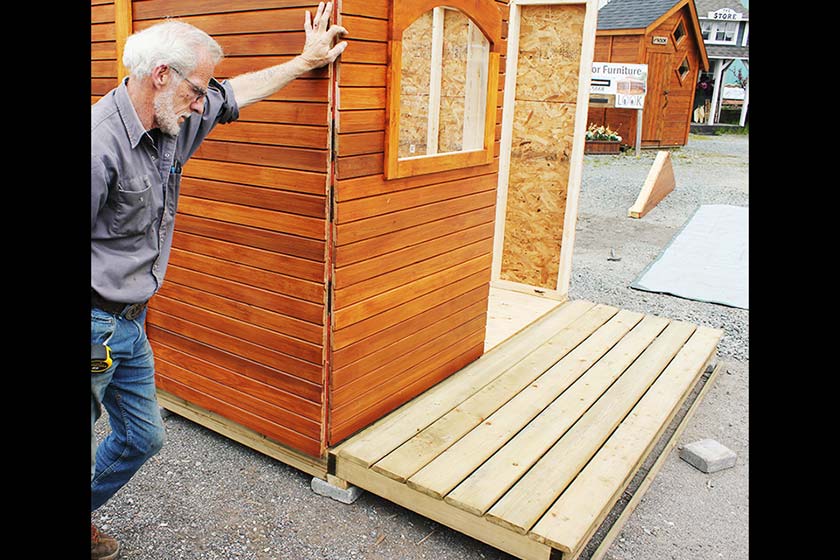
3. Start installing the back wall by aligning it in an upright position on the corner of the floor platform.
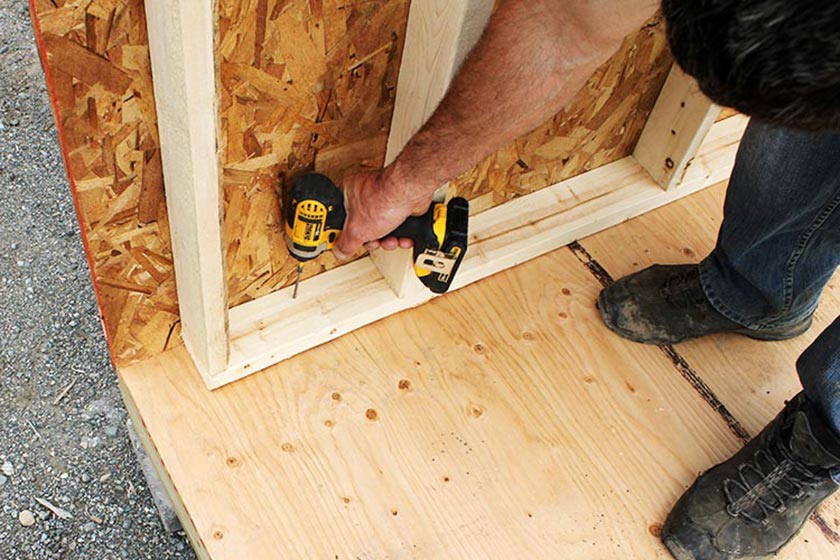
4. Secure back wall to the floor platform with screws.
5. Align the second back wall on the floor frame and secure it with screws on the floor platform.
6. Align and attach two back walls together with screws.
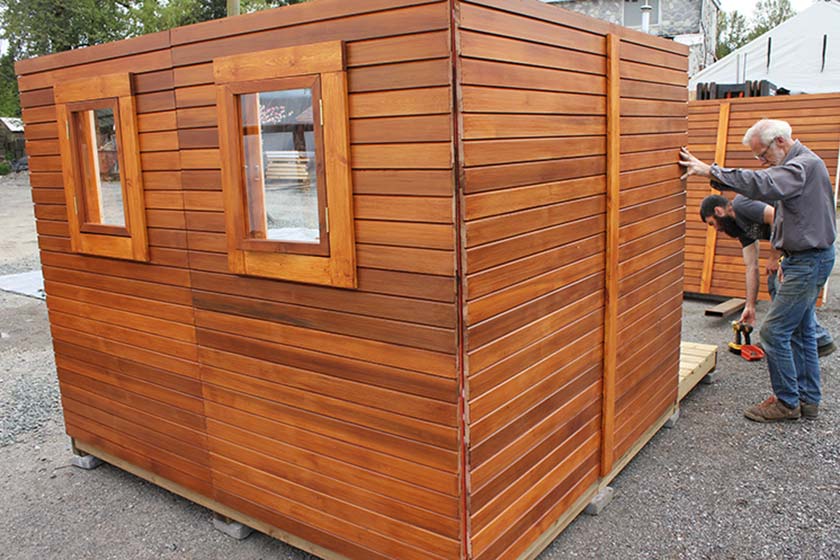
7. Then attach the side wall to the floor frame with screws.
8. Then attach the opposite side wall
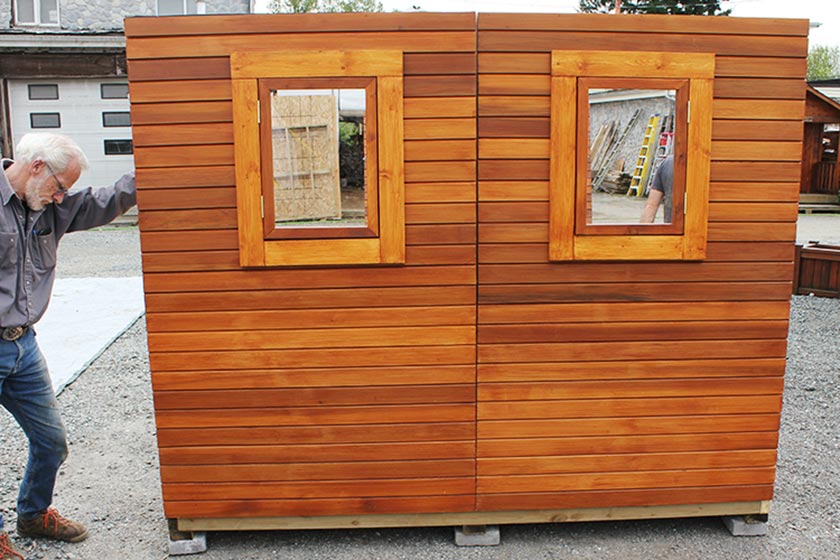
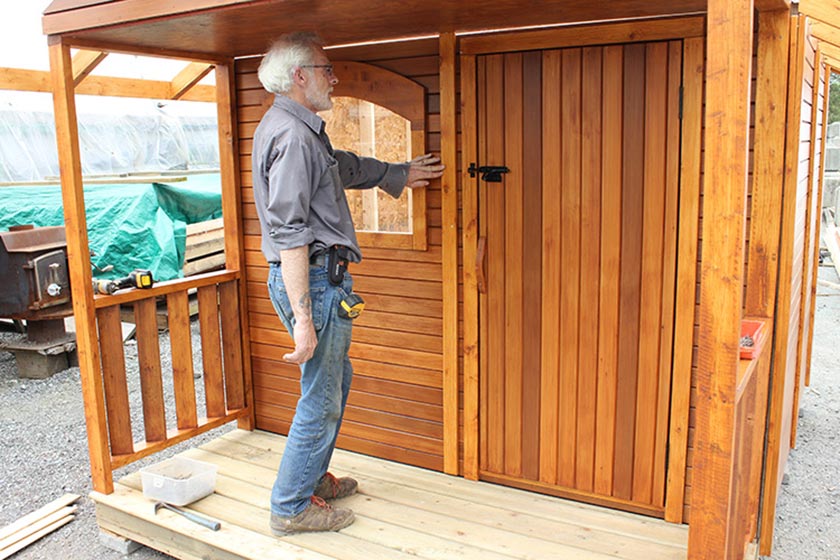
9. Align the front window wall in an upright position on the floor frame. And secure it with screws on the floor platform.
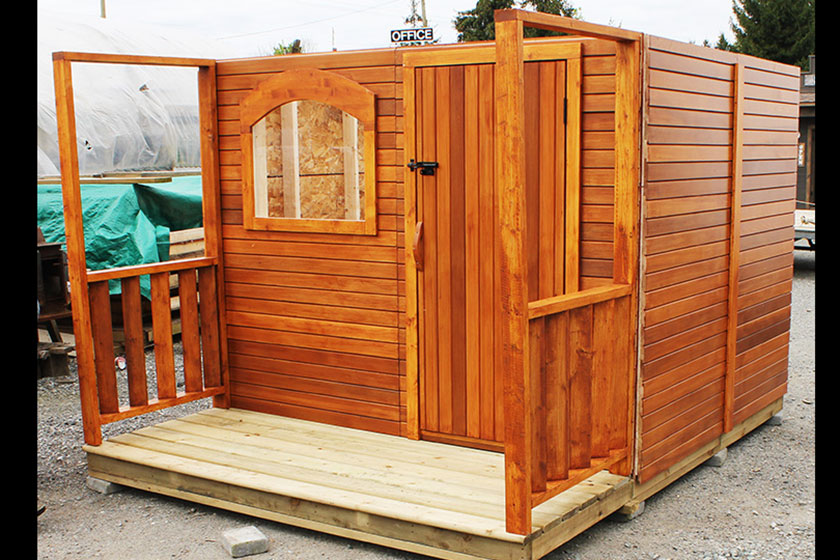
10. Align the front door wall in an upright position on the floor frame.
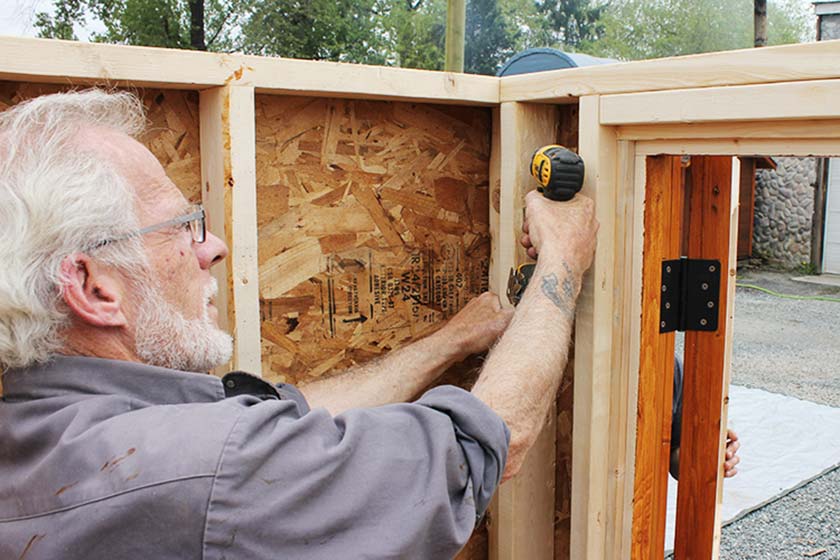
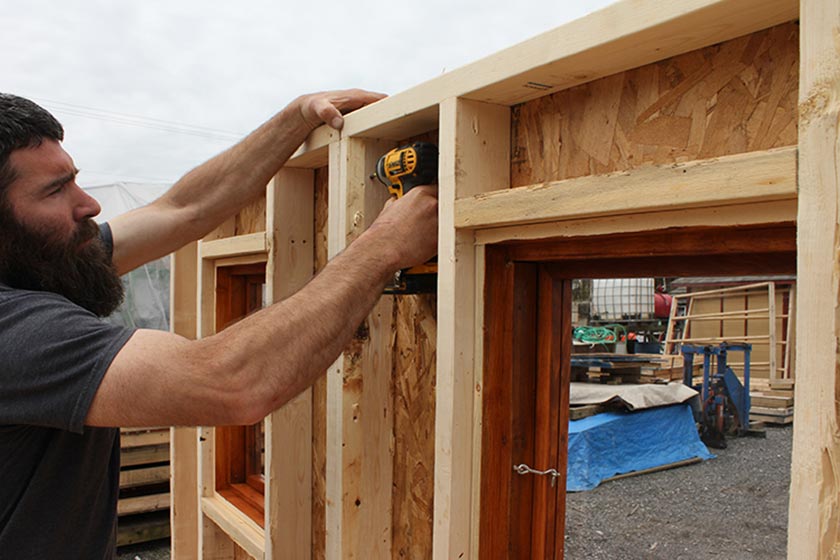
11. Attach front door wall to the front window wall and then to the floor frame with screws.
12. Attach the porch board end bar to the floor frame
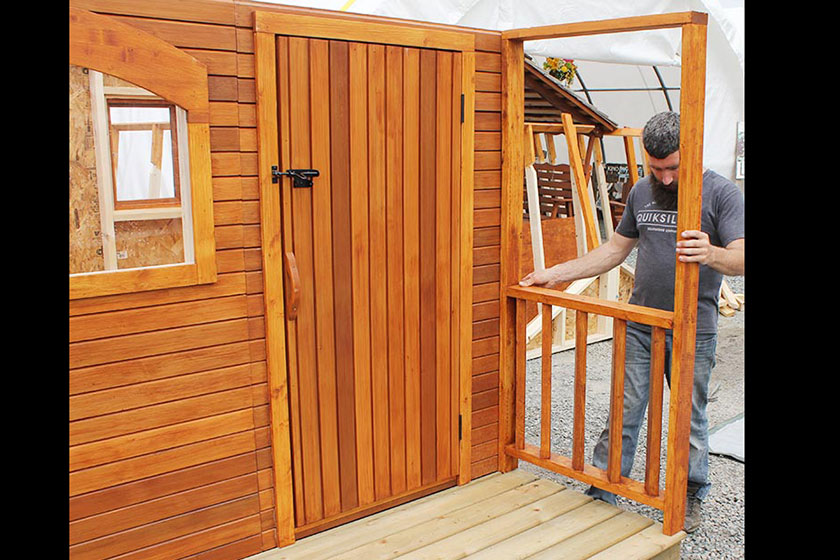
13. Align a porch rail in an upright position on the porch frame and attach it to the front wall and to the porch frame with screws.
14. Install the opposite side porch rail.
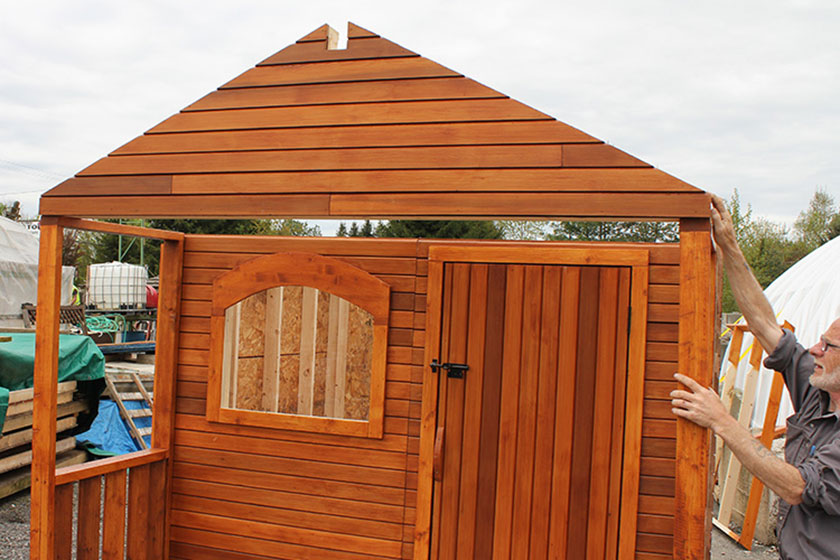
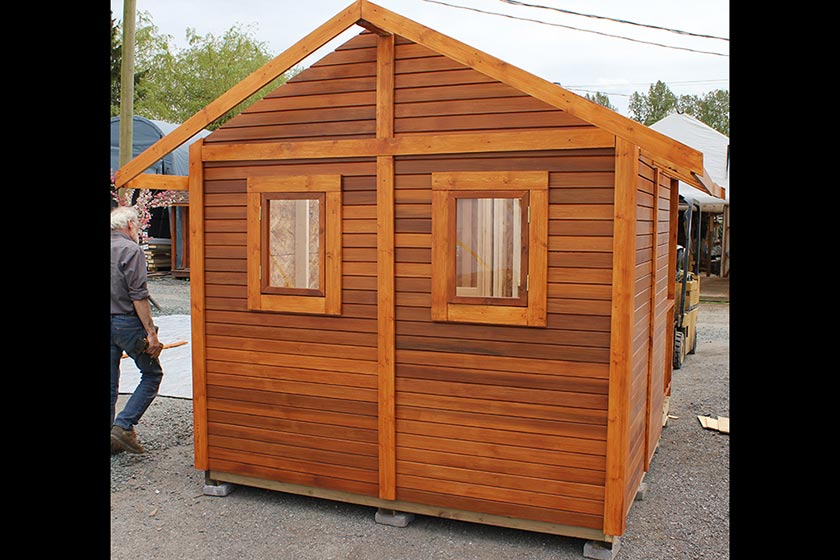
15. Align the front gable on the rails and attach it to the rails with screws.
16. Align the back gable on the back wall and attach it to the back wall with screws.
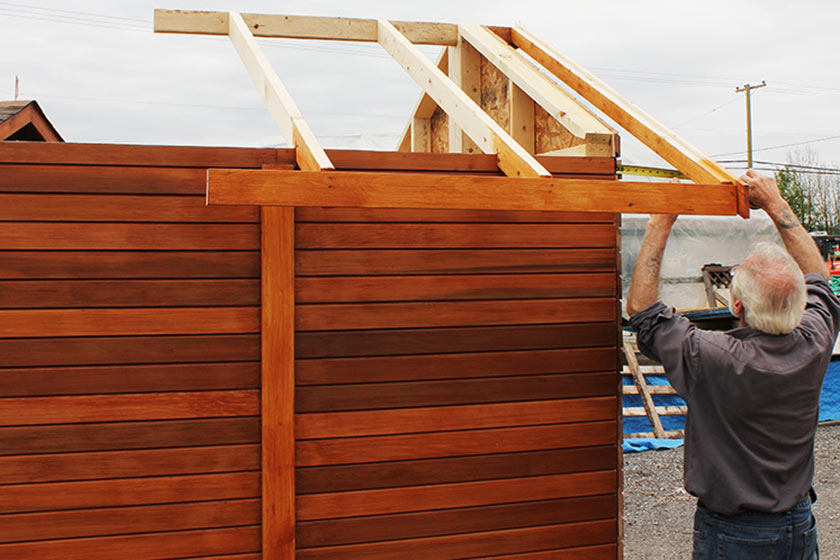
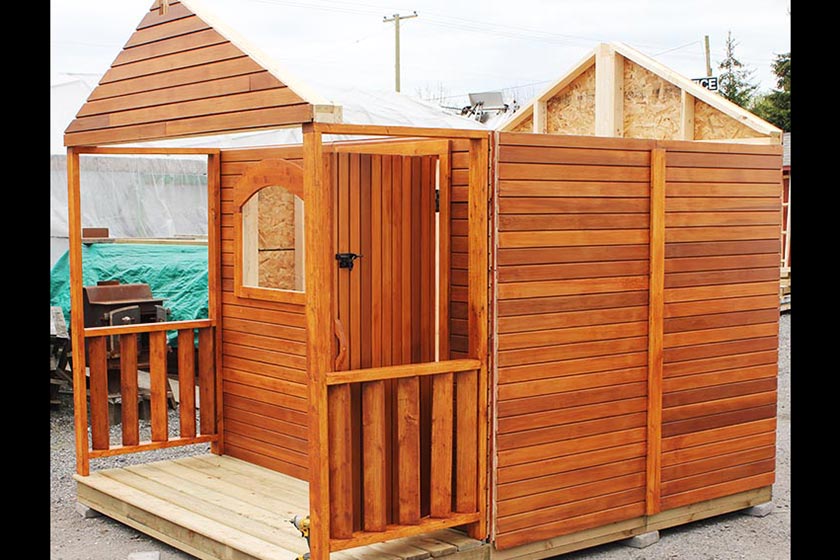
17. Align the smaller roof frame on the back wall gable with overhang of the roof frame from the backing to the facia board.
18. Attach the roof frame to the gable and the wall with screws.
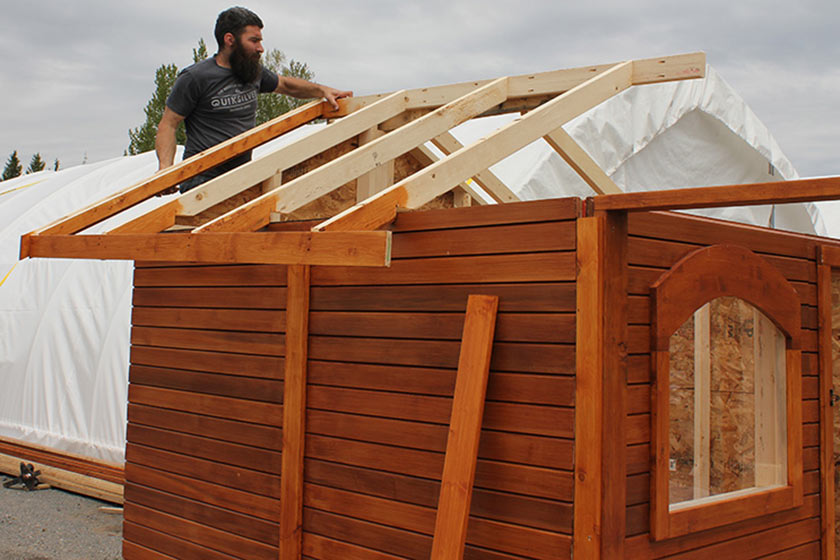
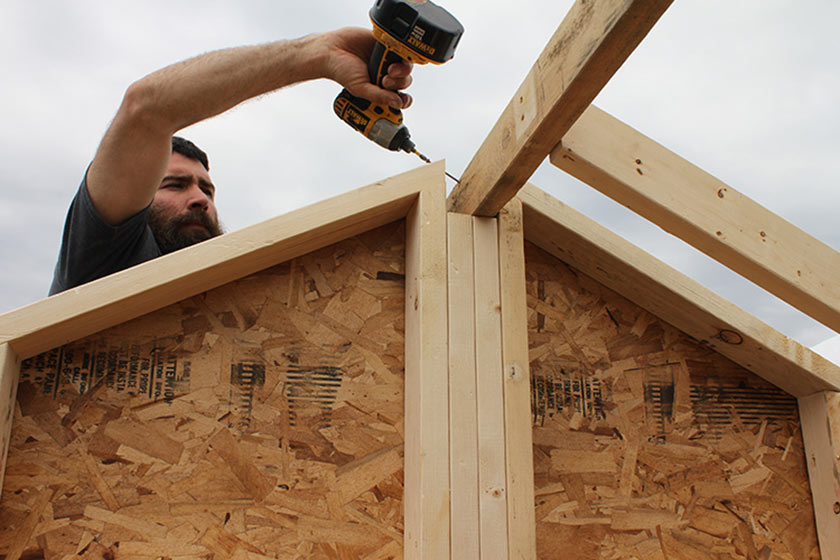
19. Align the opposite (bigger) roof frame on the other side of the gable.
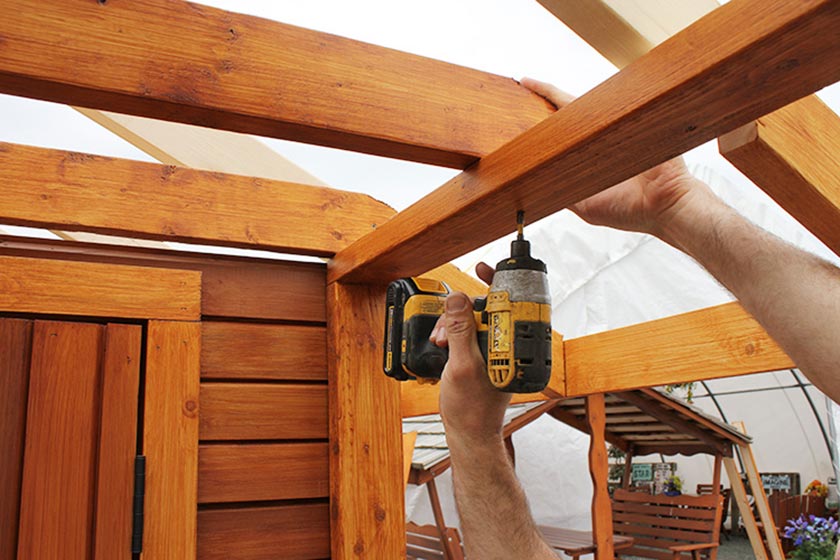
20. Attach the porch rafter bar to the top porch rails with screws.
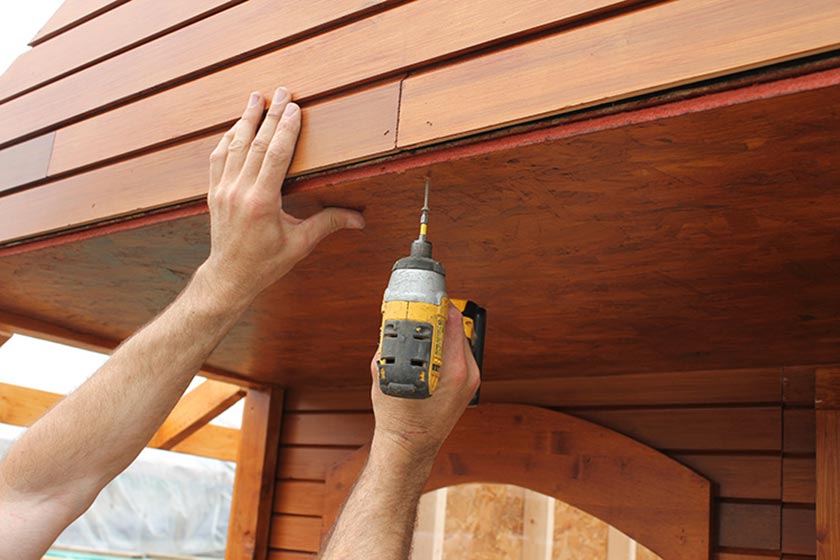
21. Attach the porch ceiling plywood sheet to the rafter bars and front gable with screws.
22. Attach the front vertical trim piece on the front wall with screws.
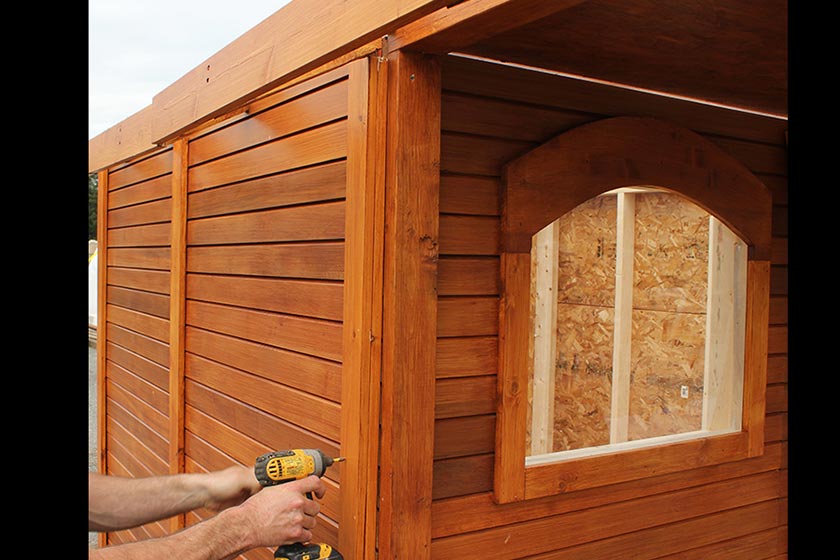
23. Attach left and right trim pieces on the front wall corners with screws.
24. Attach back wall trim pieces.
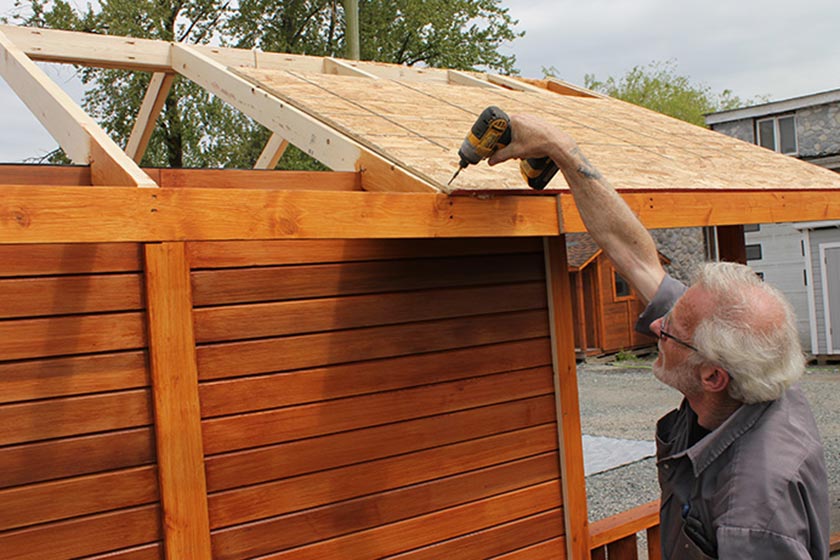
25. Attach roof plywood sheets on the roof and attach them to the rafters with screws. Do the same on the other side of the roof.
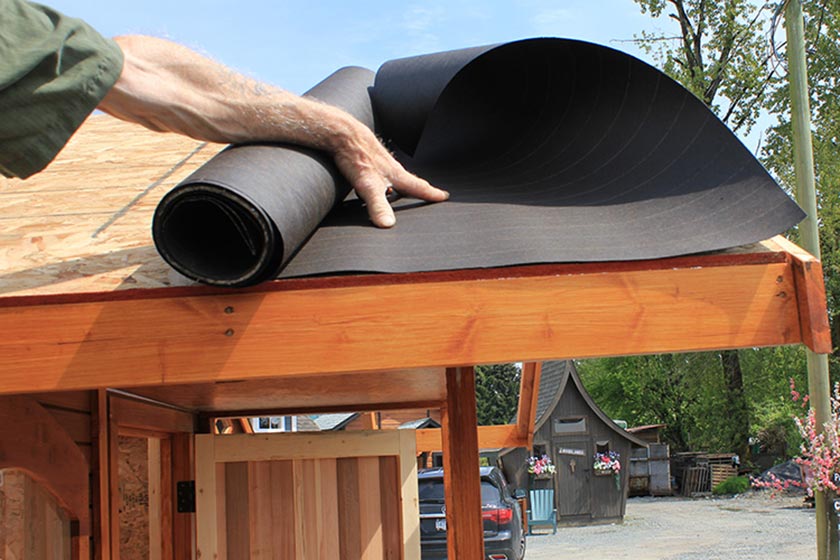
26. Unroll the tar paper on the roof and attach the rolls with roof nails.
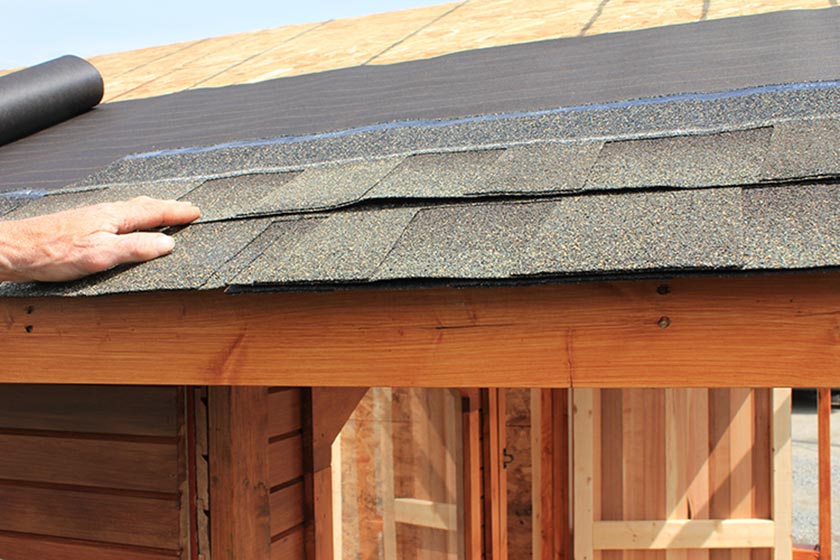
27. Then install shingles on the roof with the roof nails.
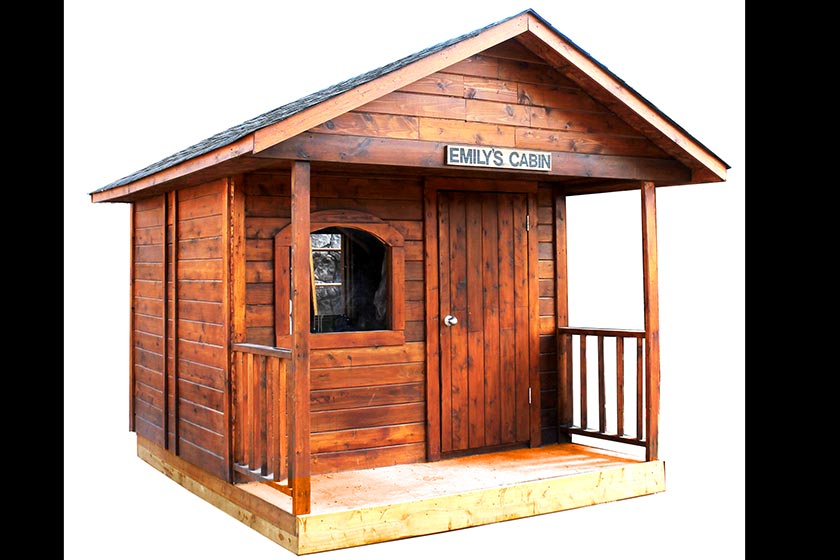
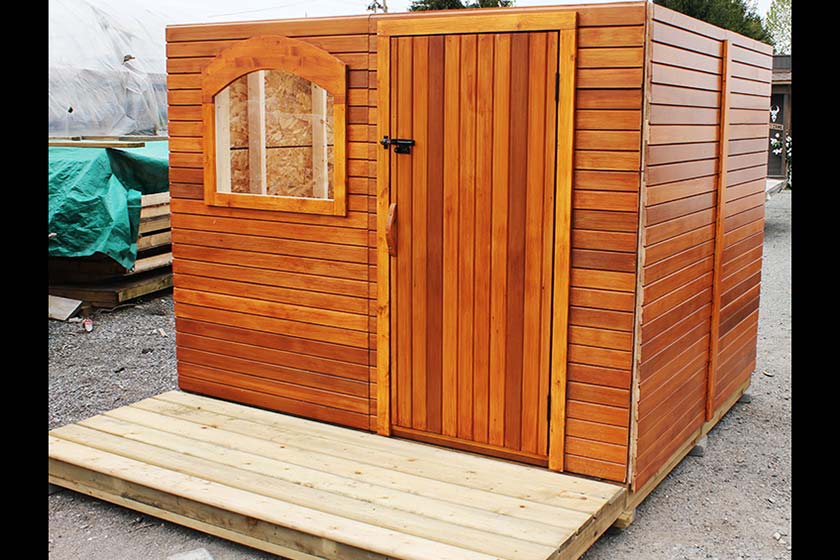
28. Your cabin is ready.