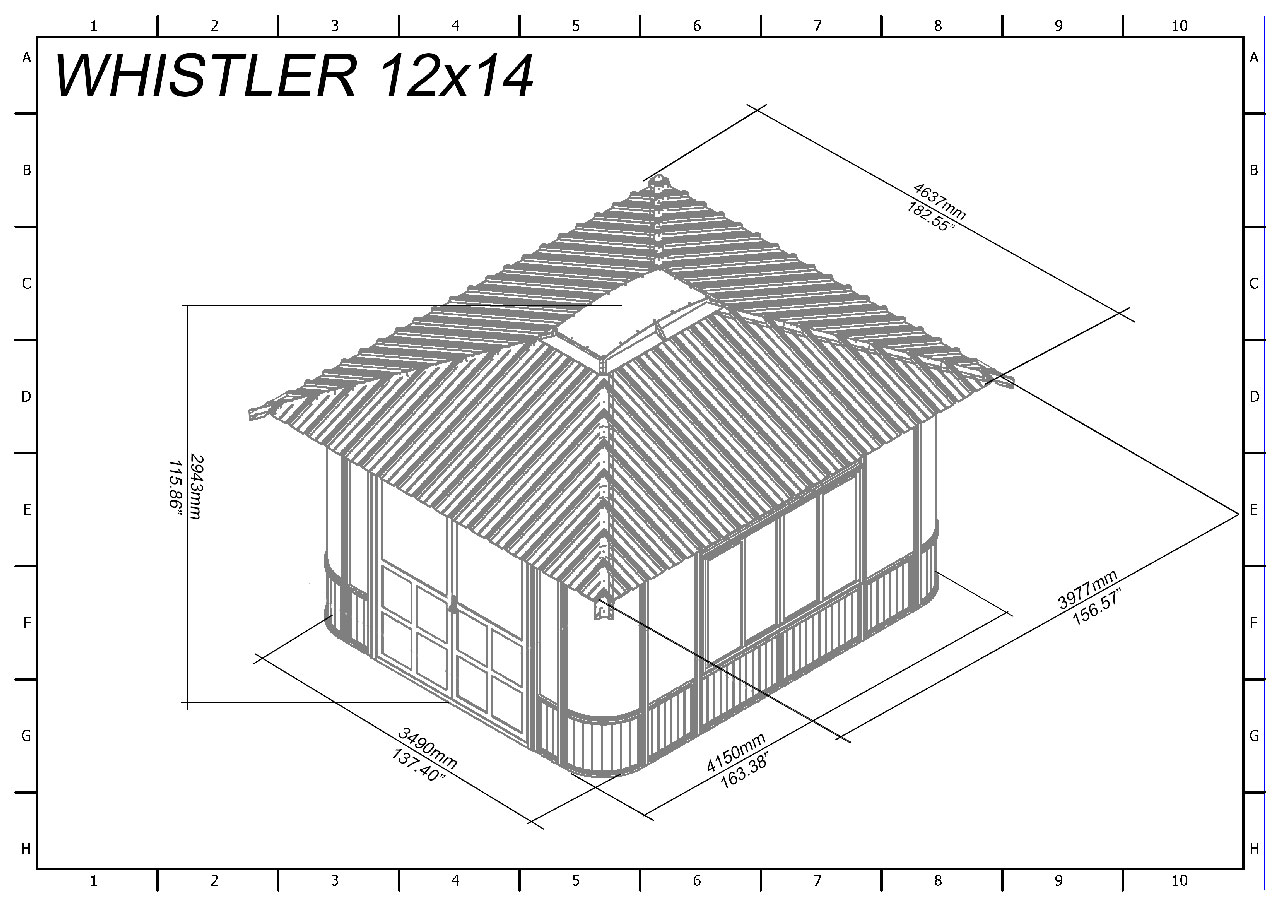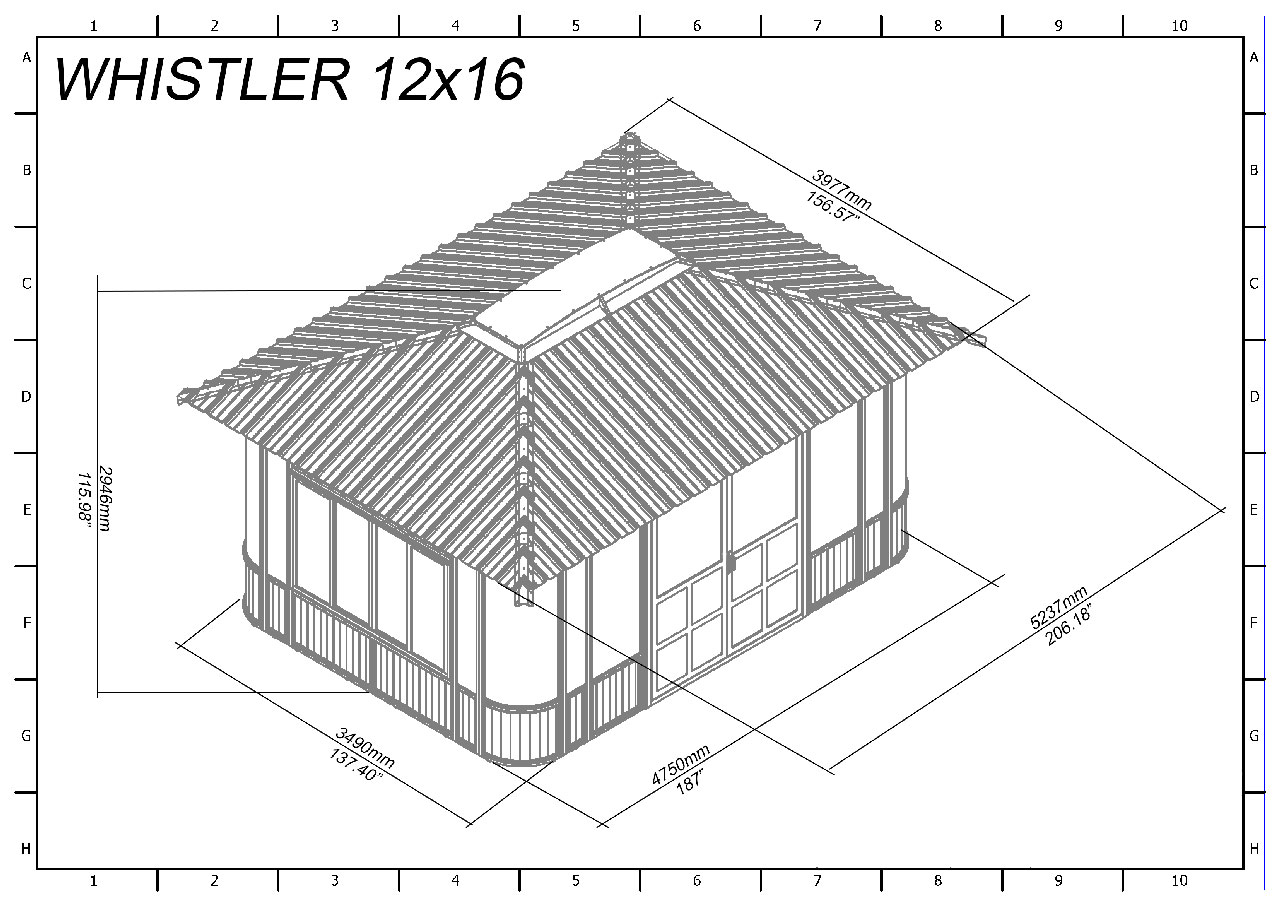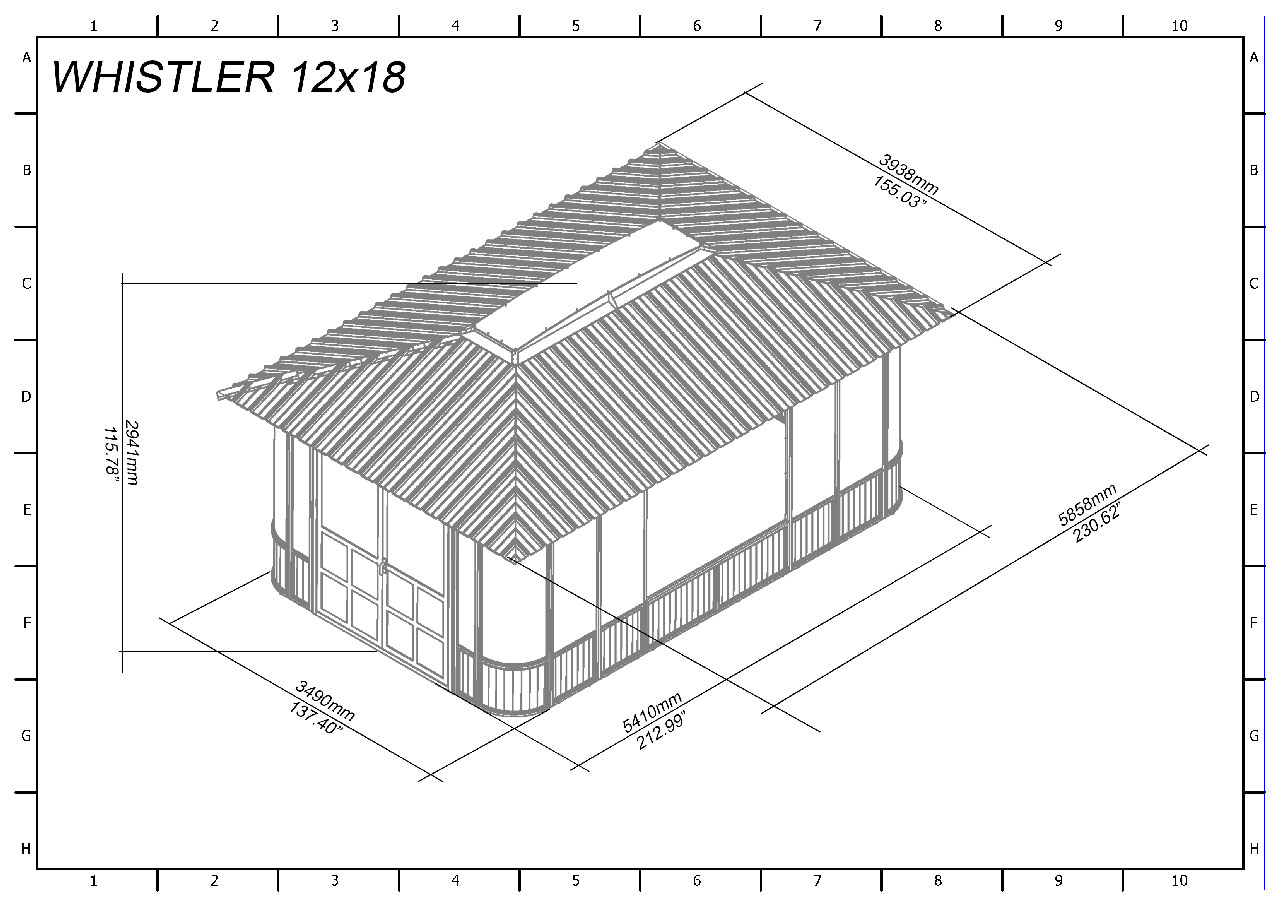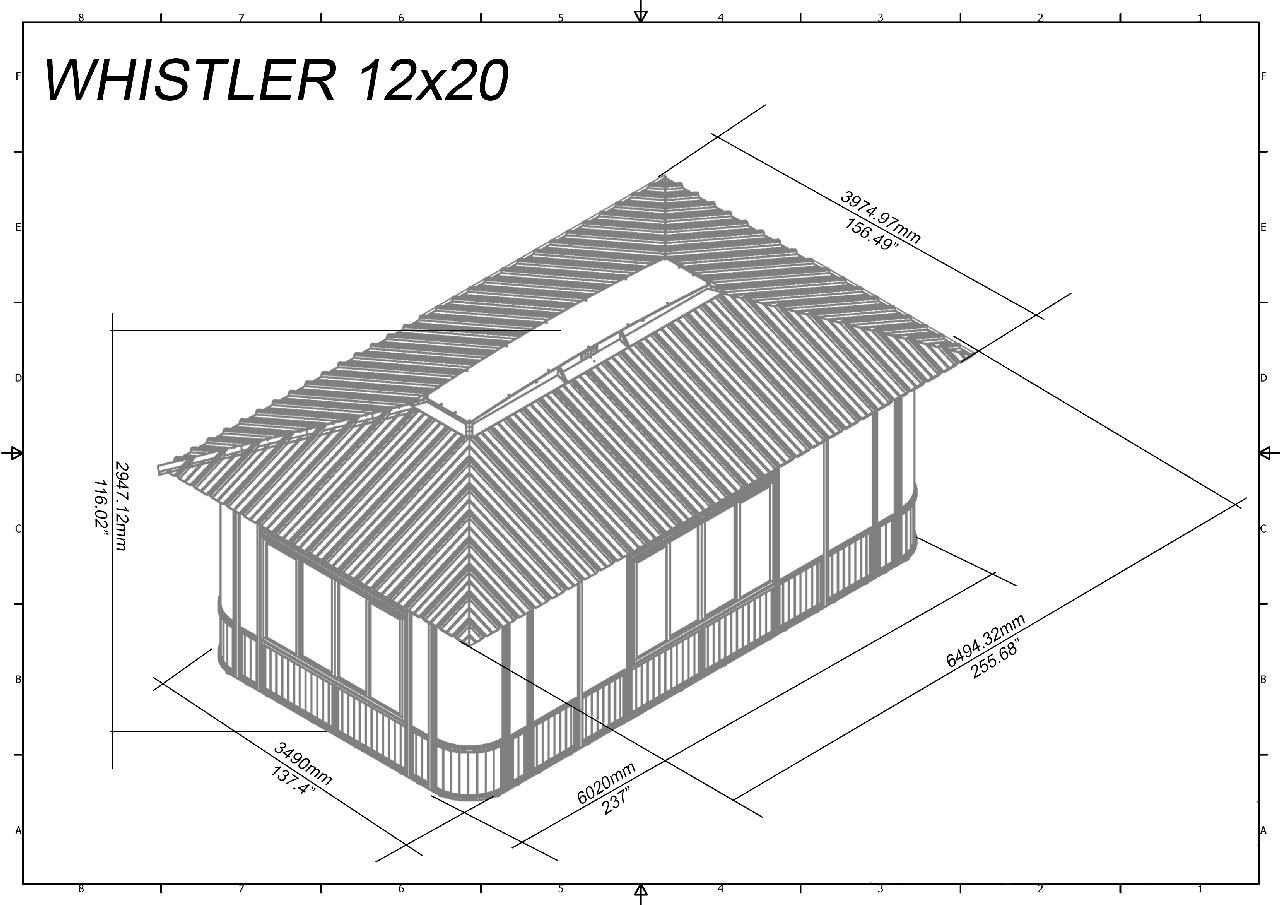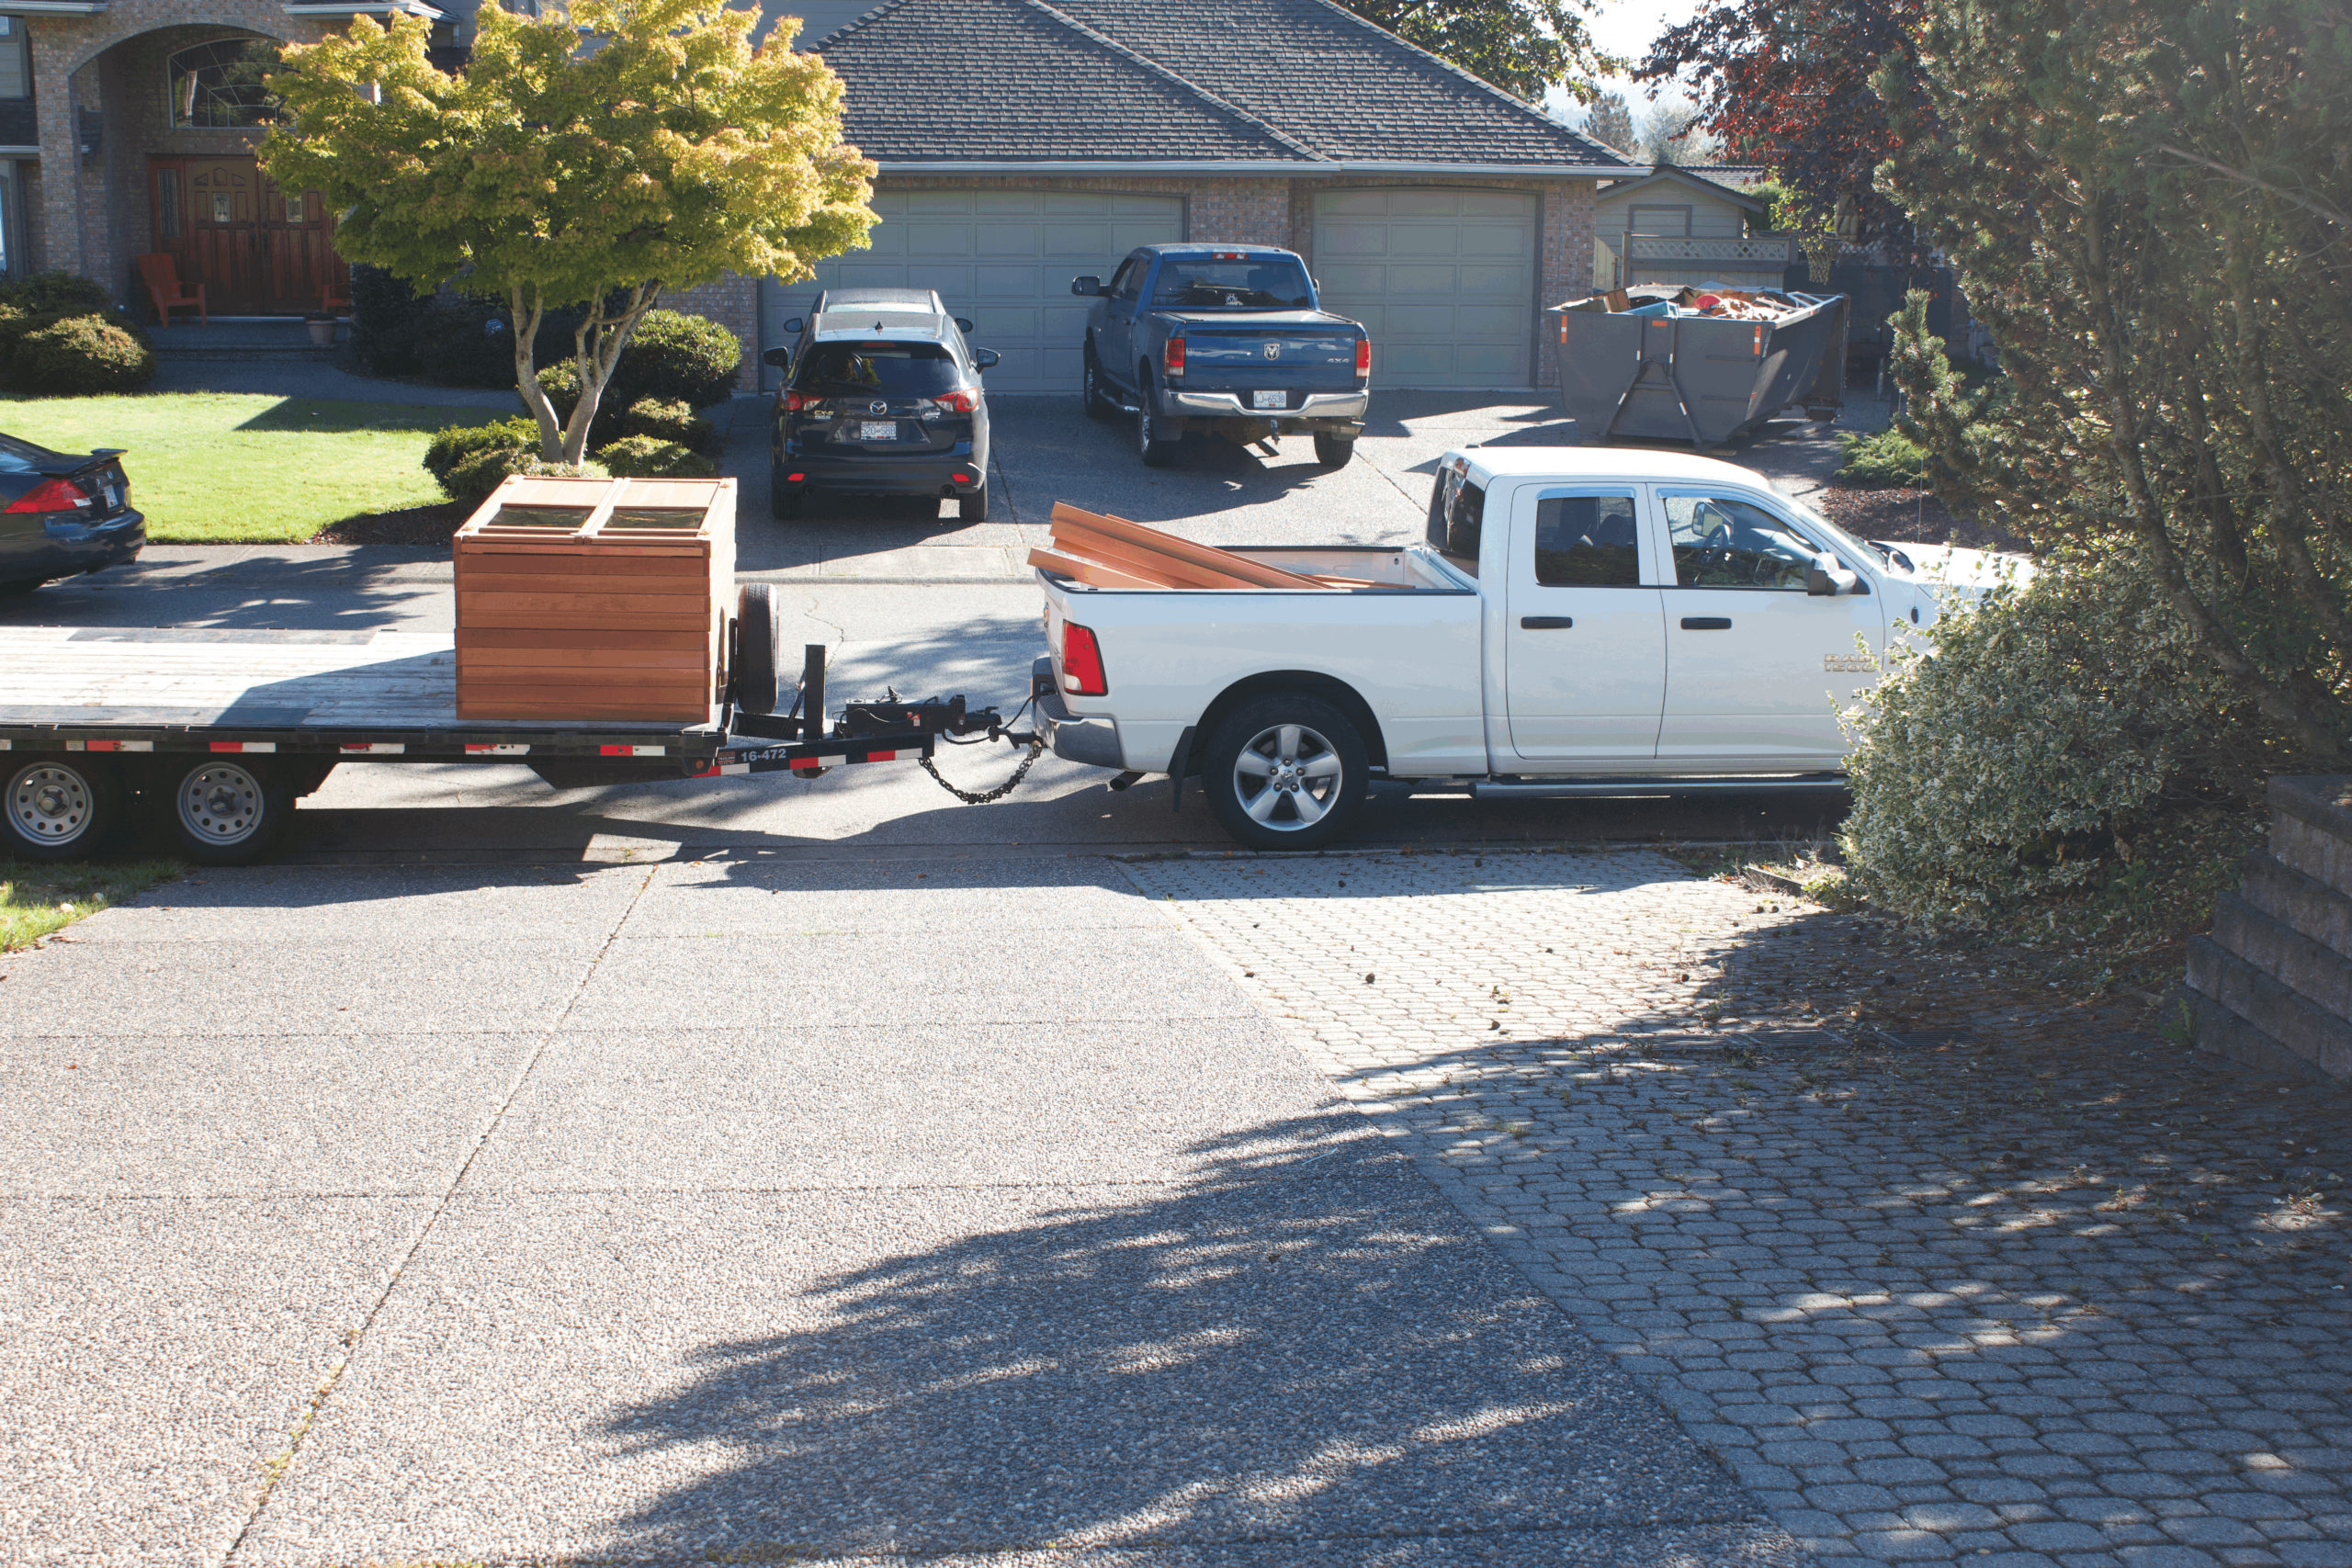
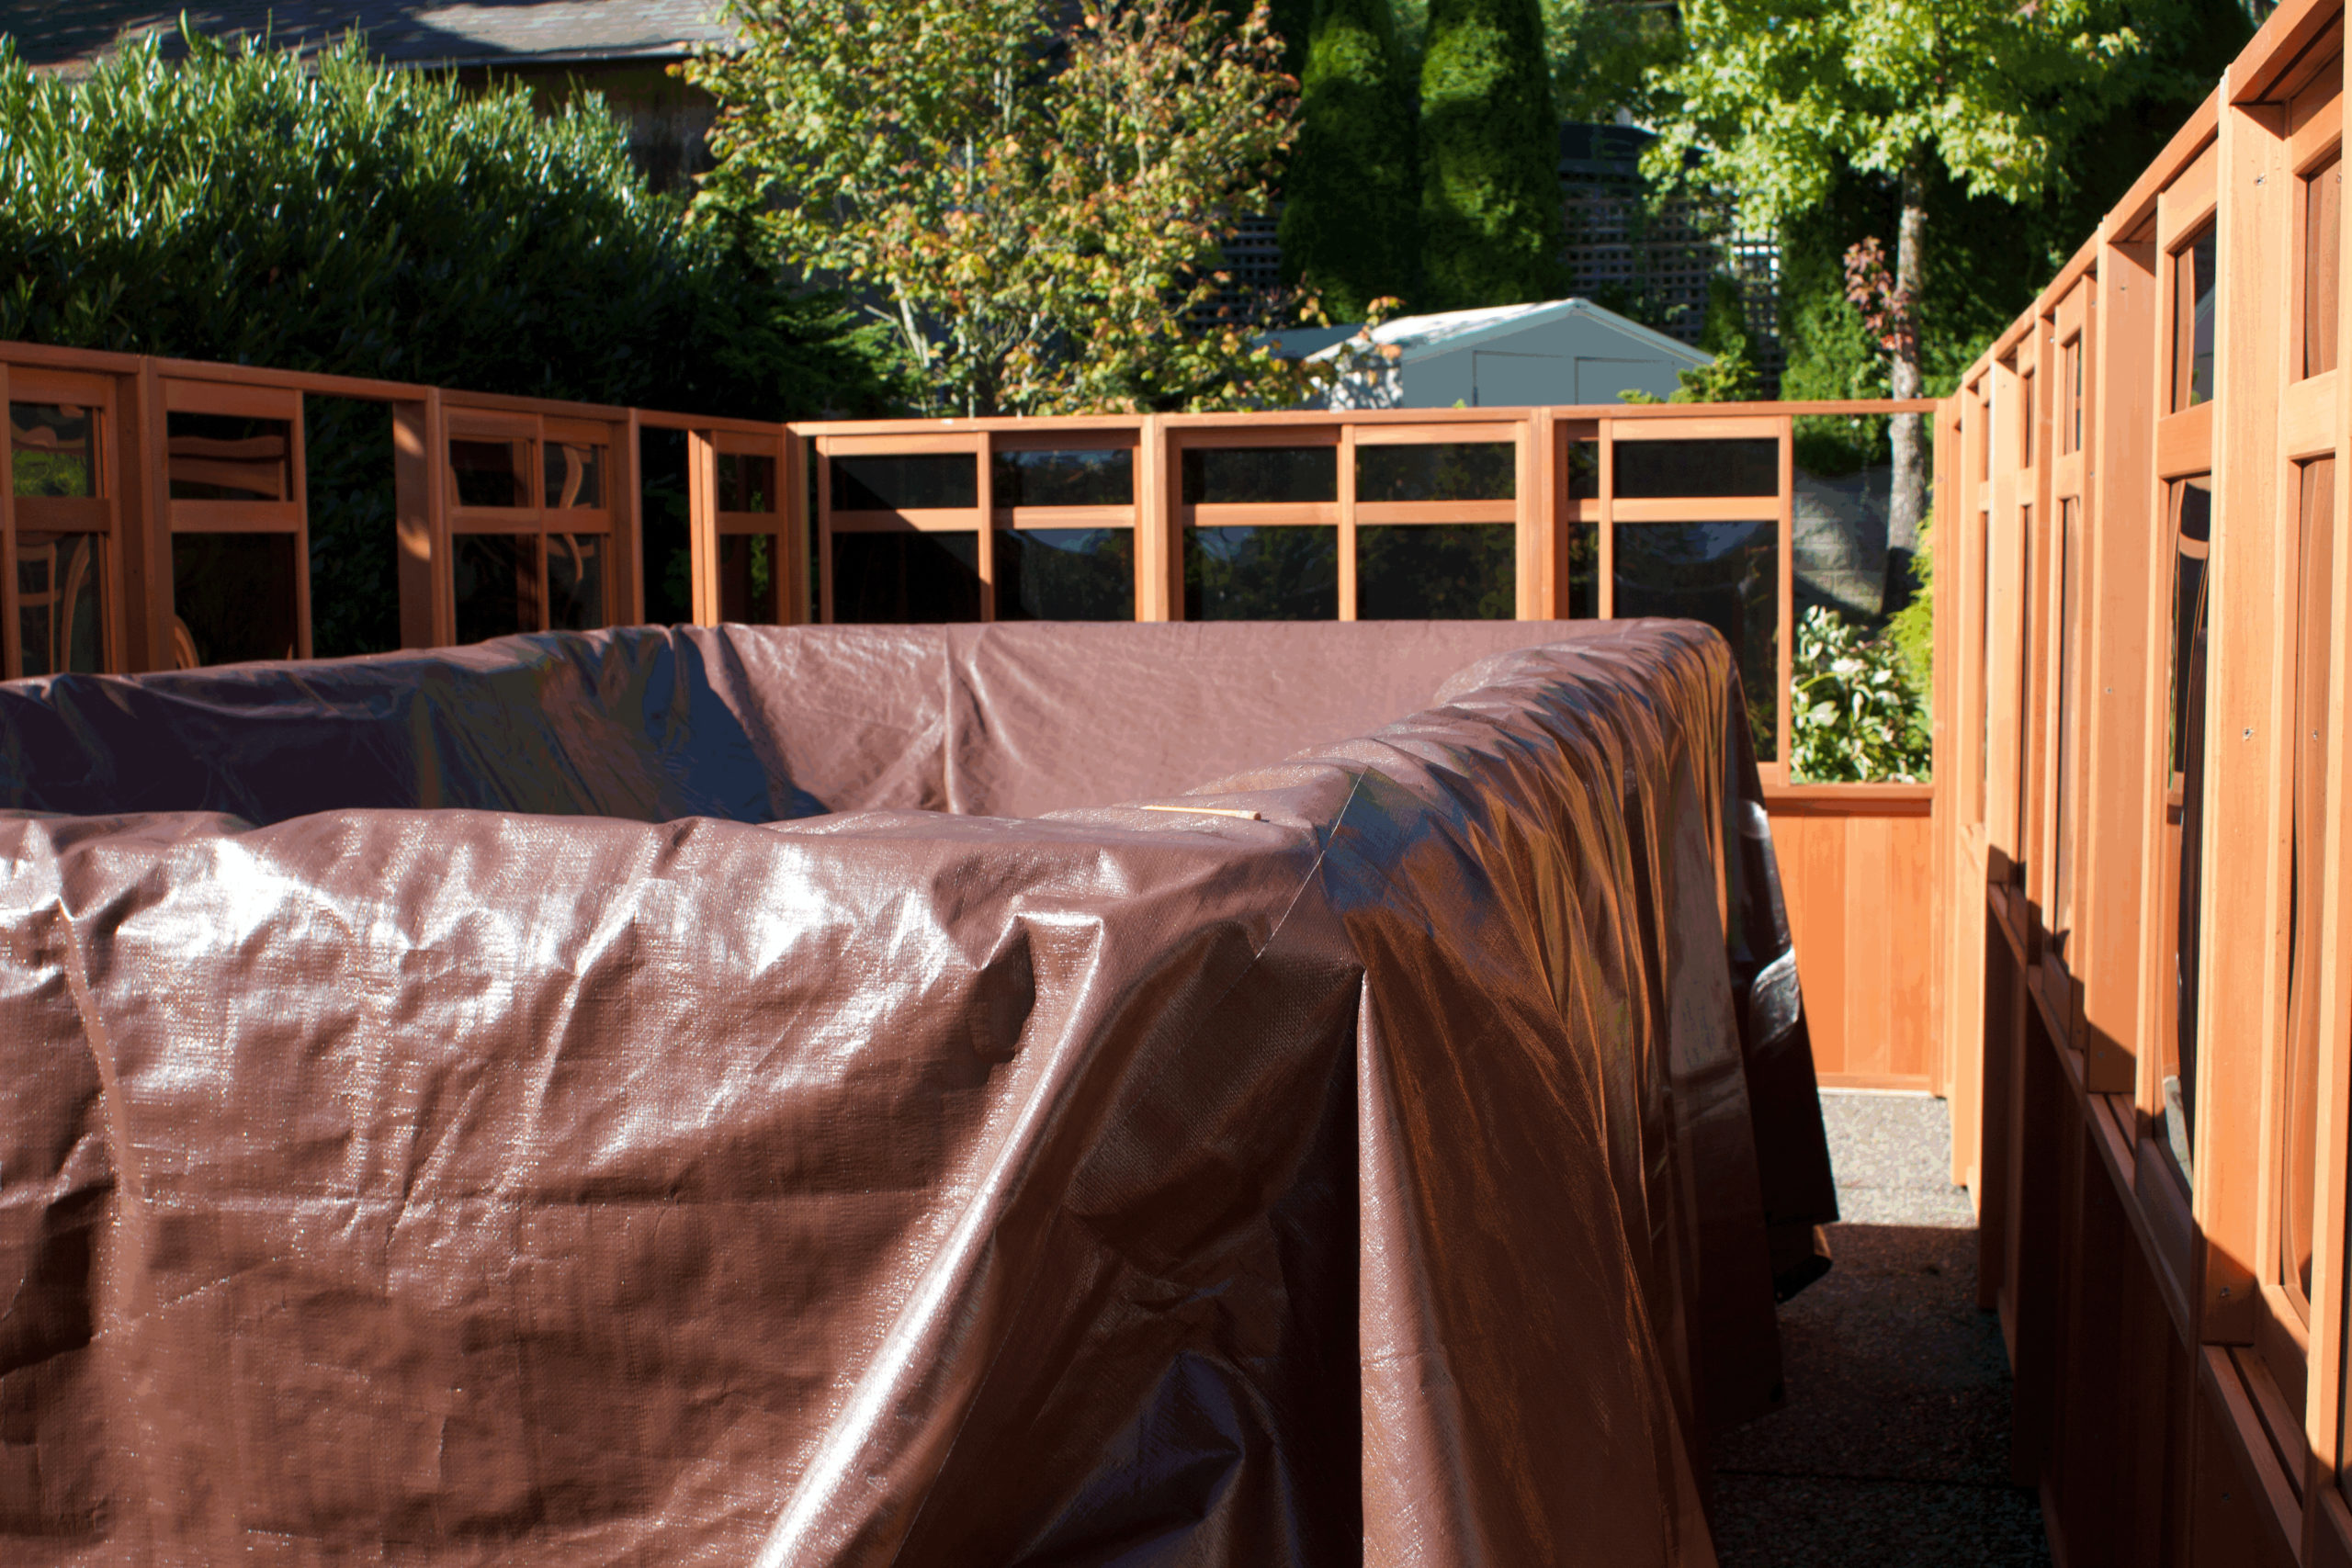
- Start by unpacking the crate and laying out the parts in an organized manner.
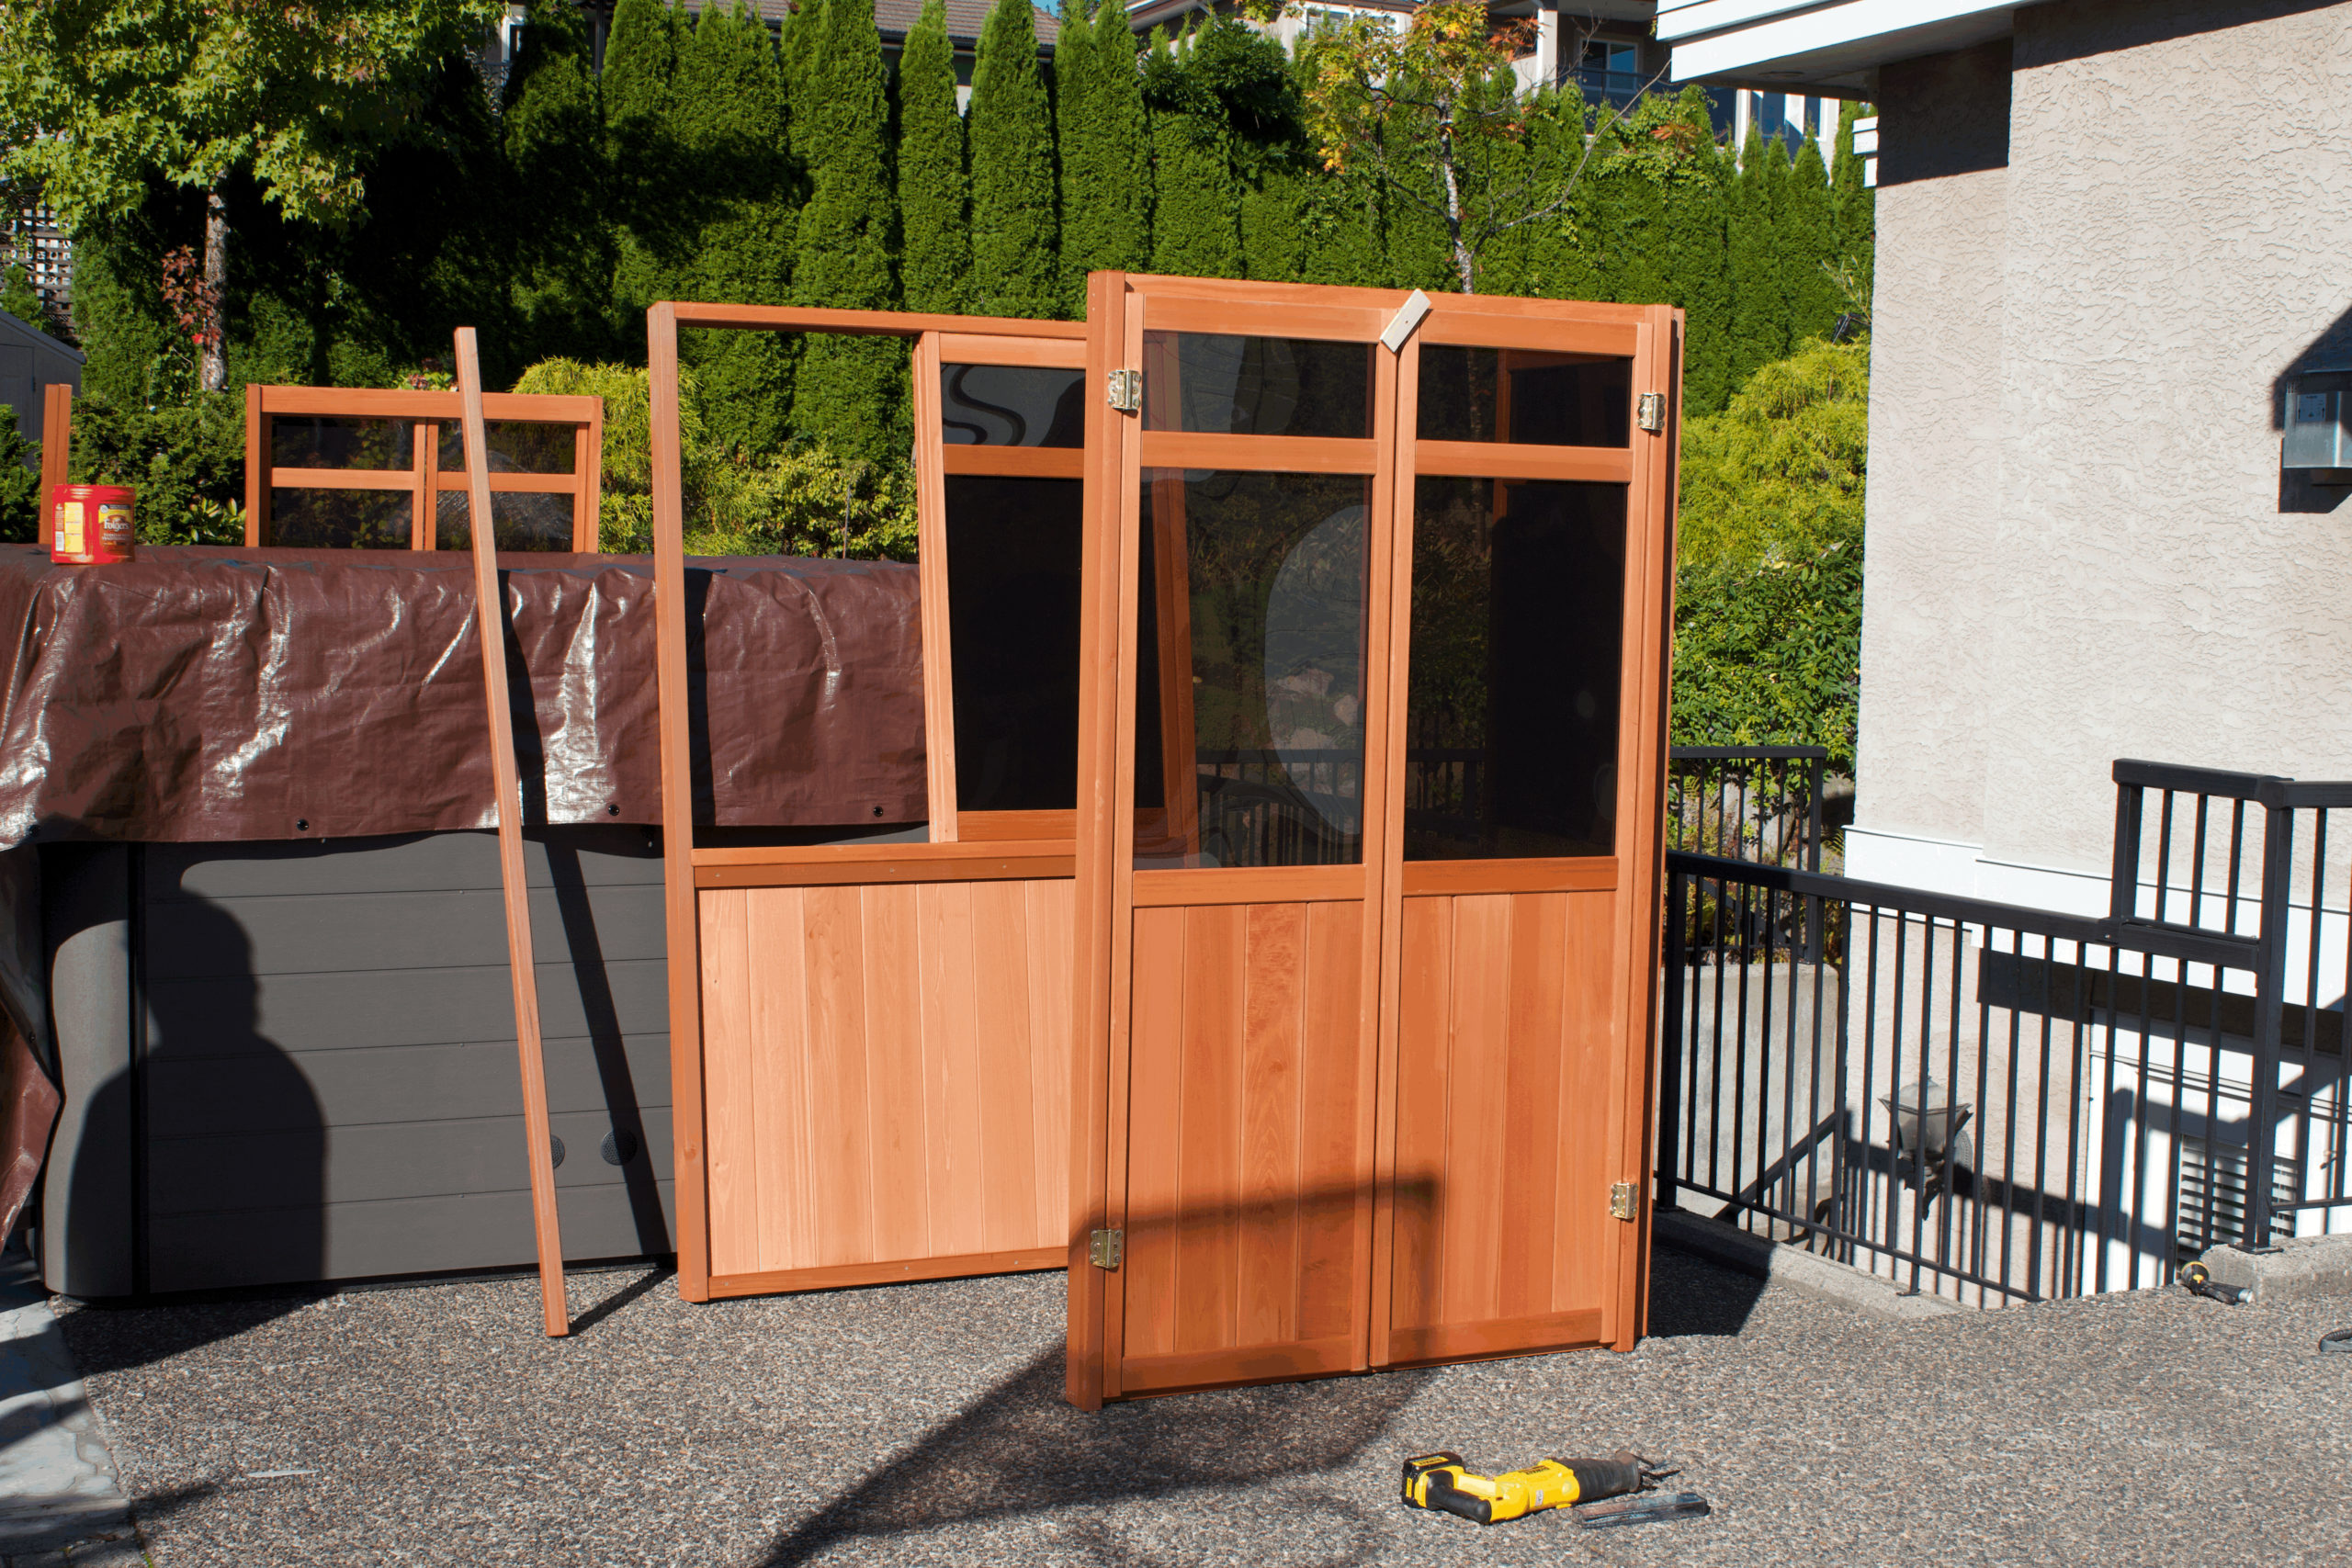
2. Start by aligning two walls at a 90 degree angle and connect them with a 2×2 corner.
3. Continue adding more walls to the short side of the building.
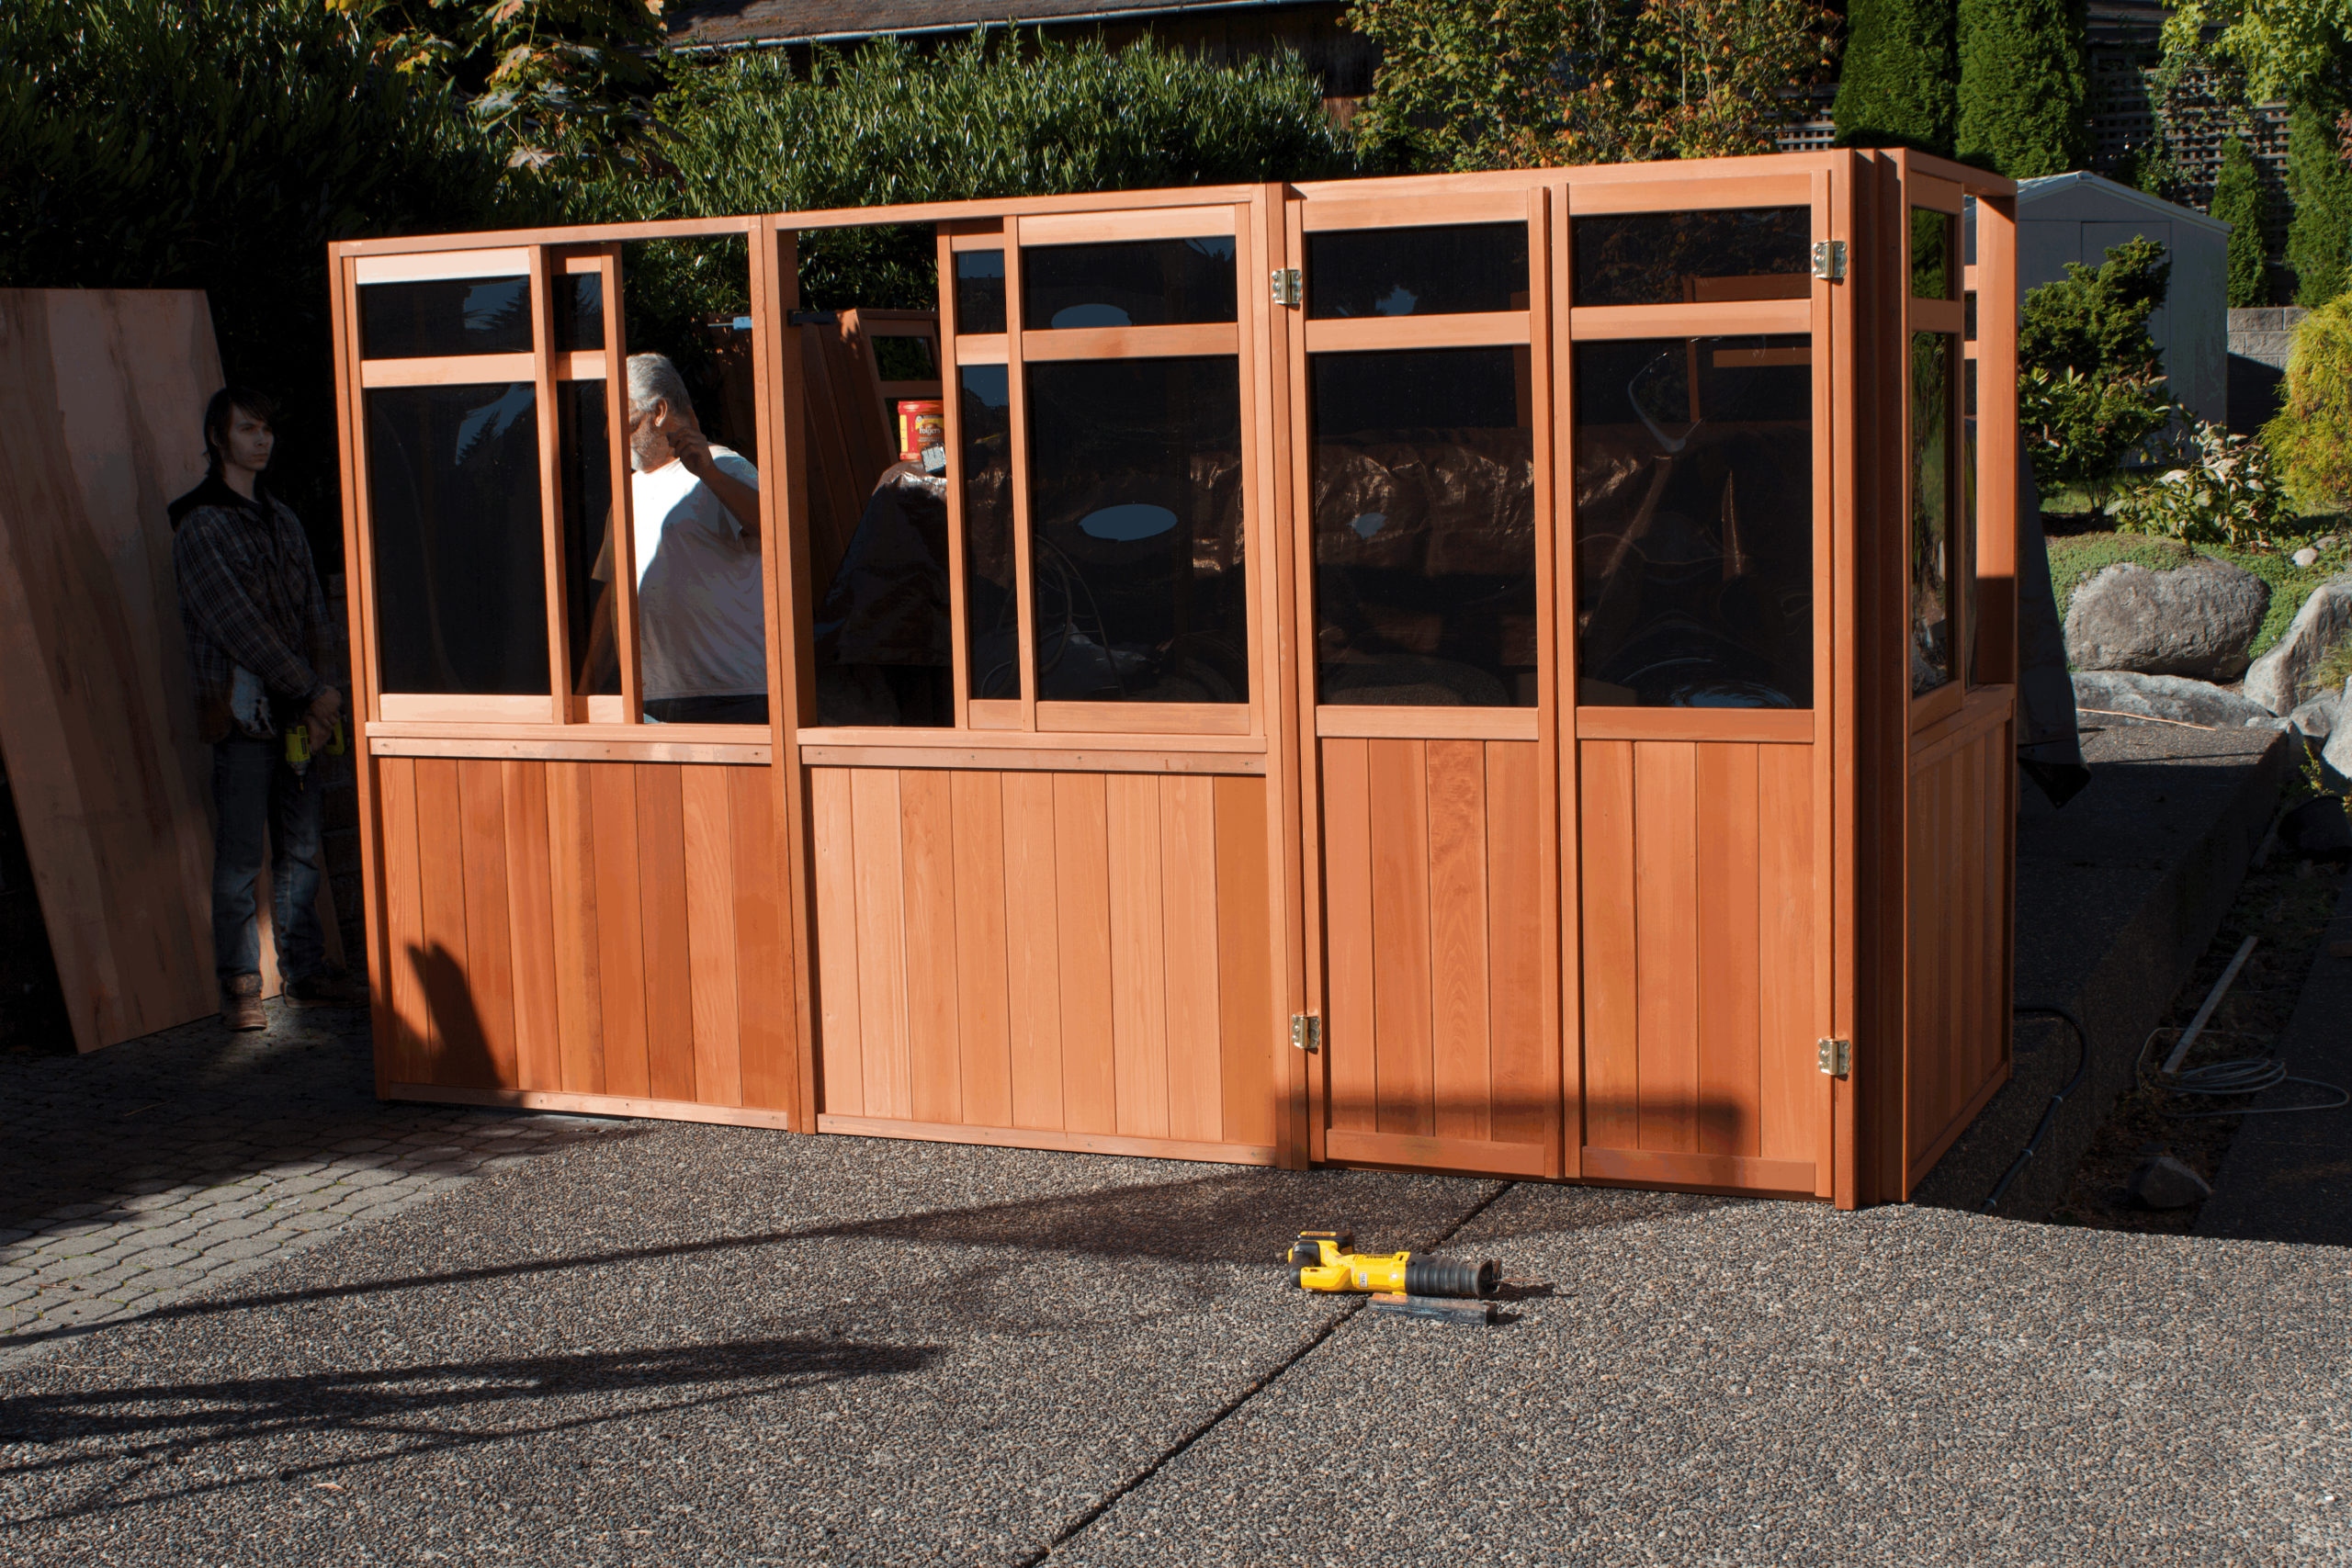
4. Once one short side of the building has been assembled, continue to assemble one of the long sides of the building by attaching additional walls.
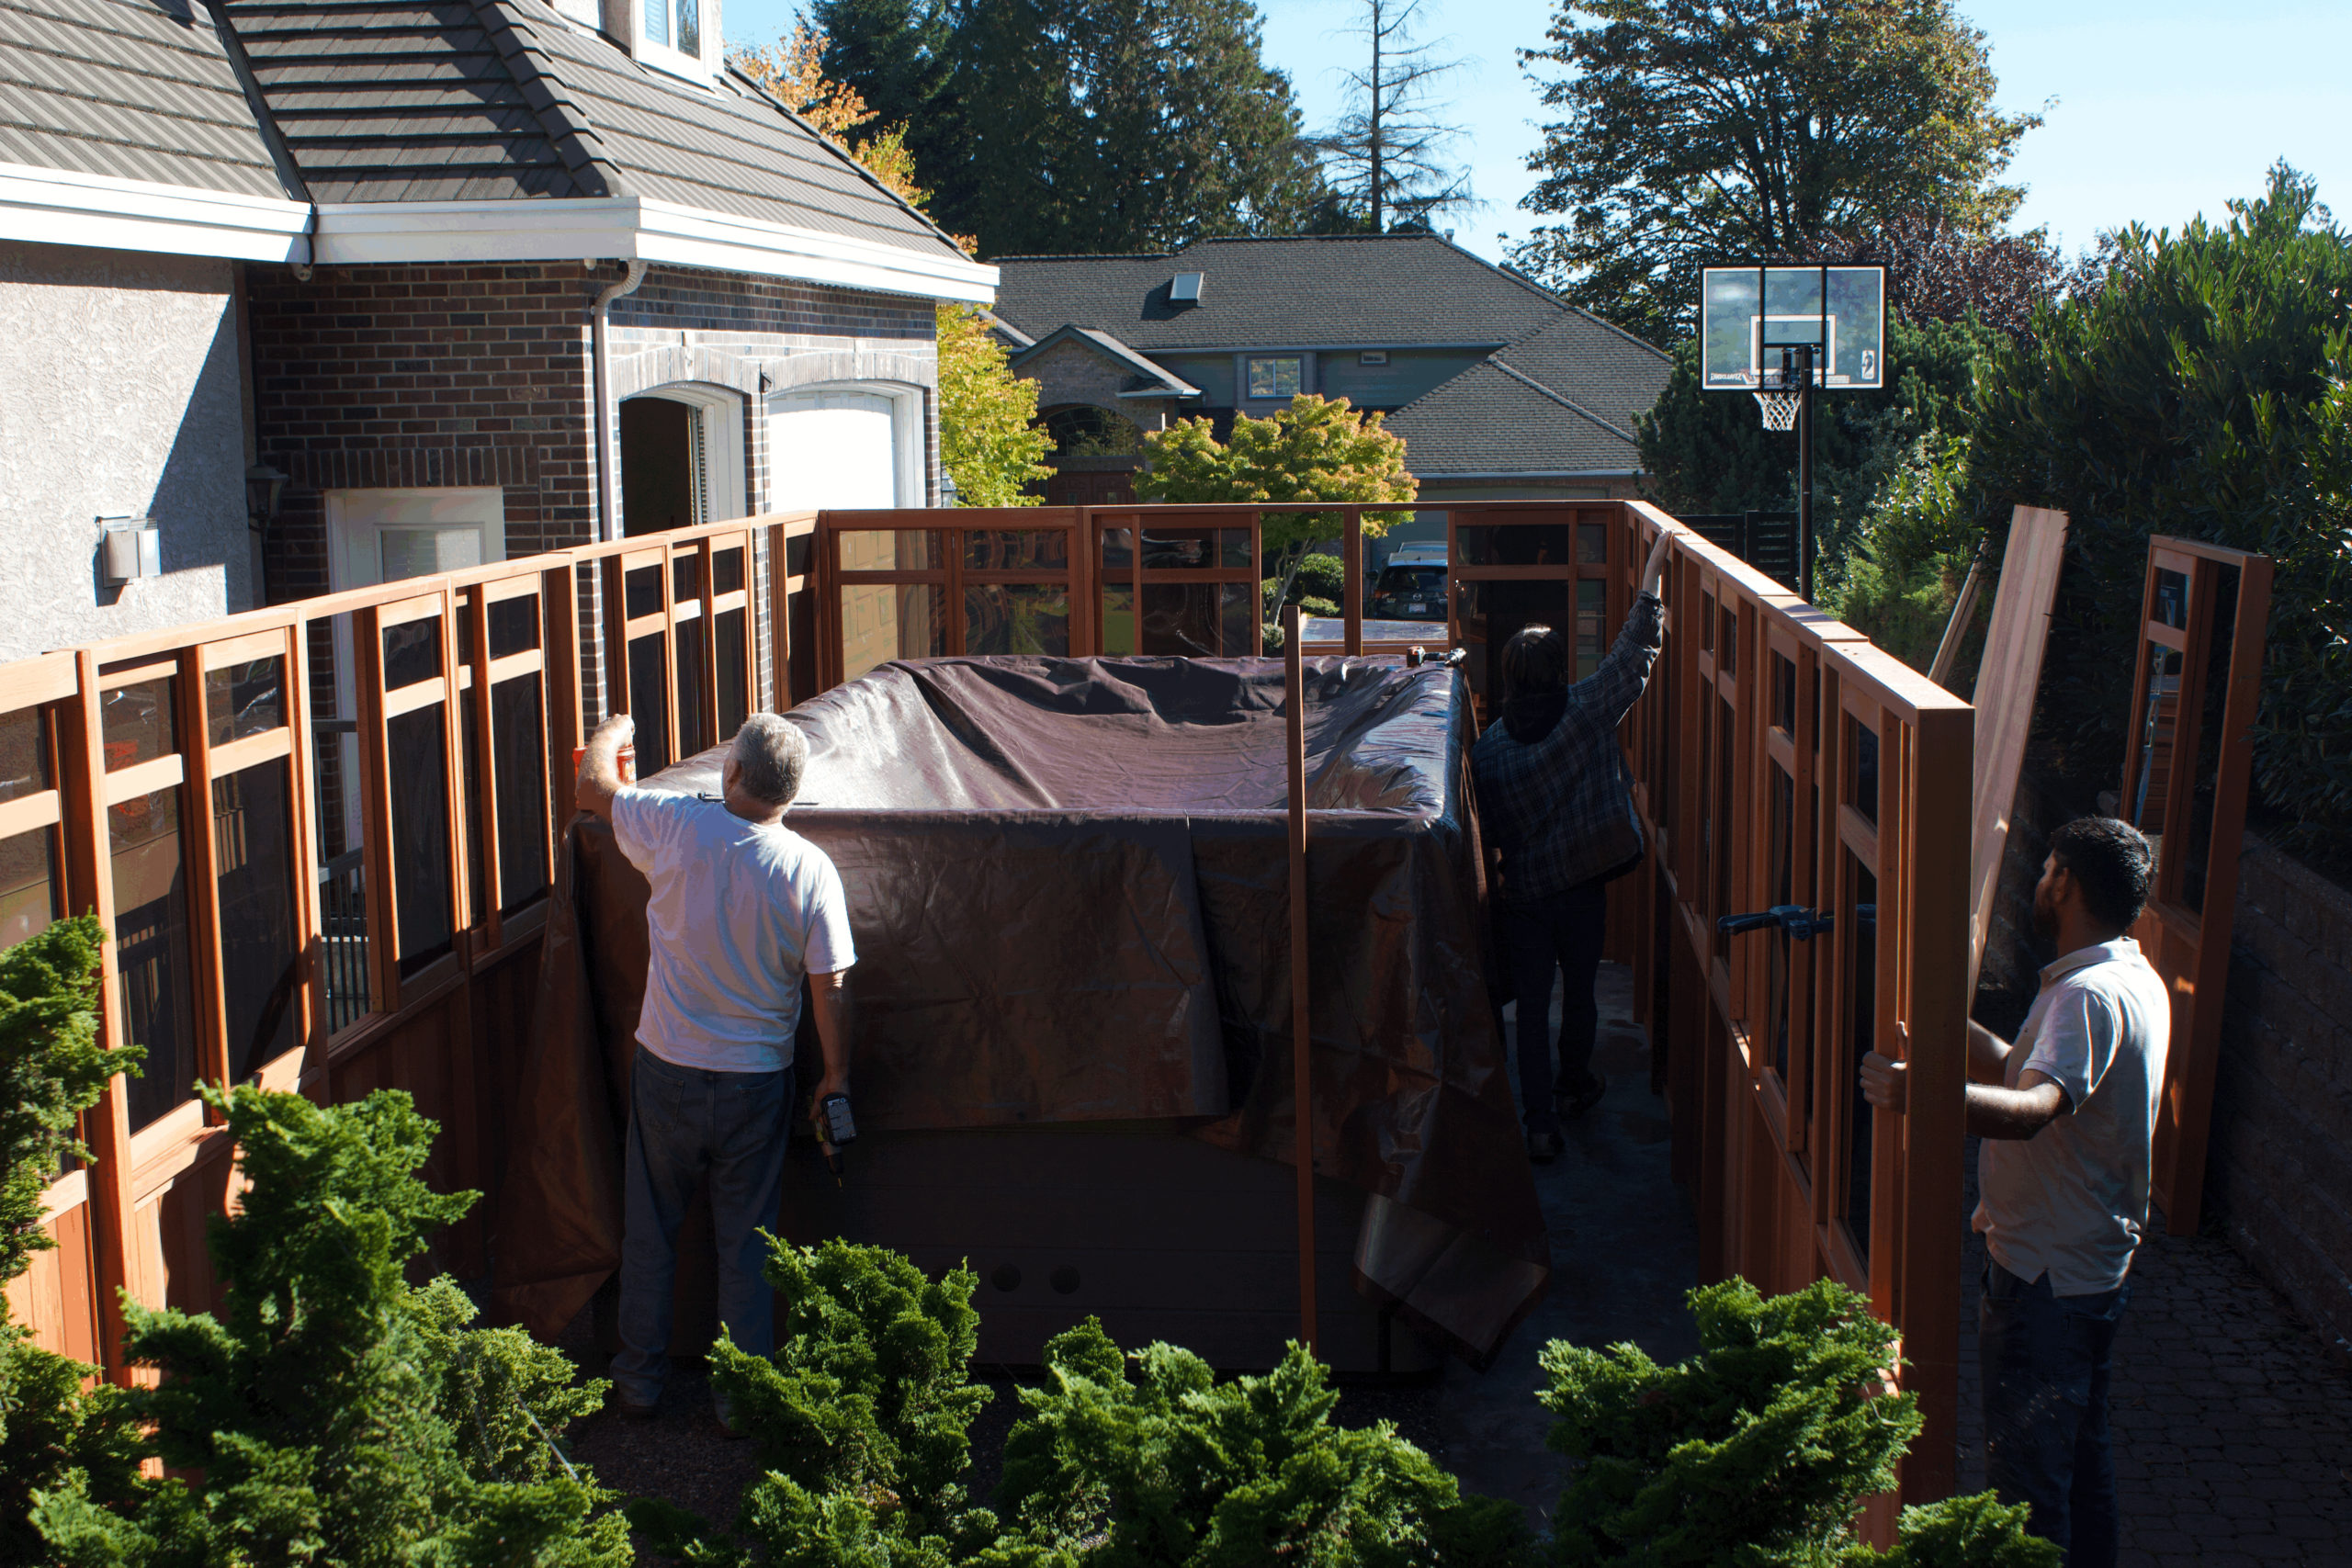
5. Continue adding more walls until you have both long sides of the building assembled.
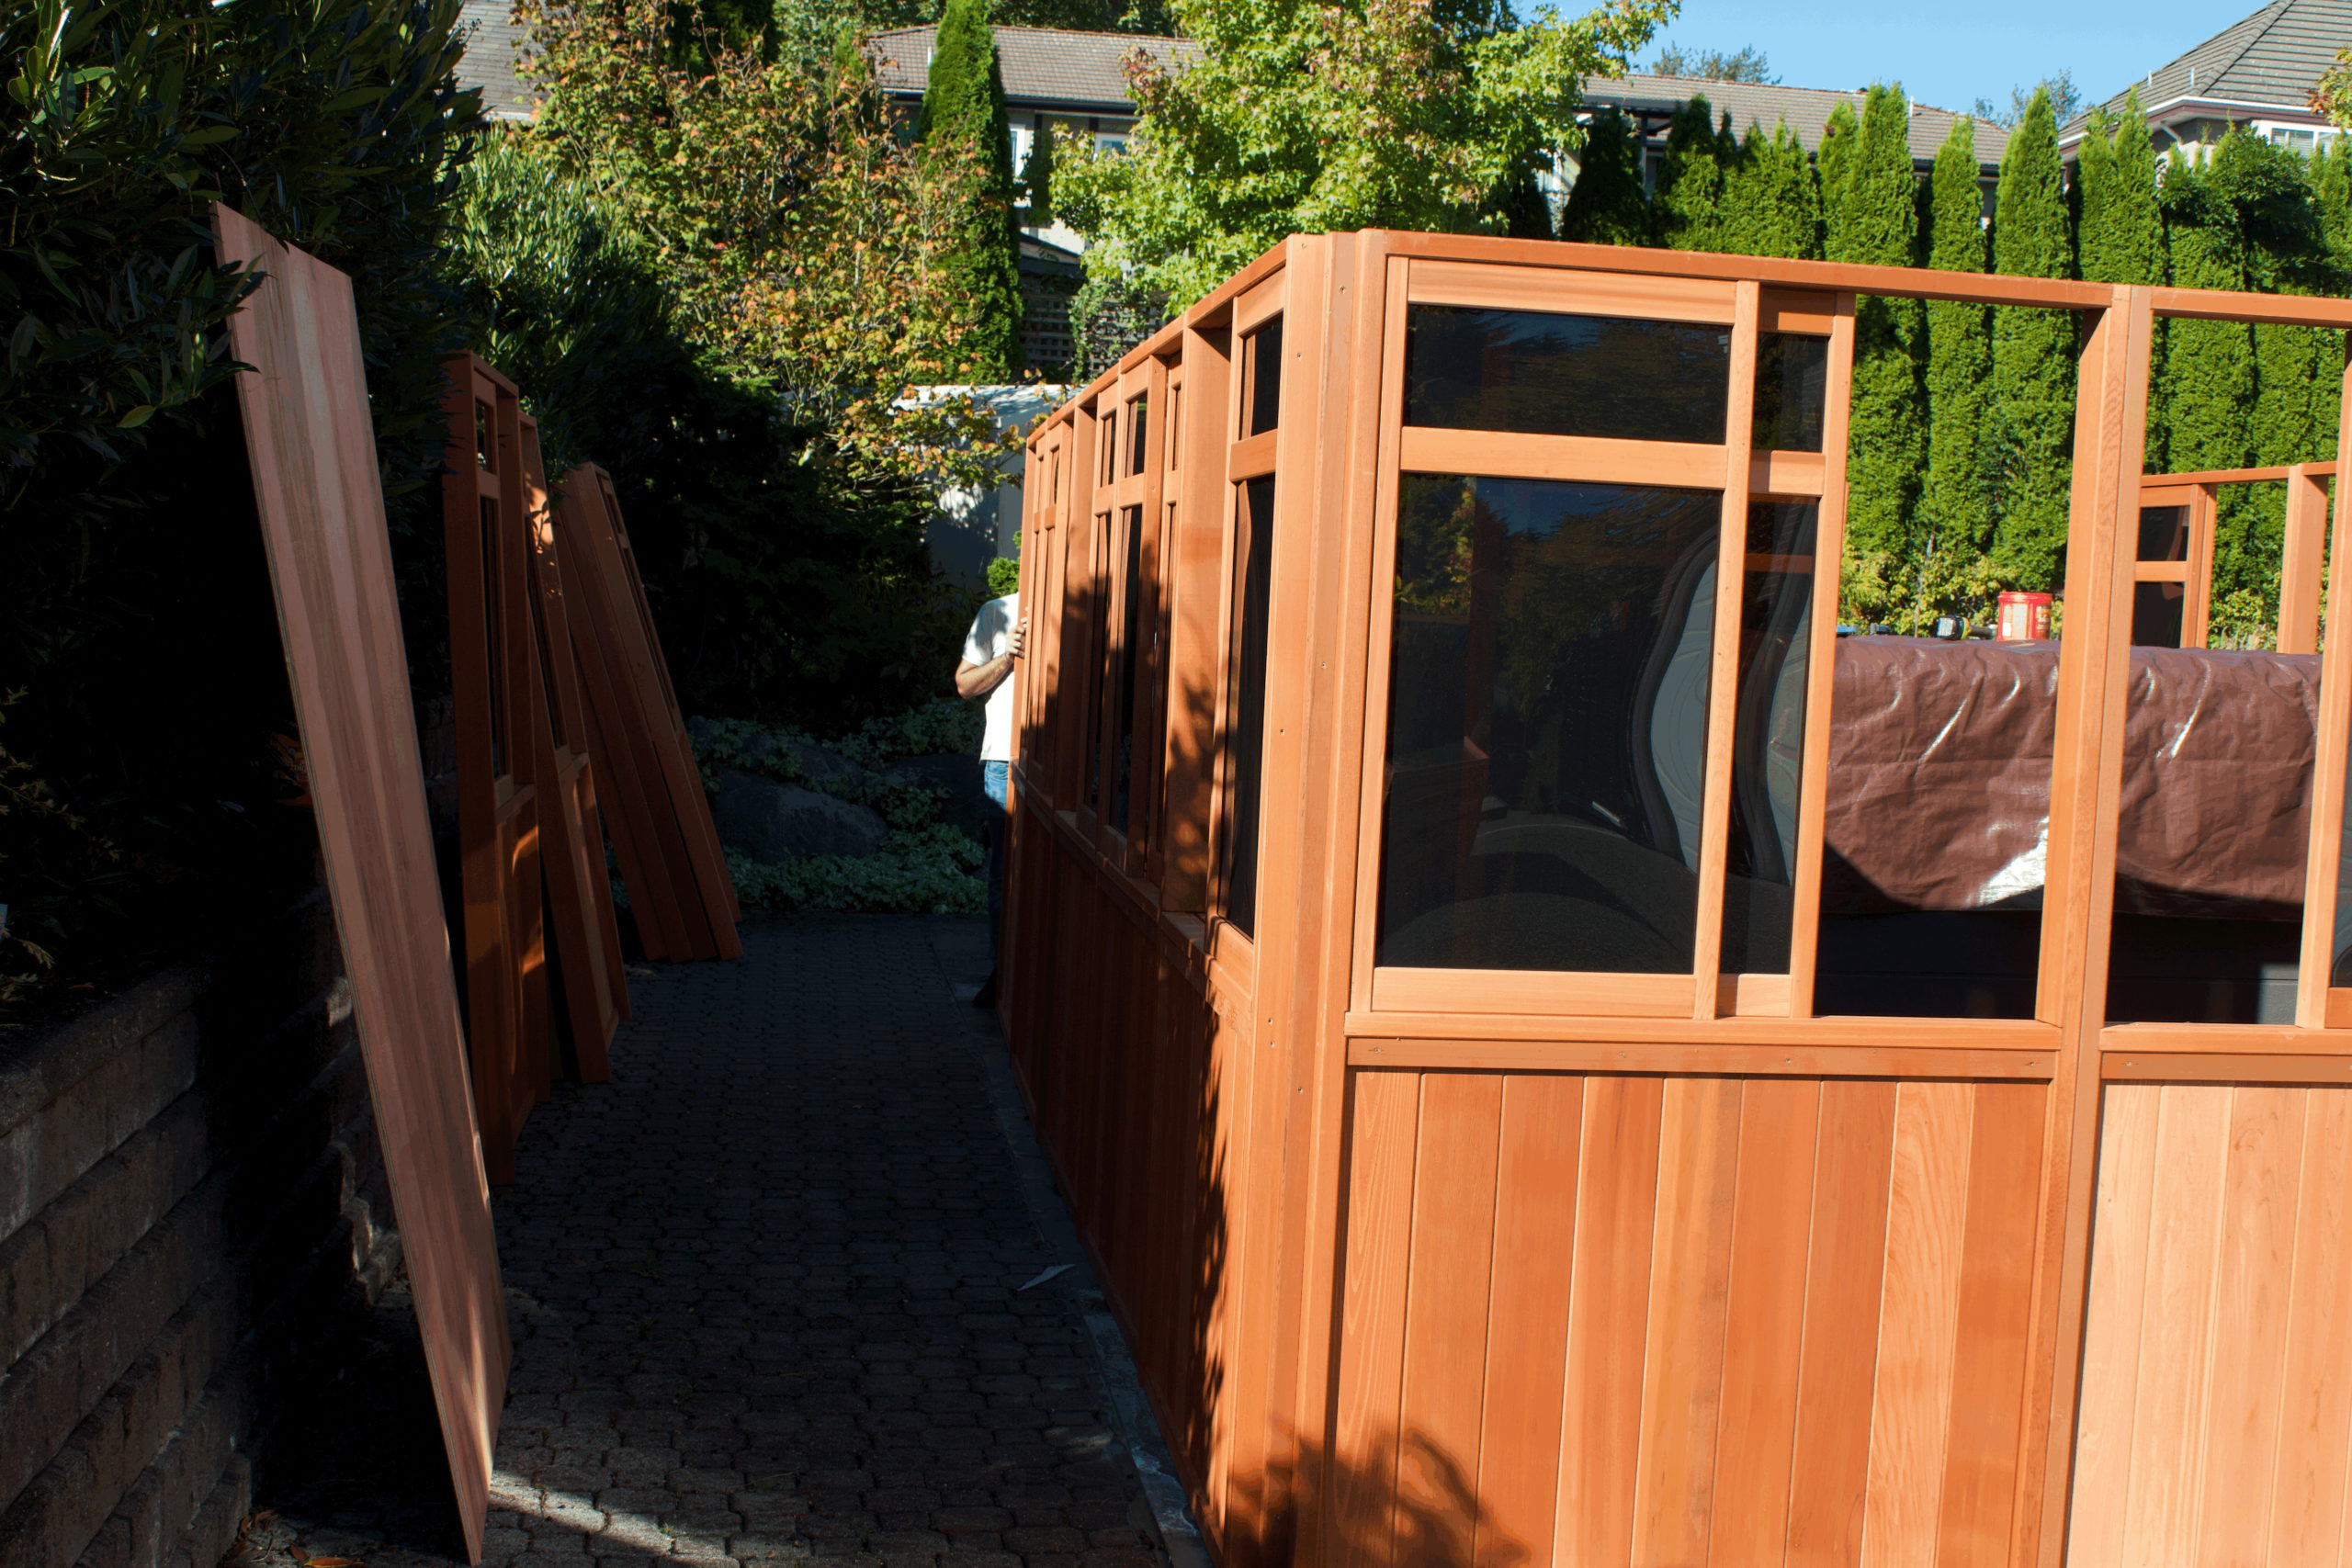
6. Assemble the back short side wall so that you now have all walls assembled.
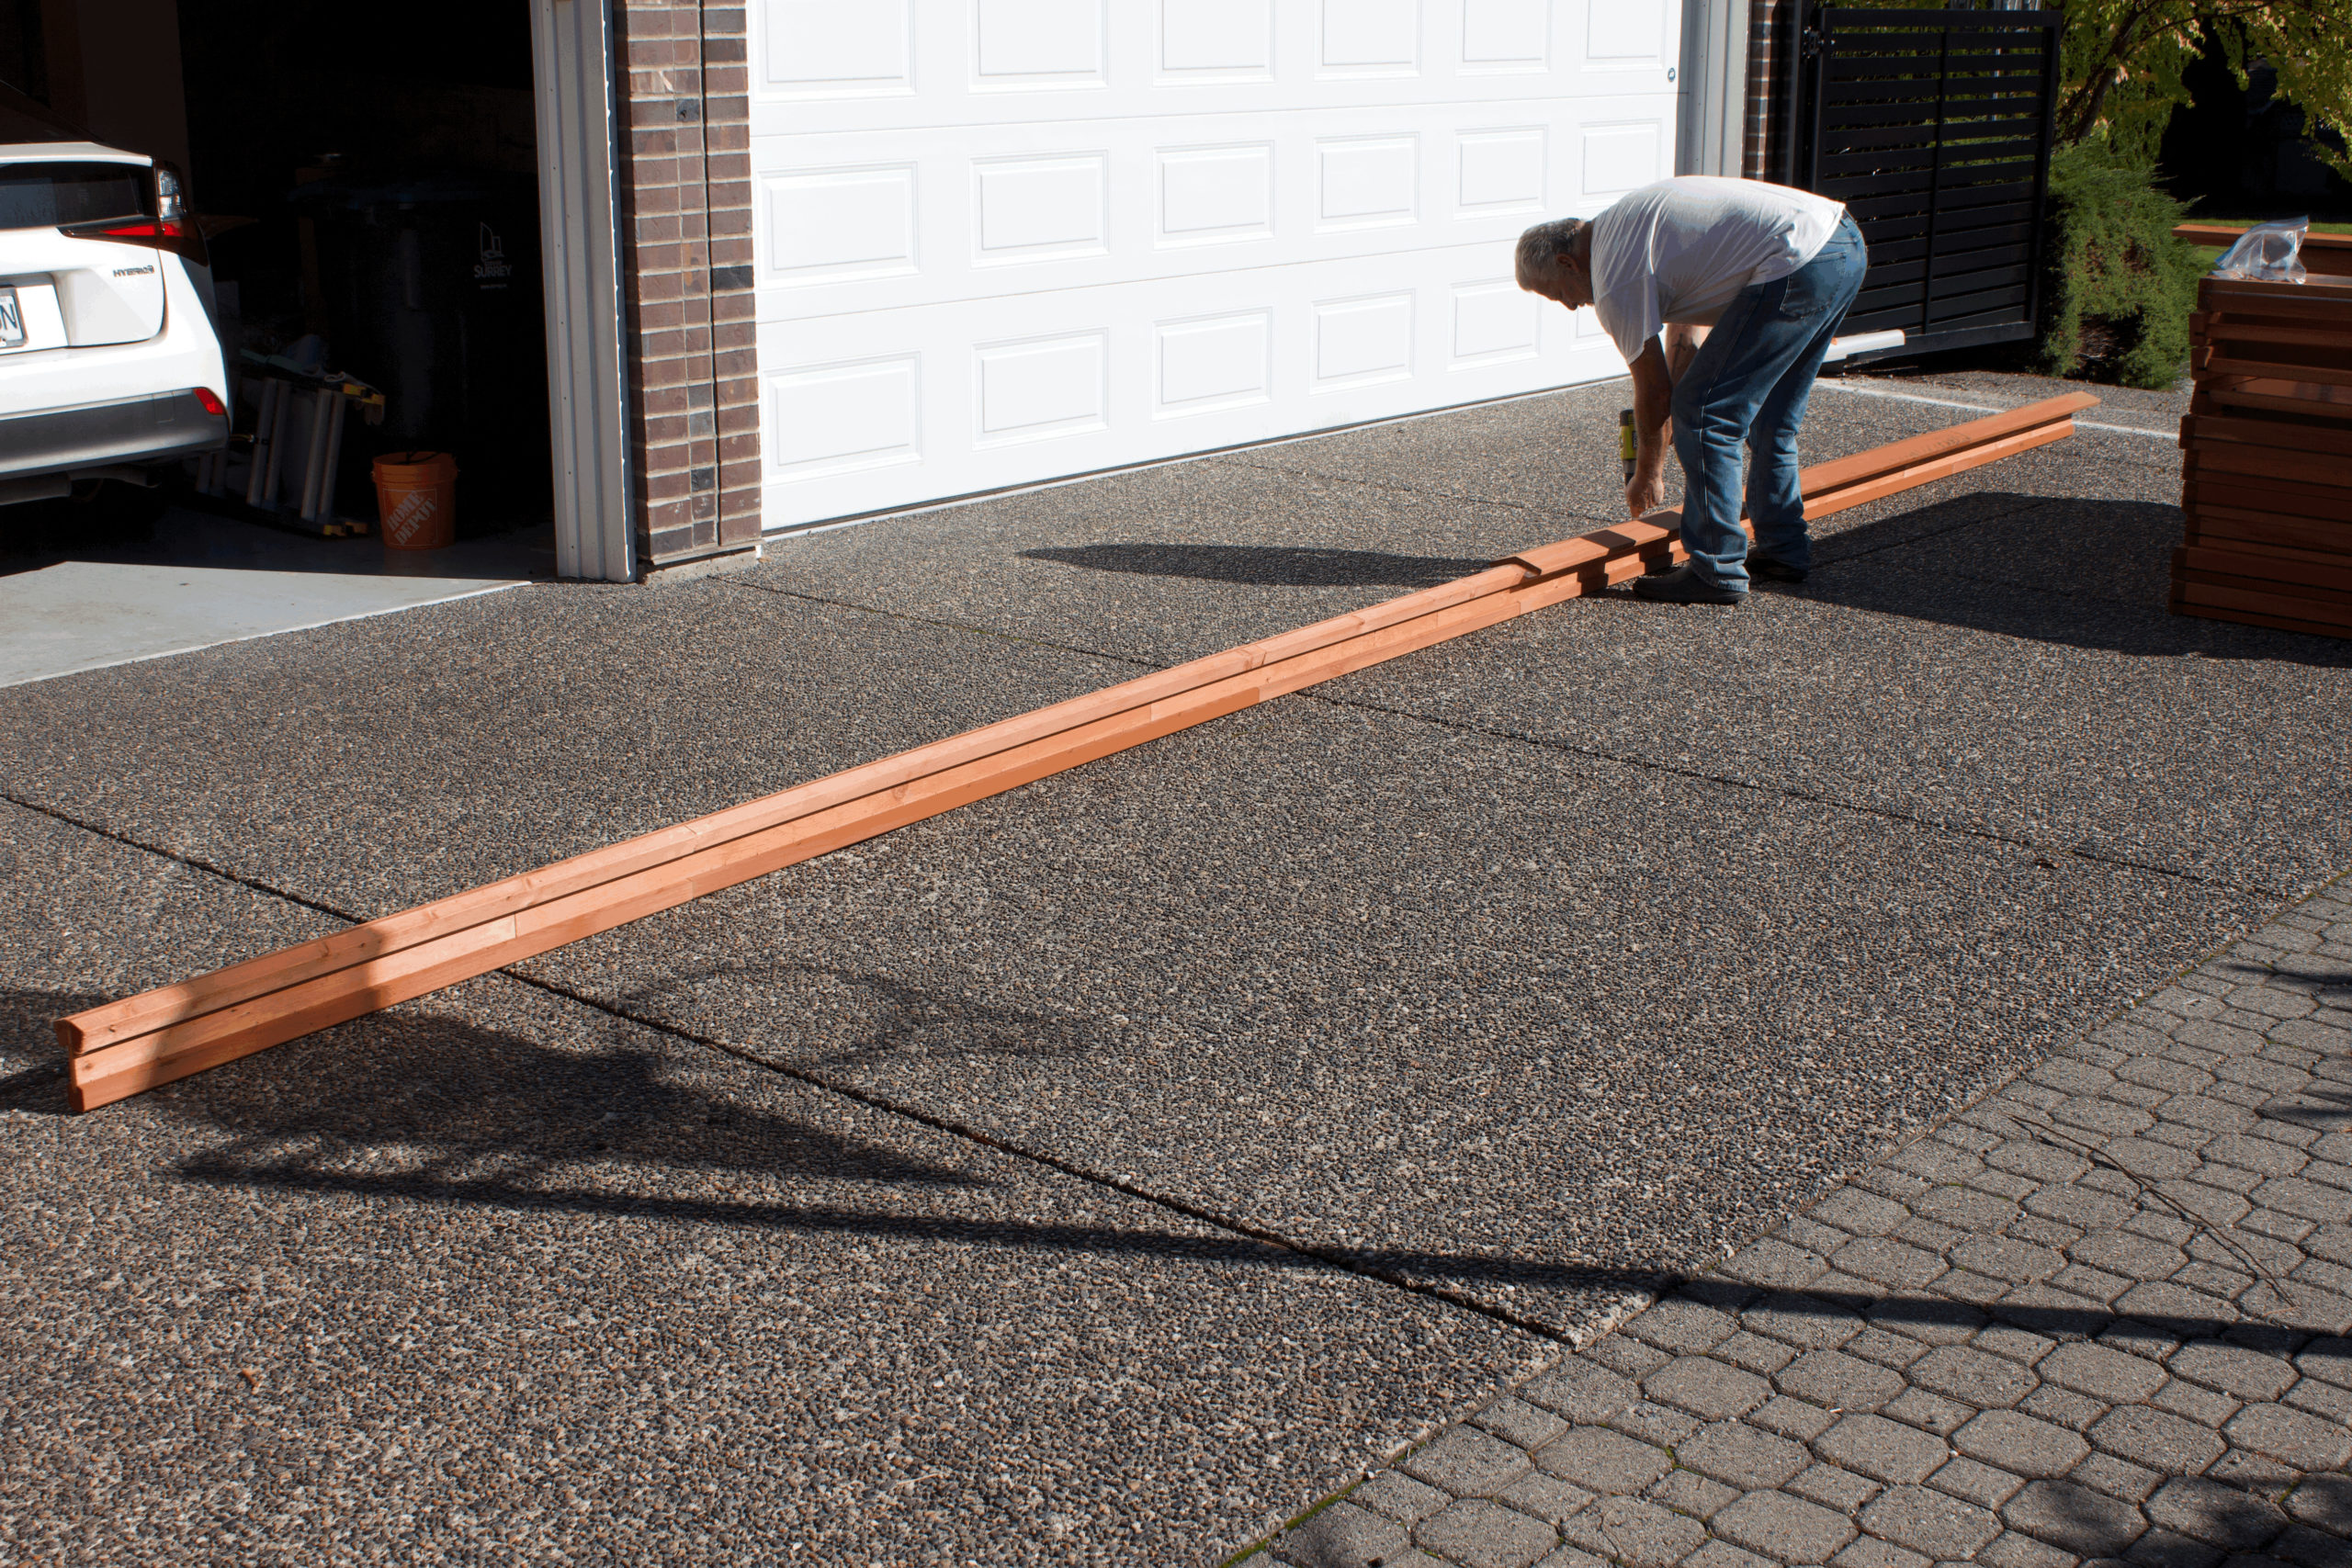
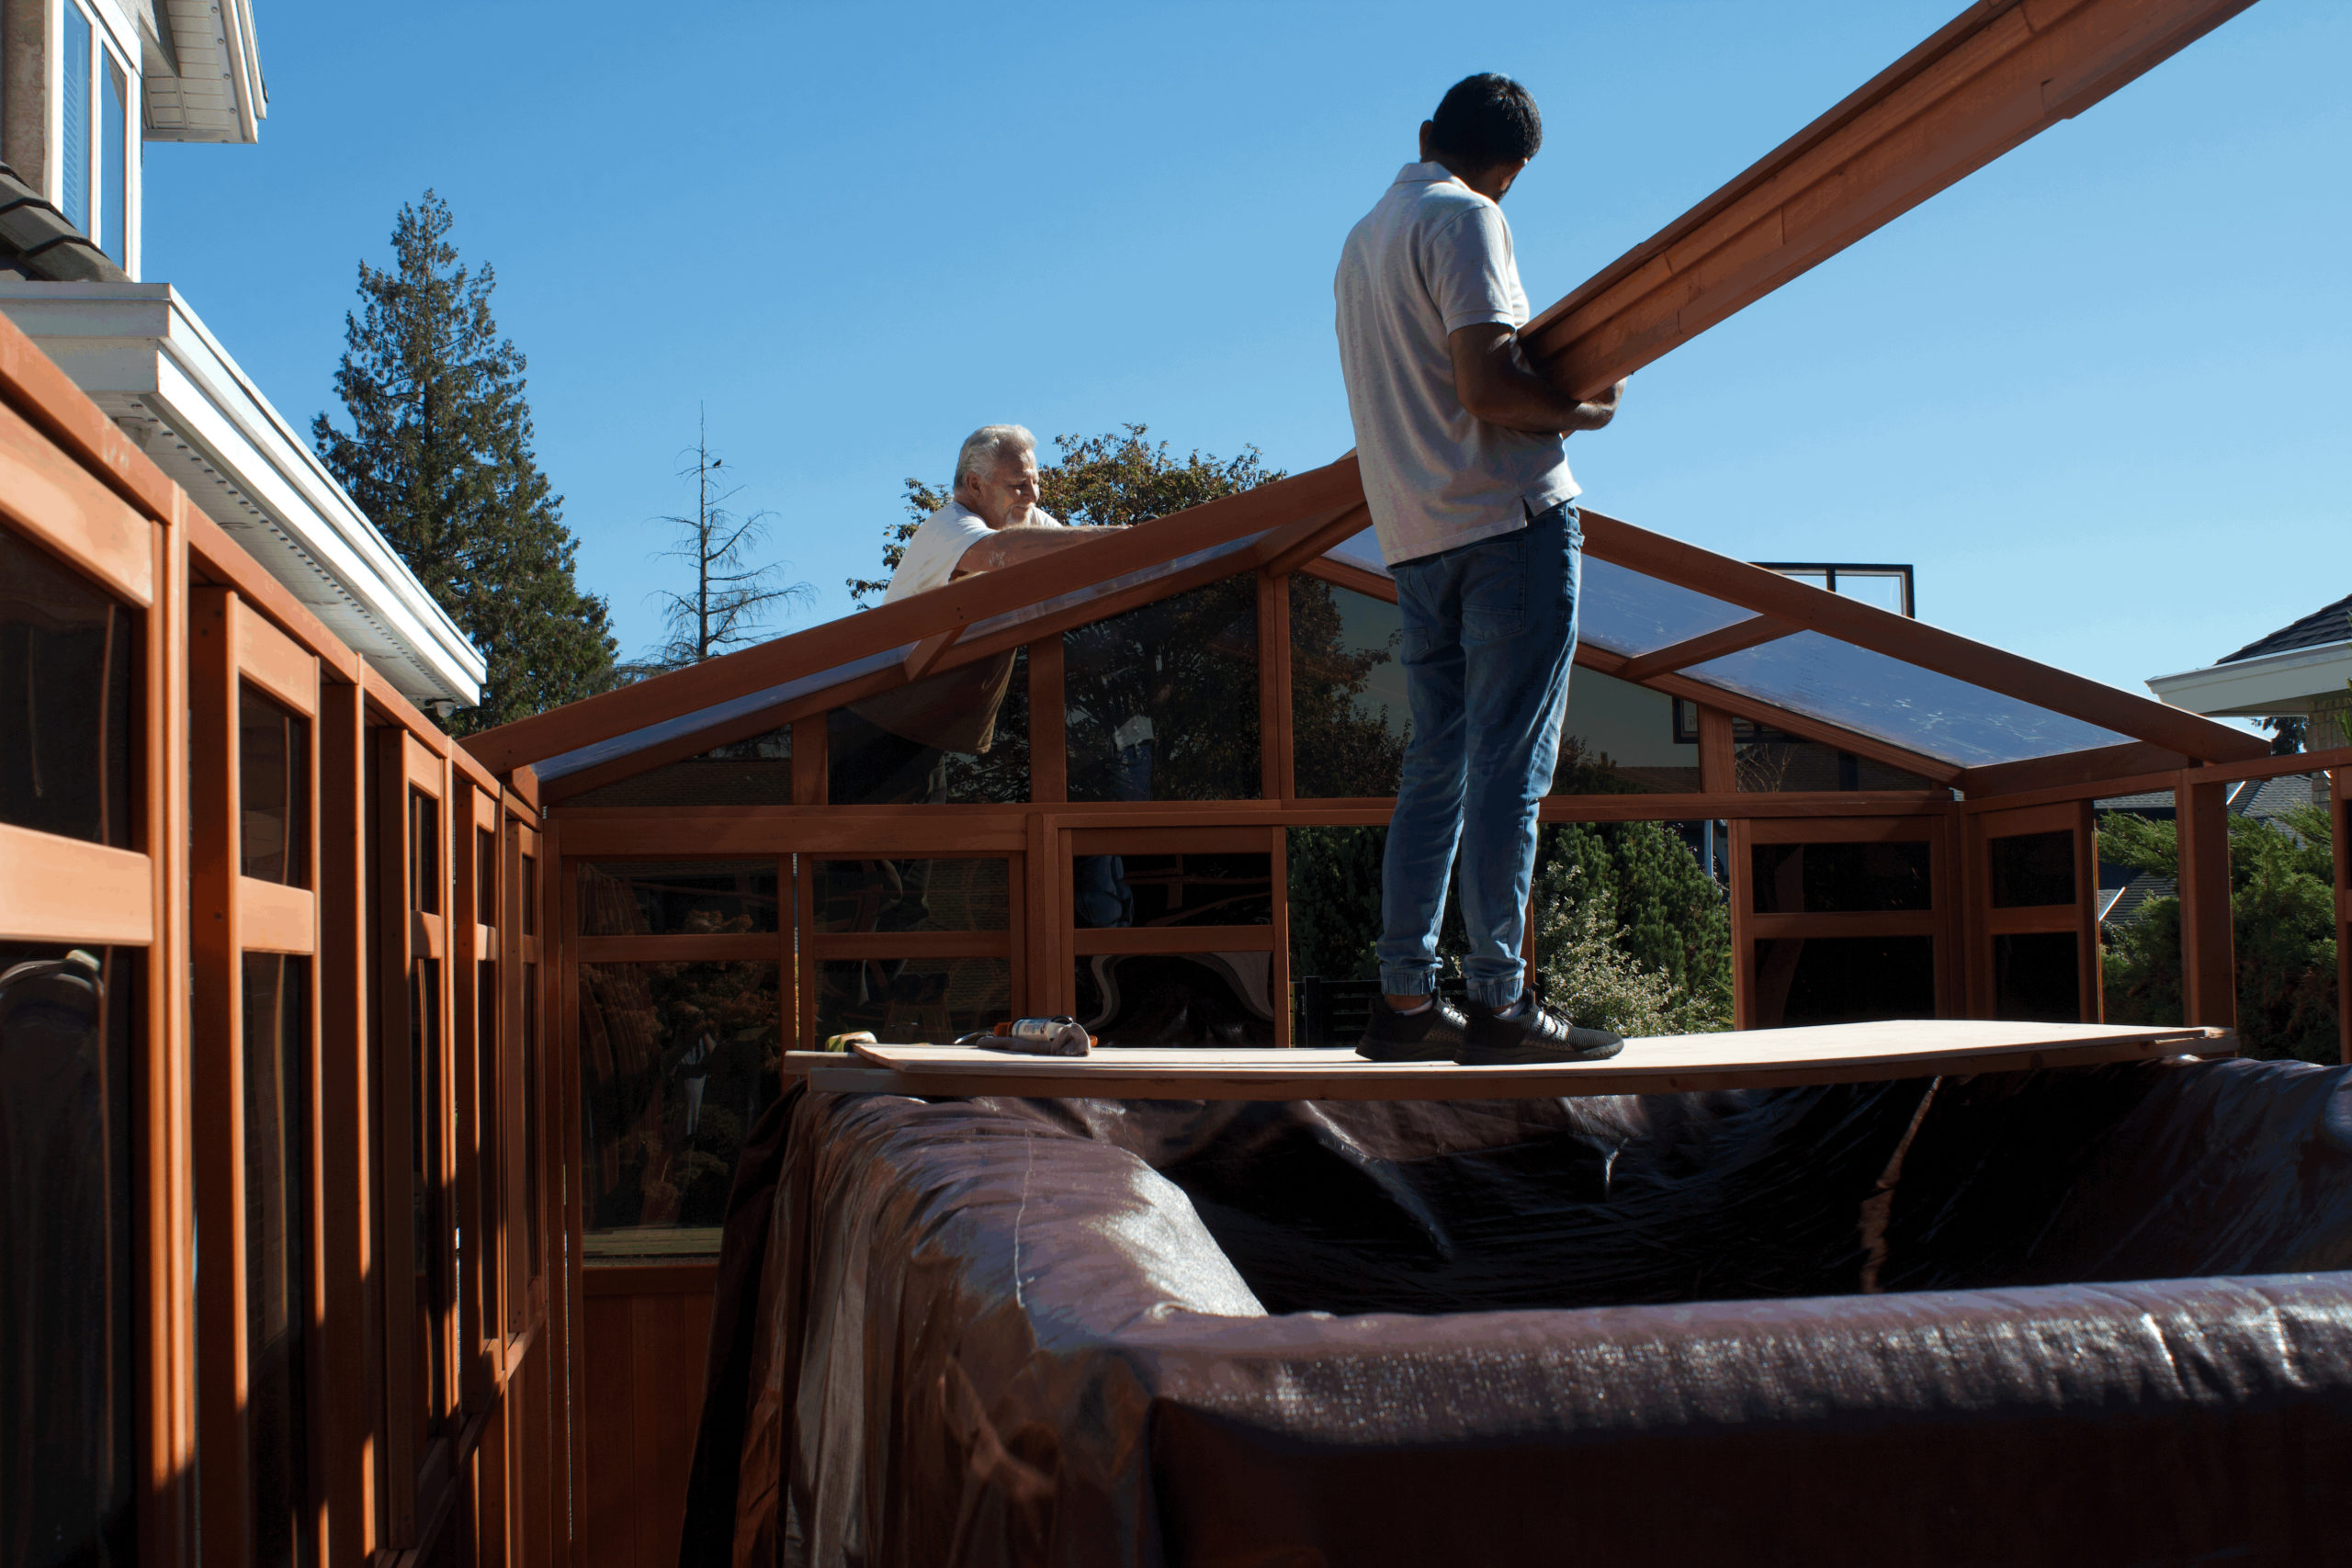
7. Layout and assemble the beam.
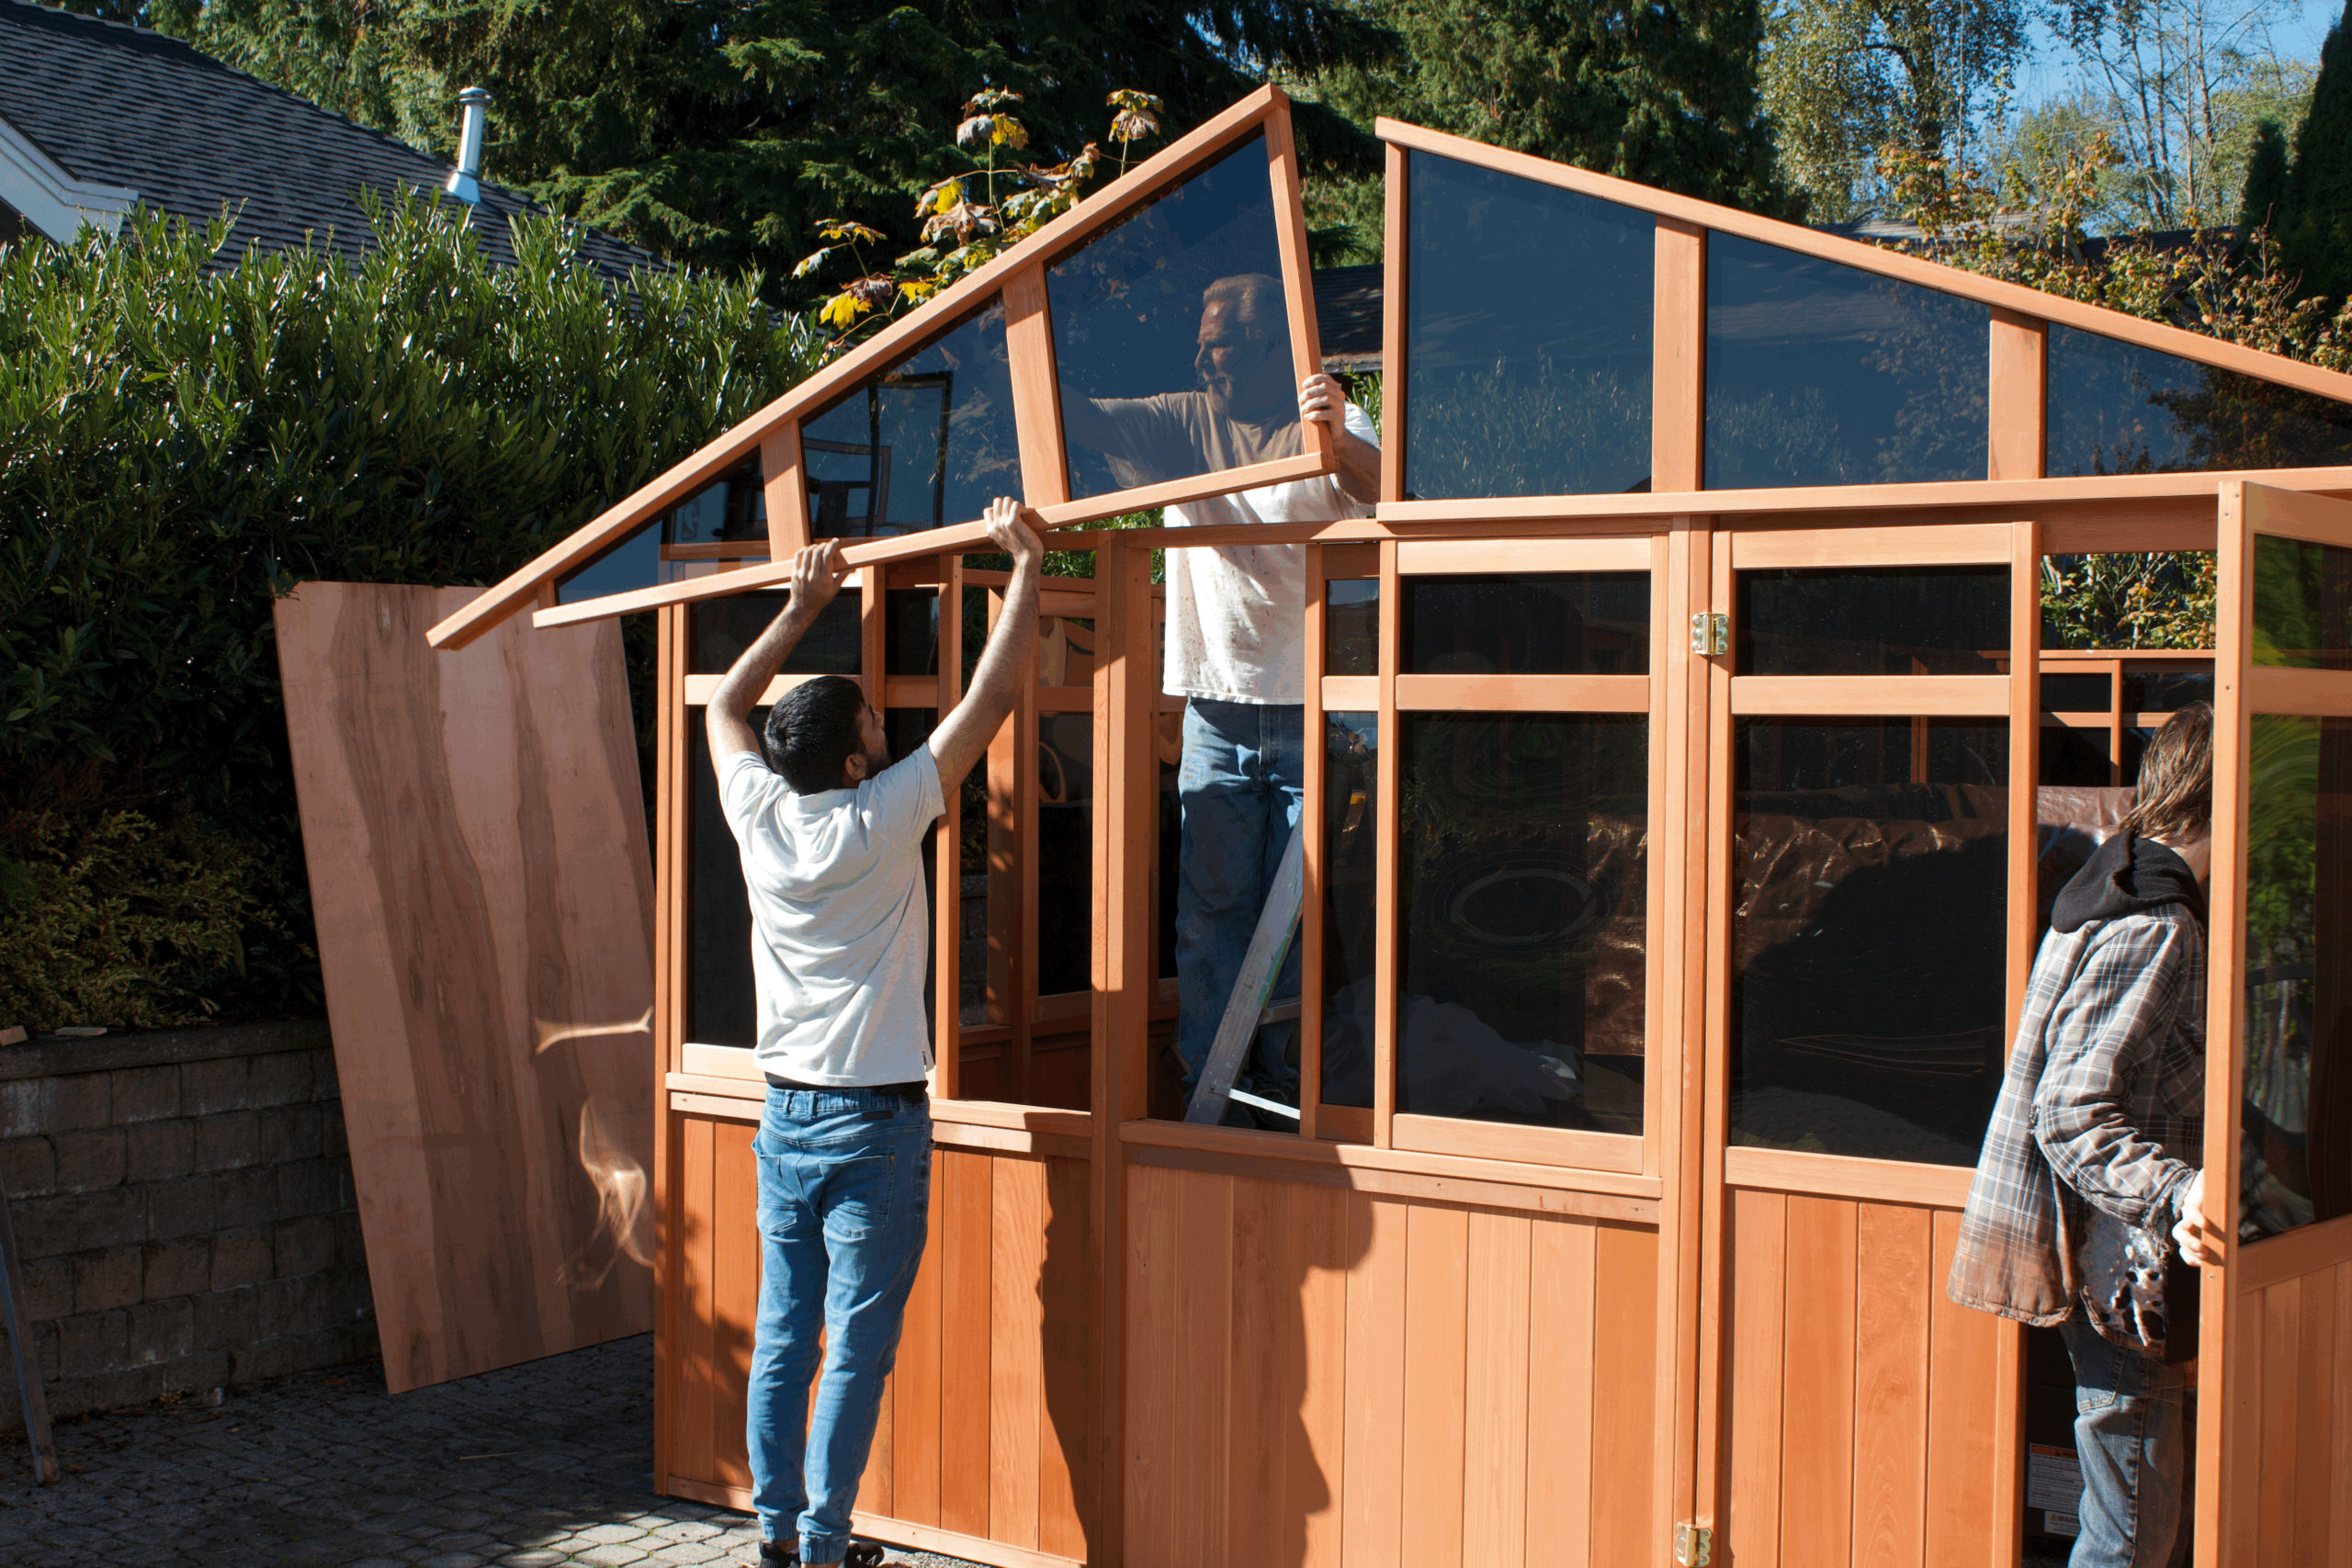
8. Install both gables on one end of the building.
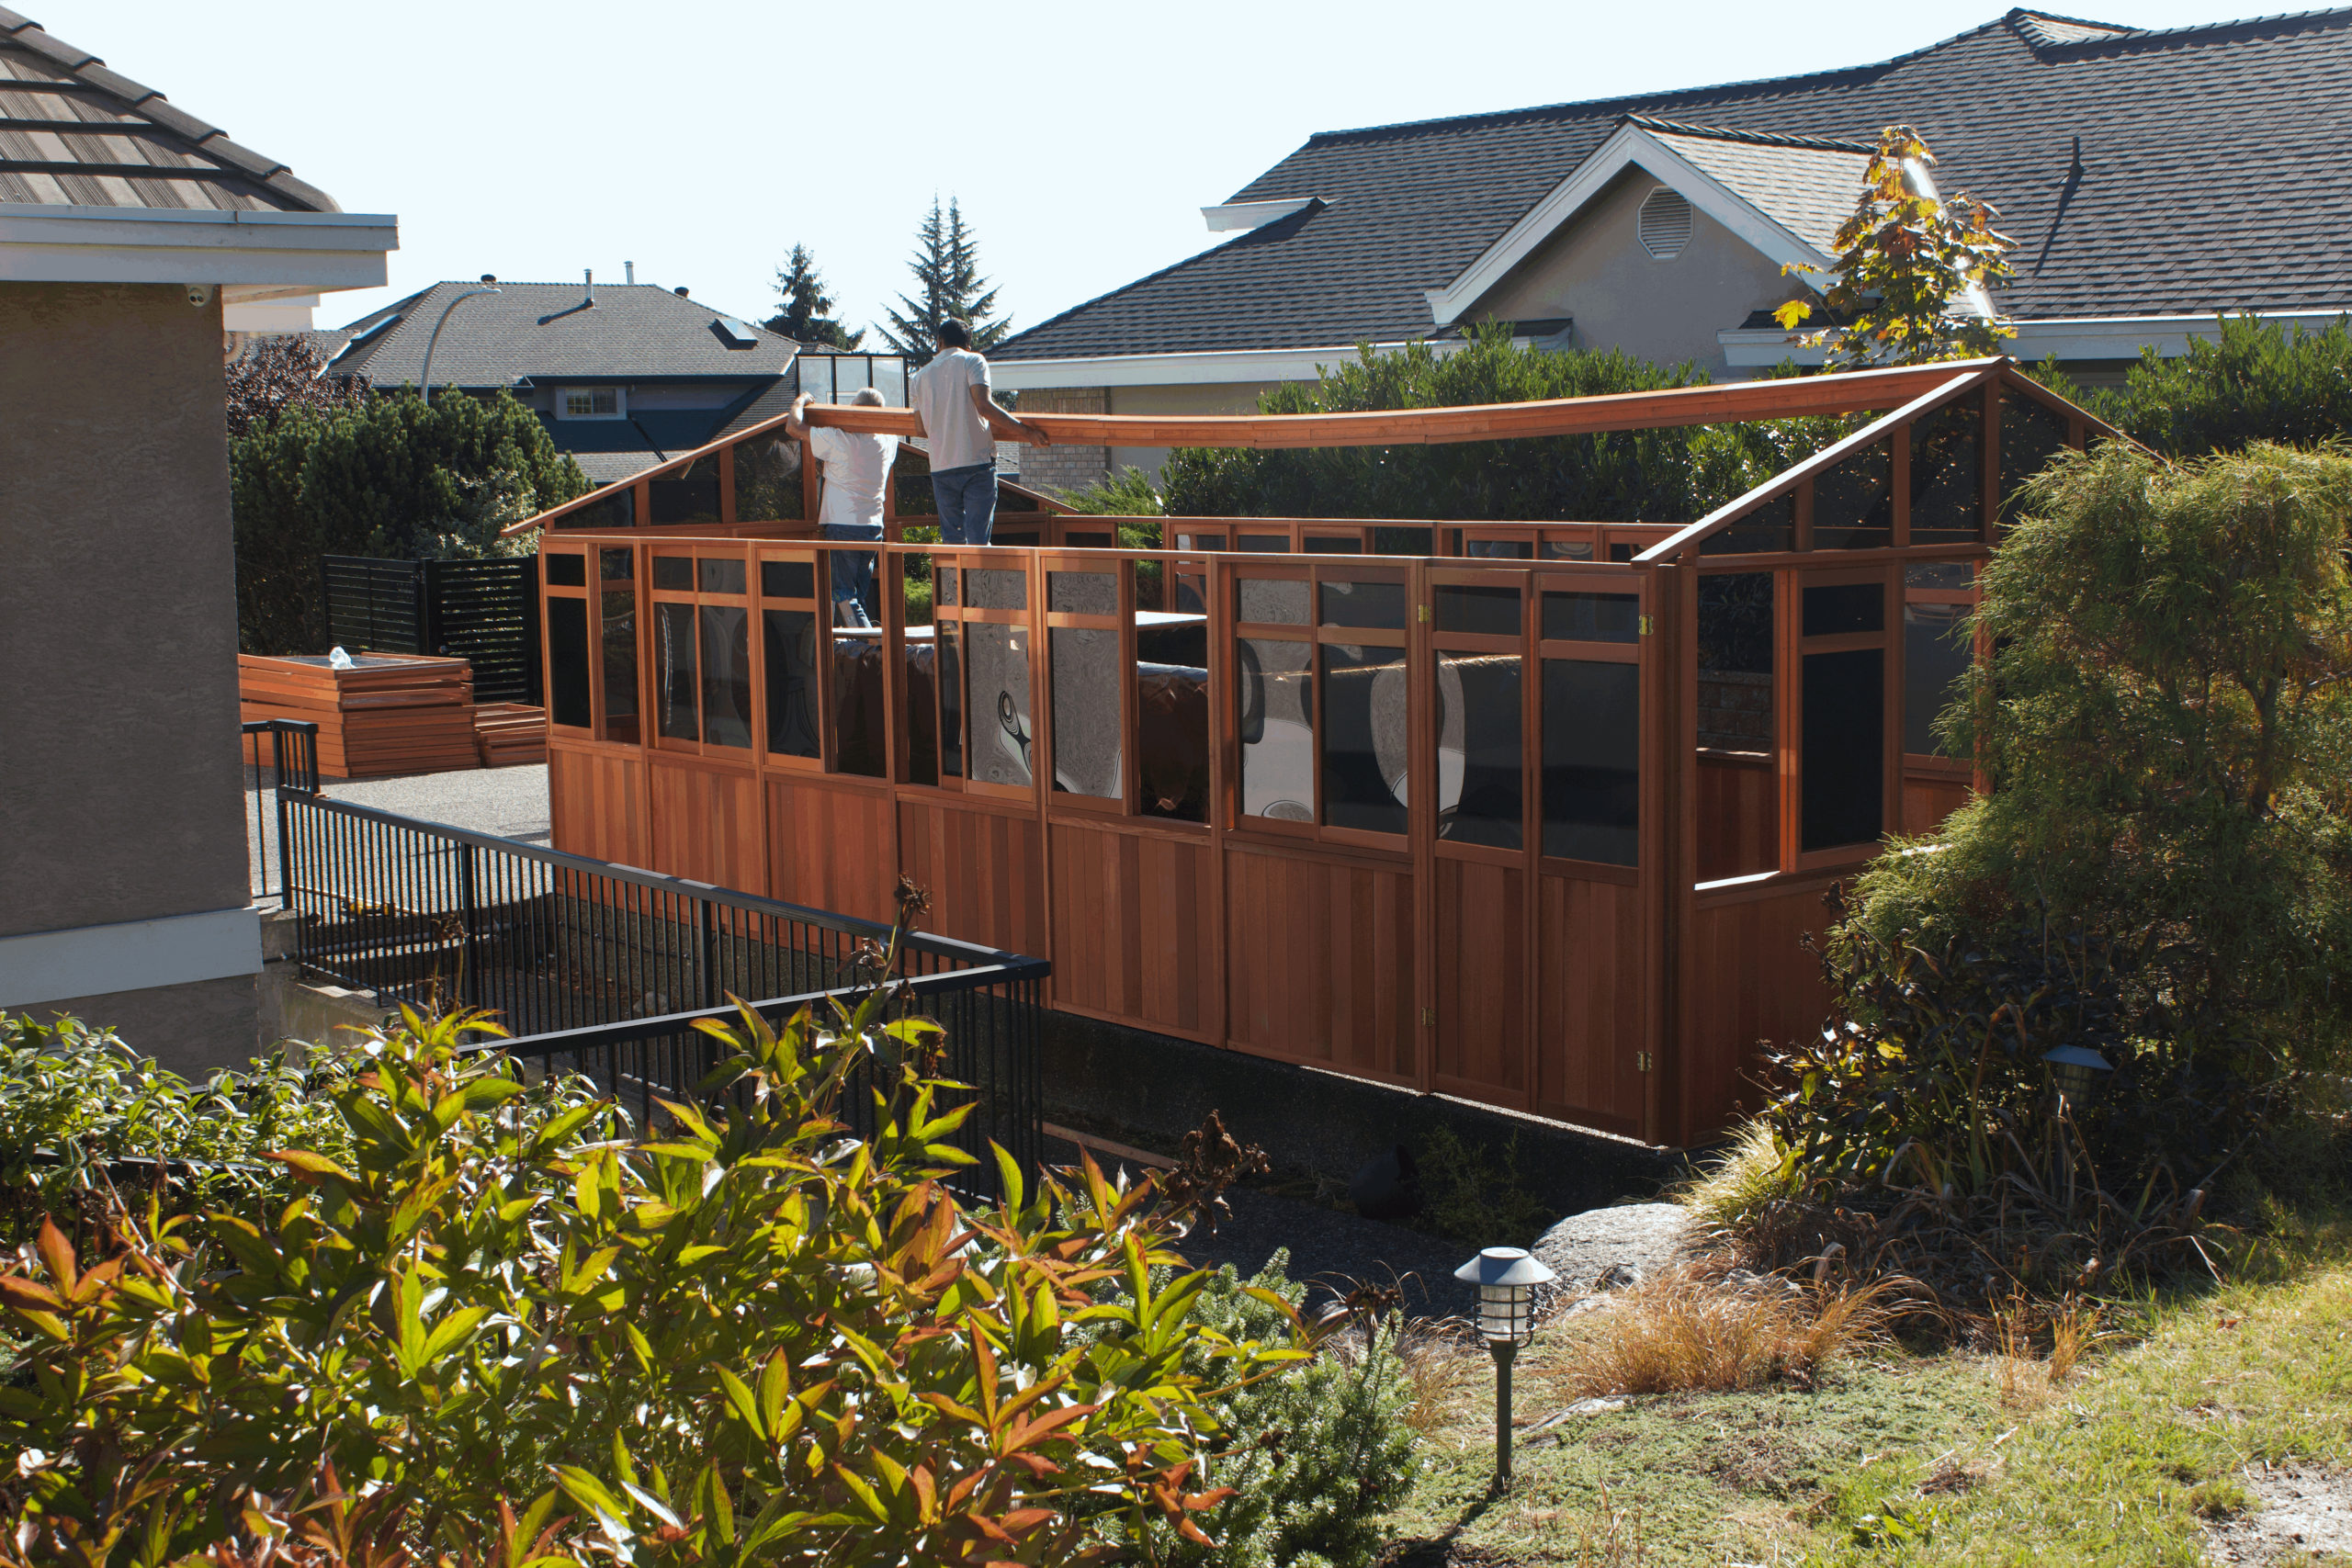
9. Install both gables on the opposite end of the building and attach the beam to the gables.
10. Attach the end roof panels to the beam and to the gable.
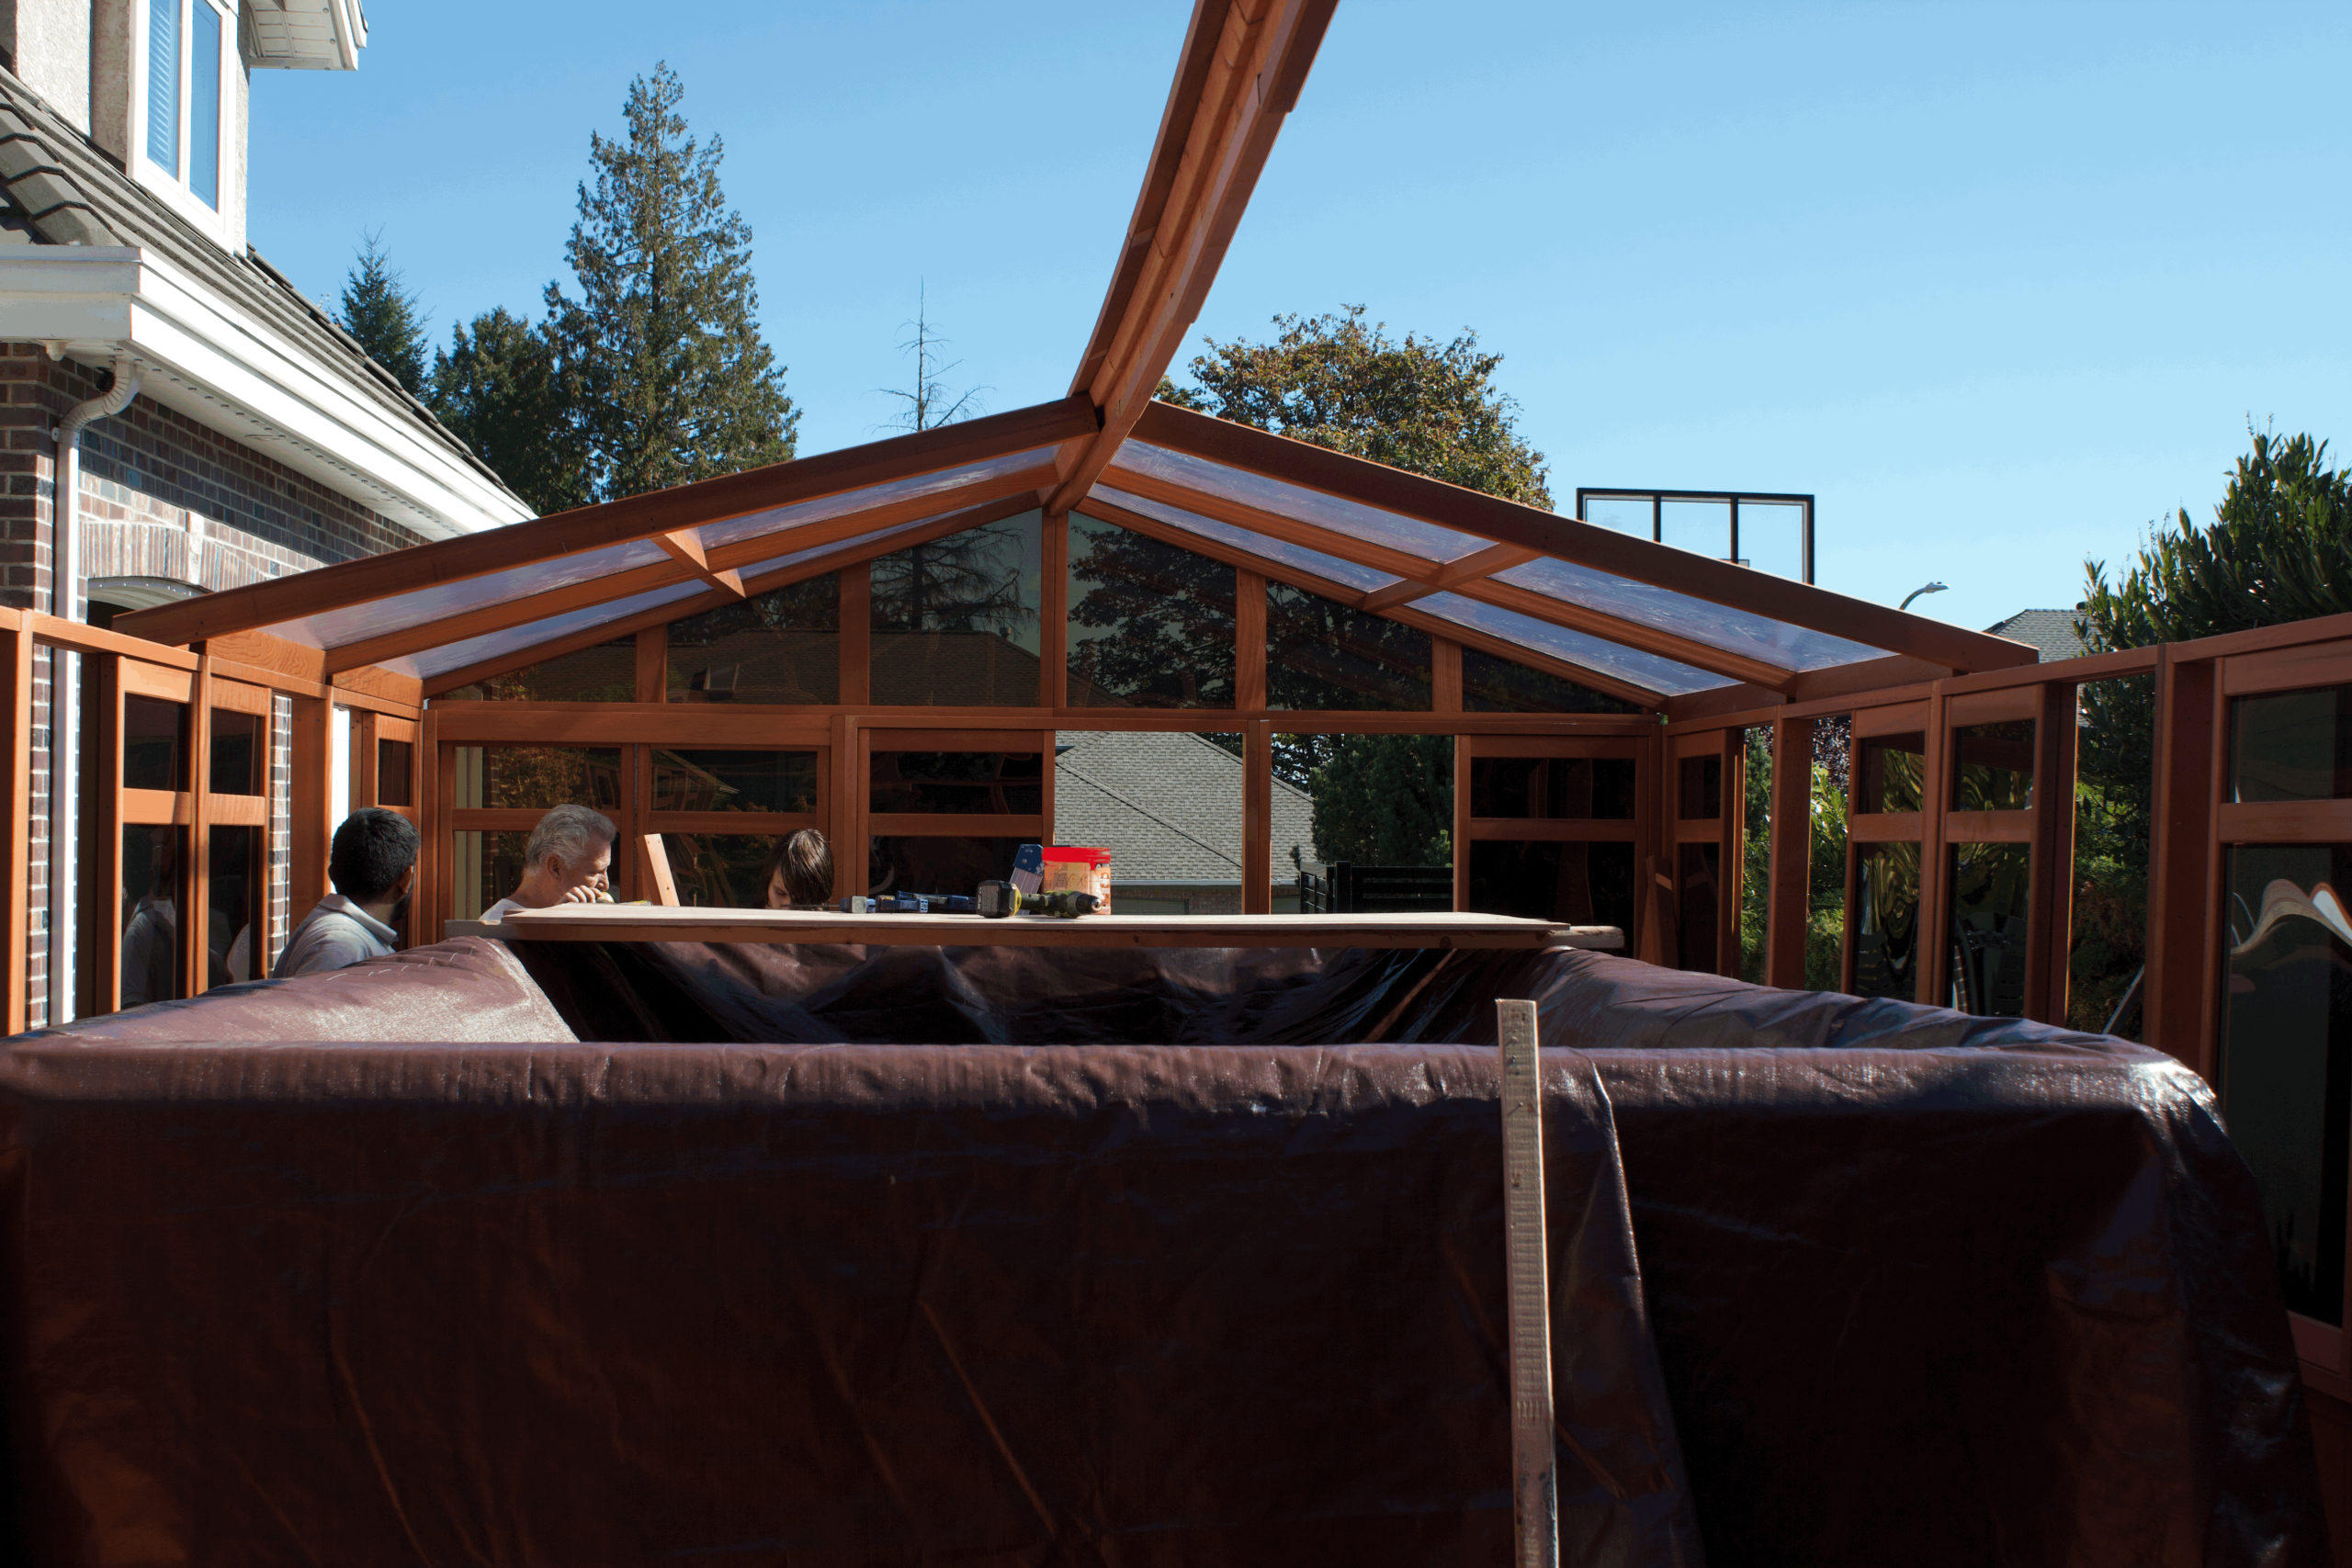
11. Continue by adding two center roof panels one on each side of the beam.
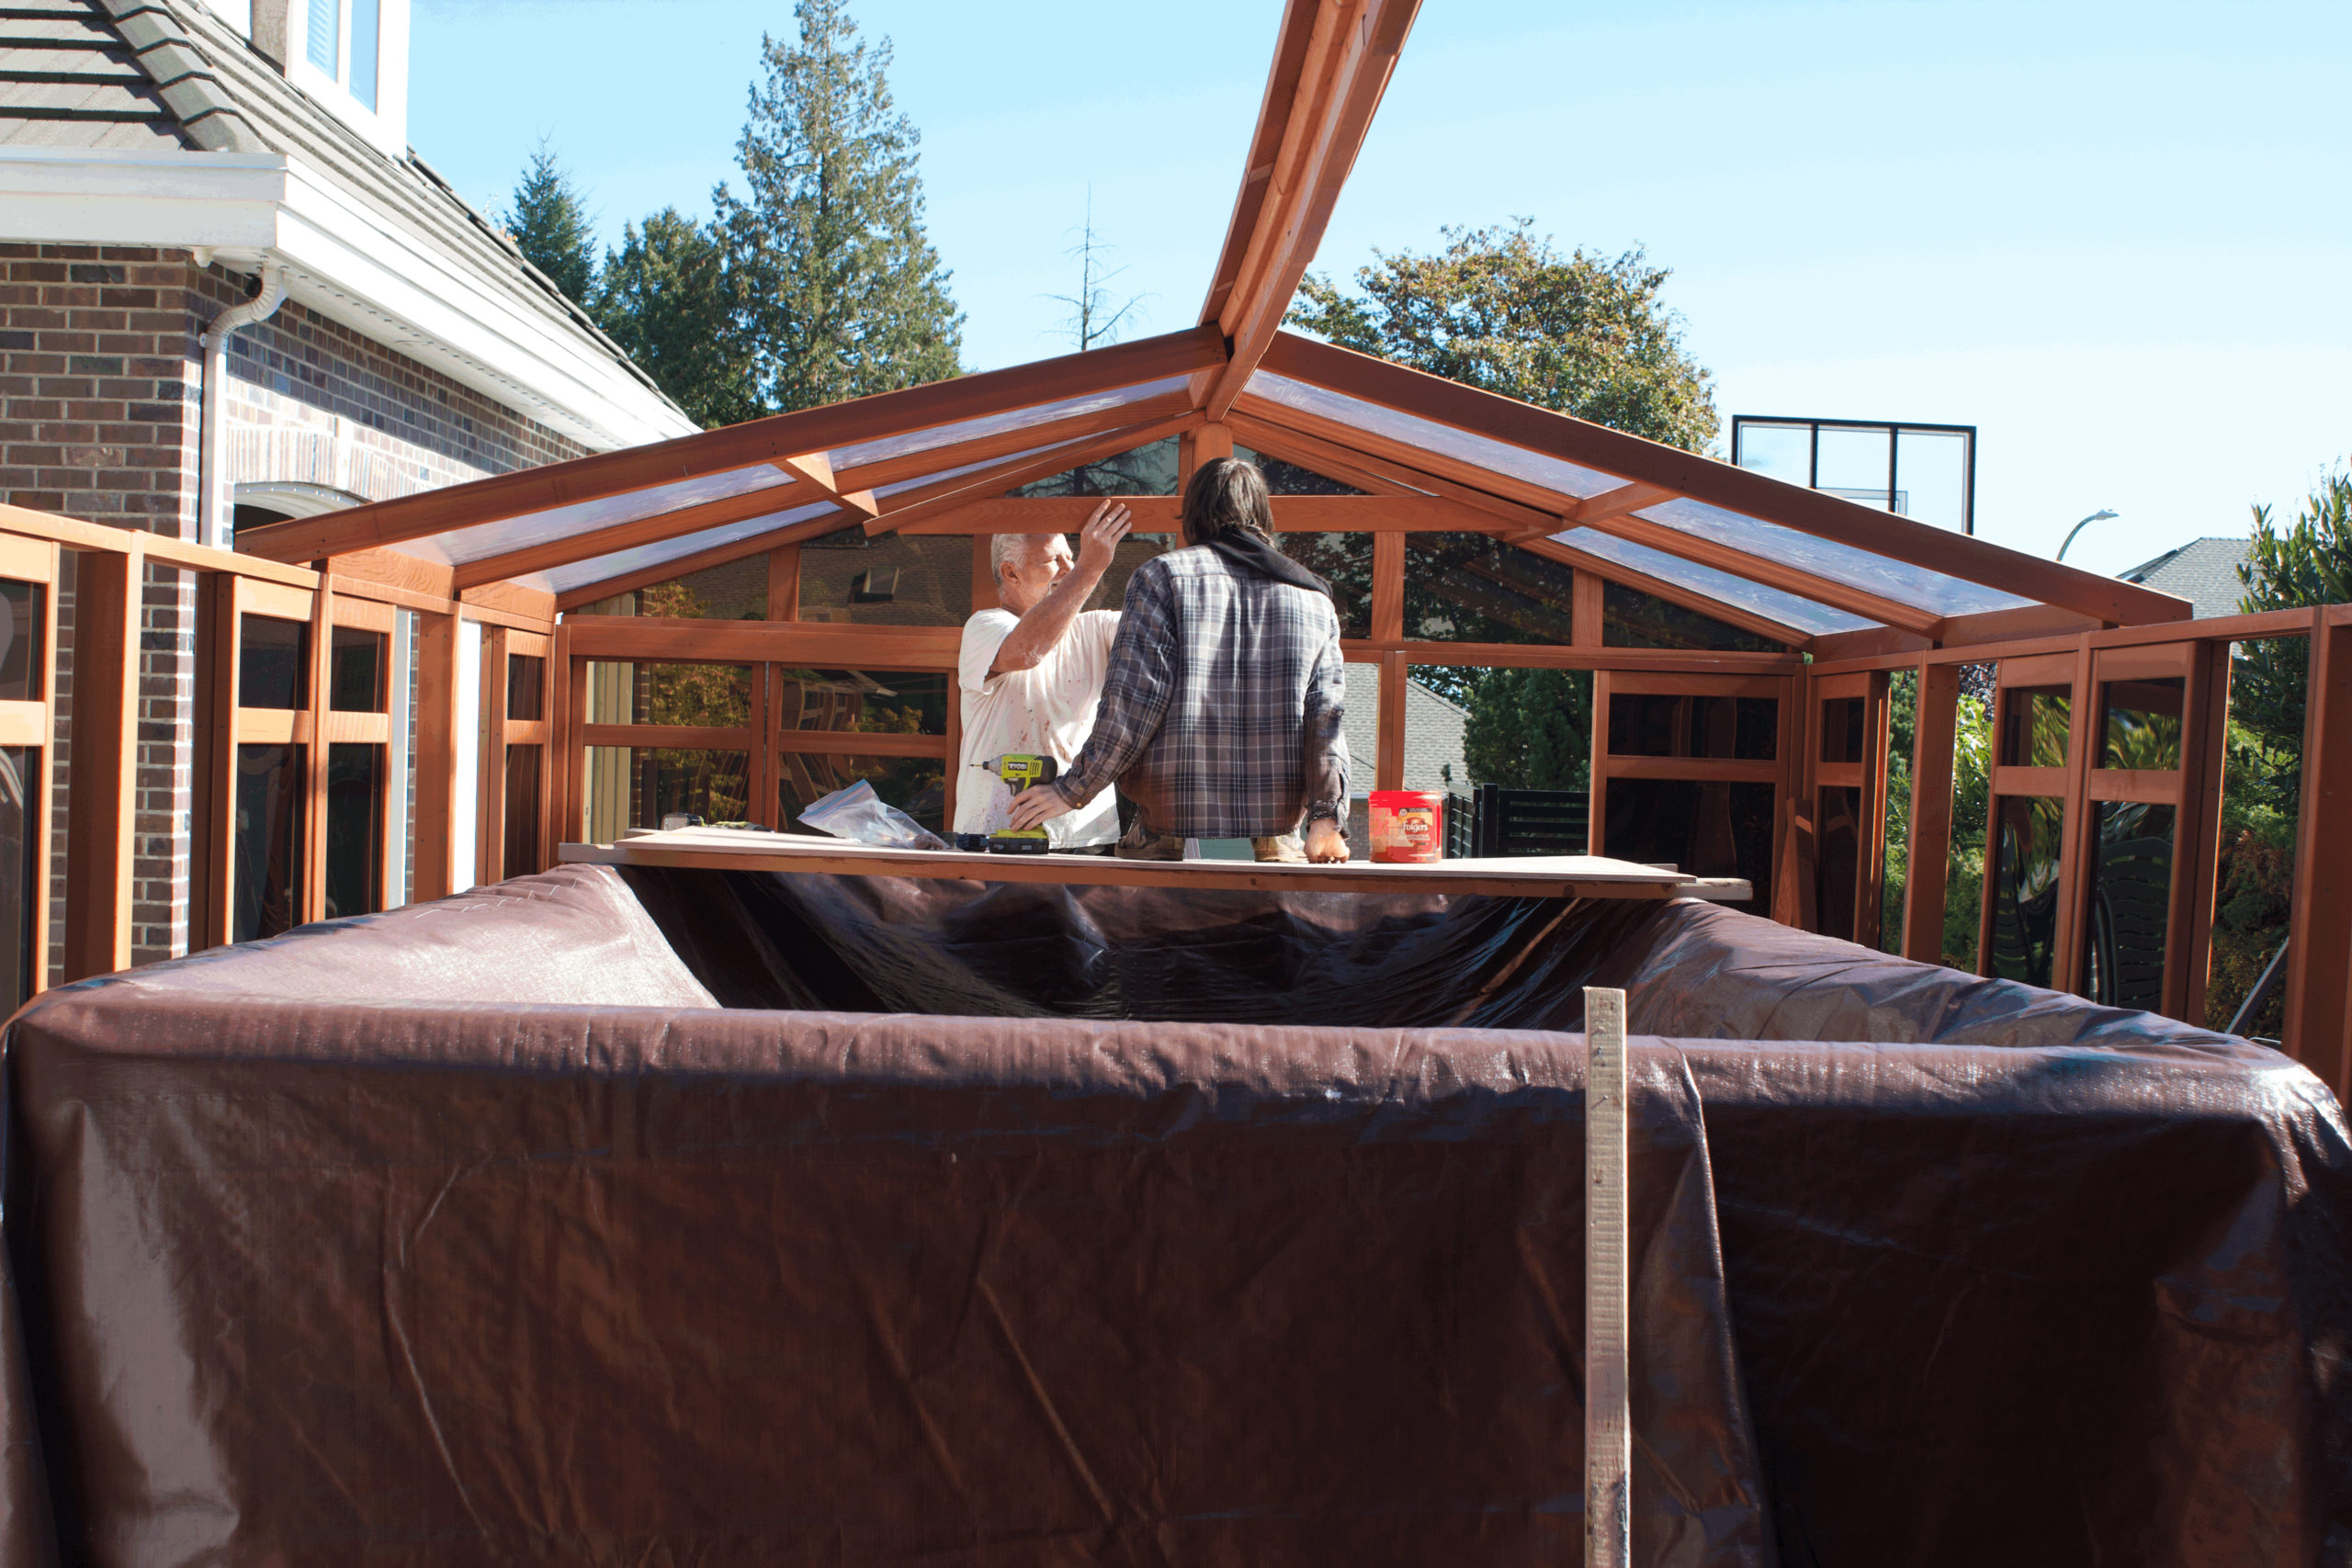
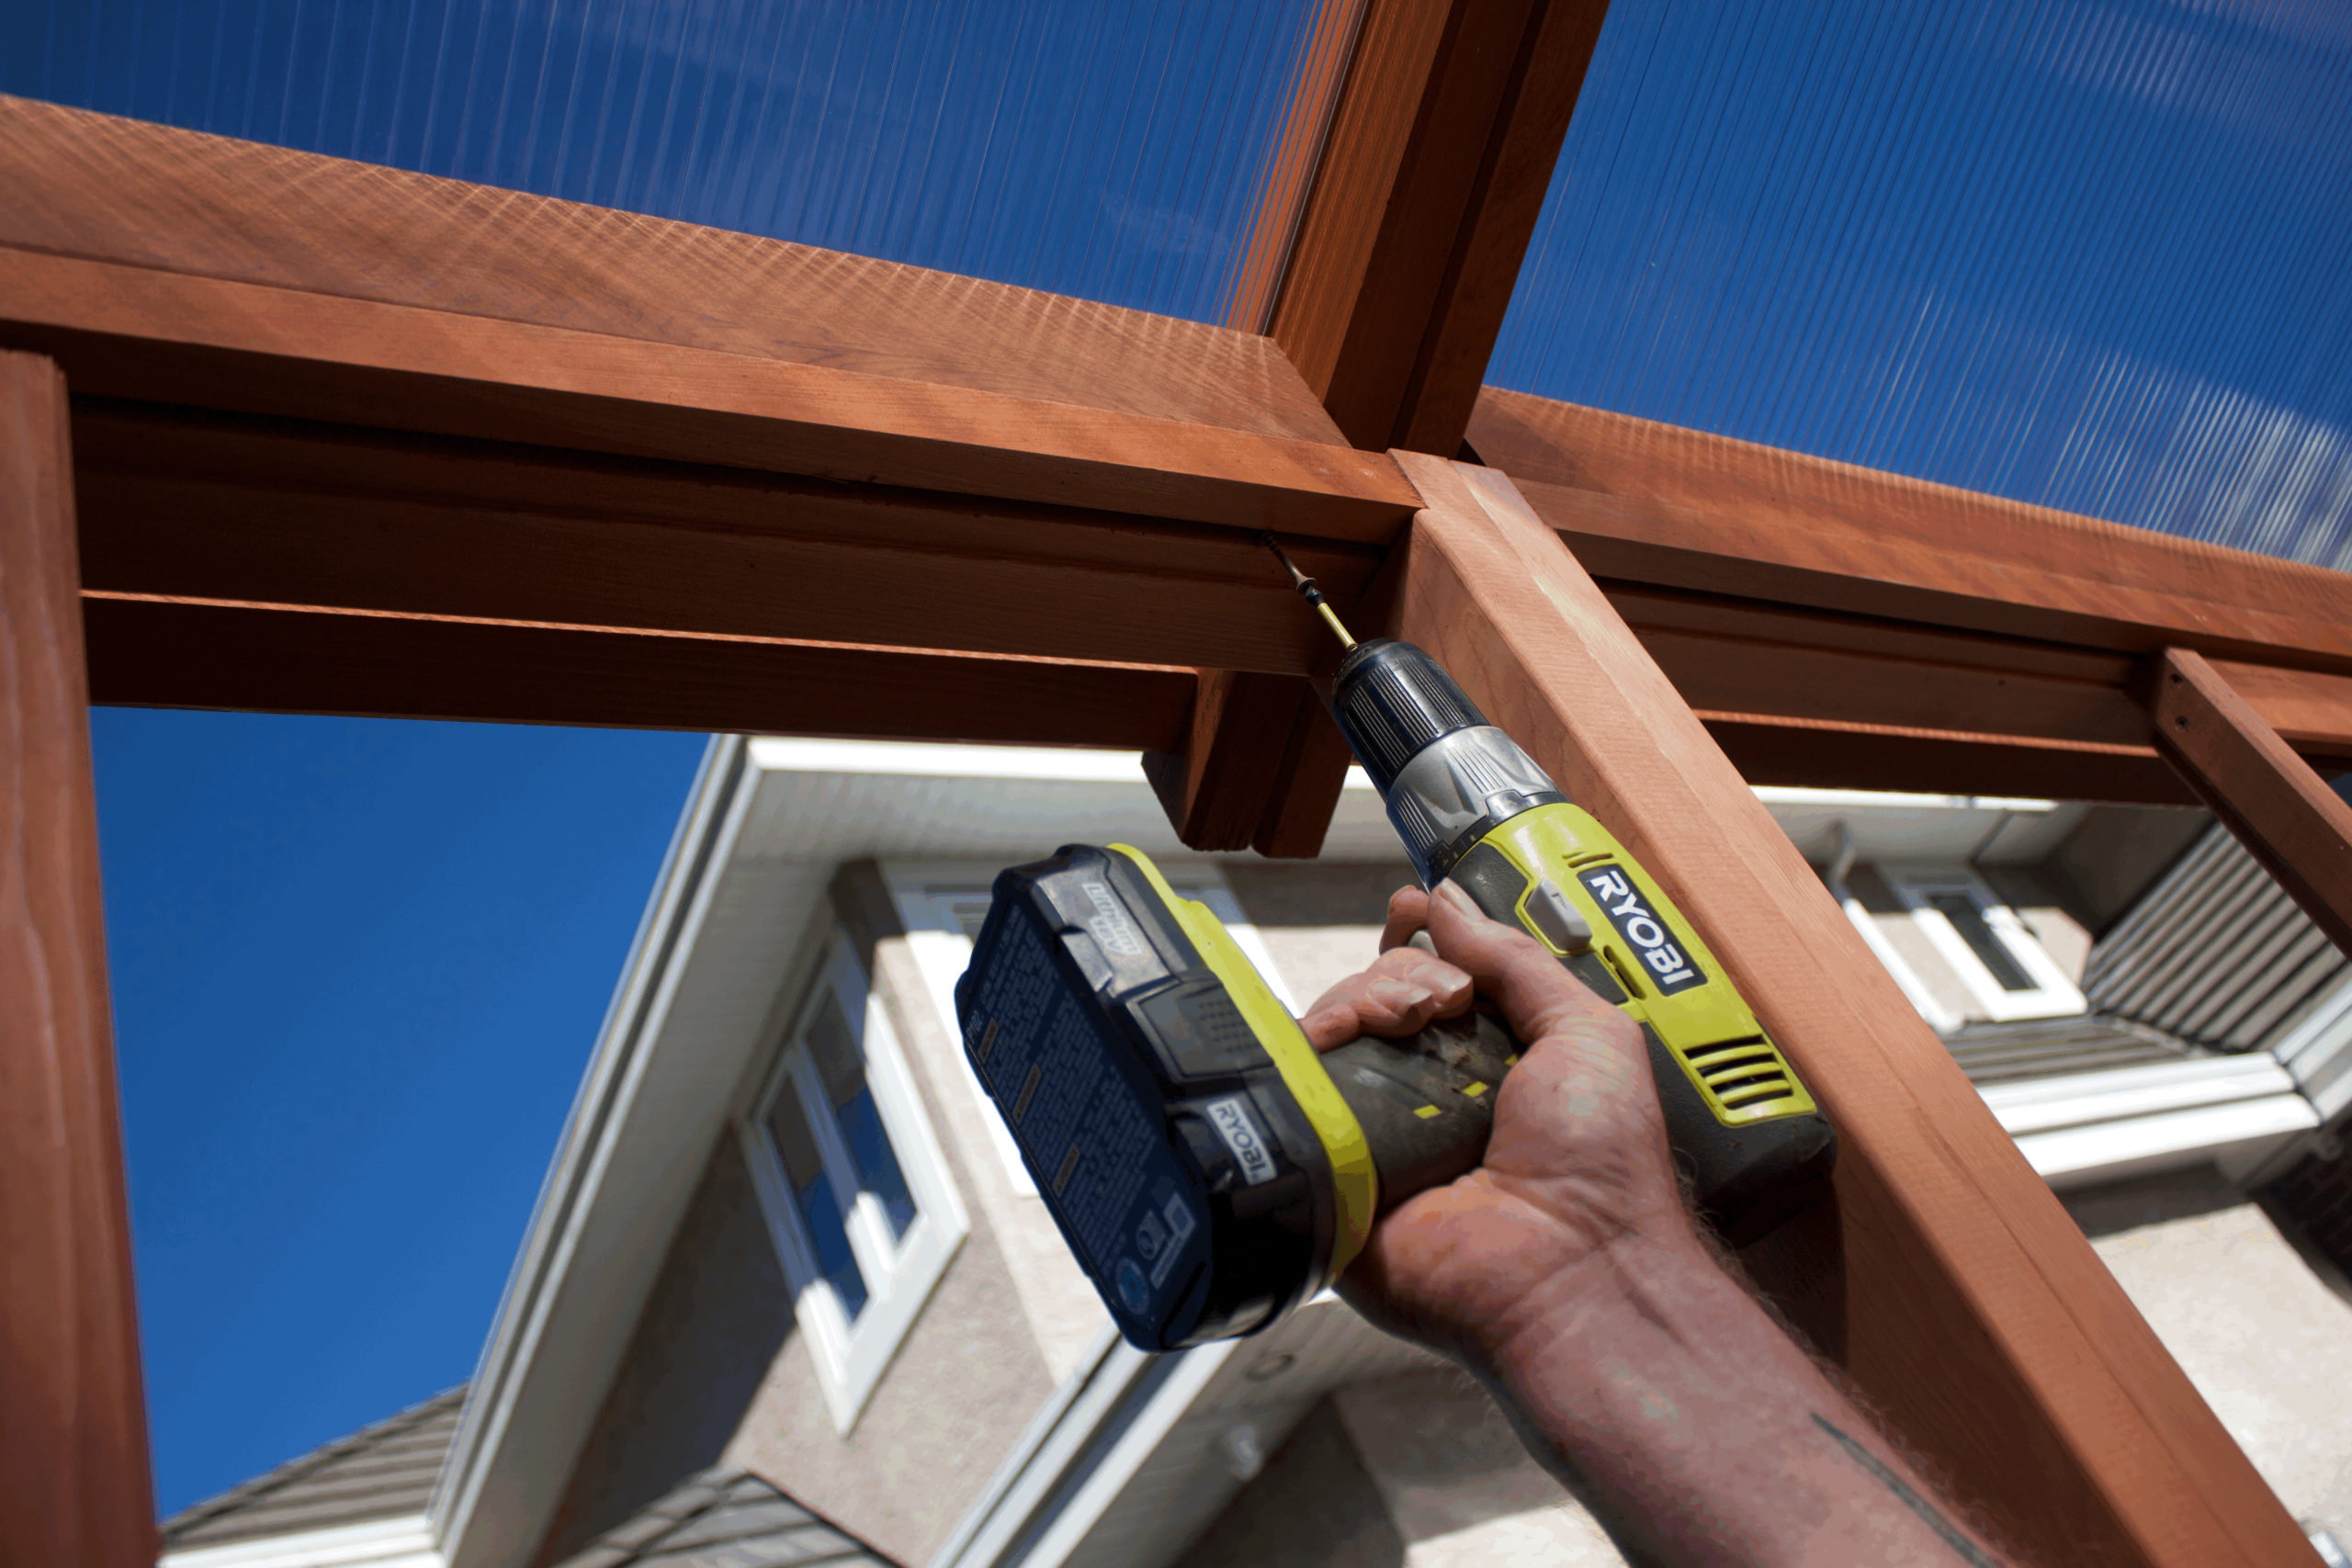
12. Attach a truss between the two end roof panels and the two center roof panels.

13. Continue adding additional center roof panels.
14. Continue attaching more center roof panels and trusses.
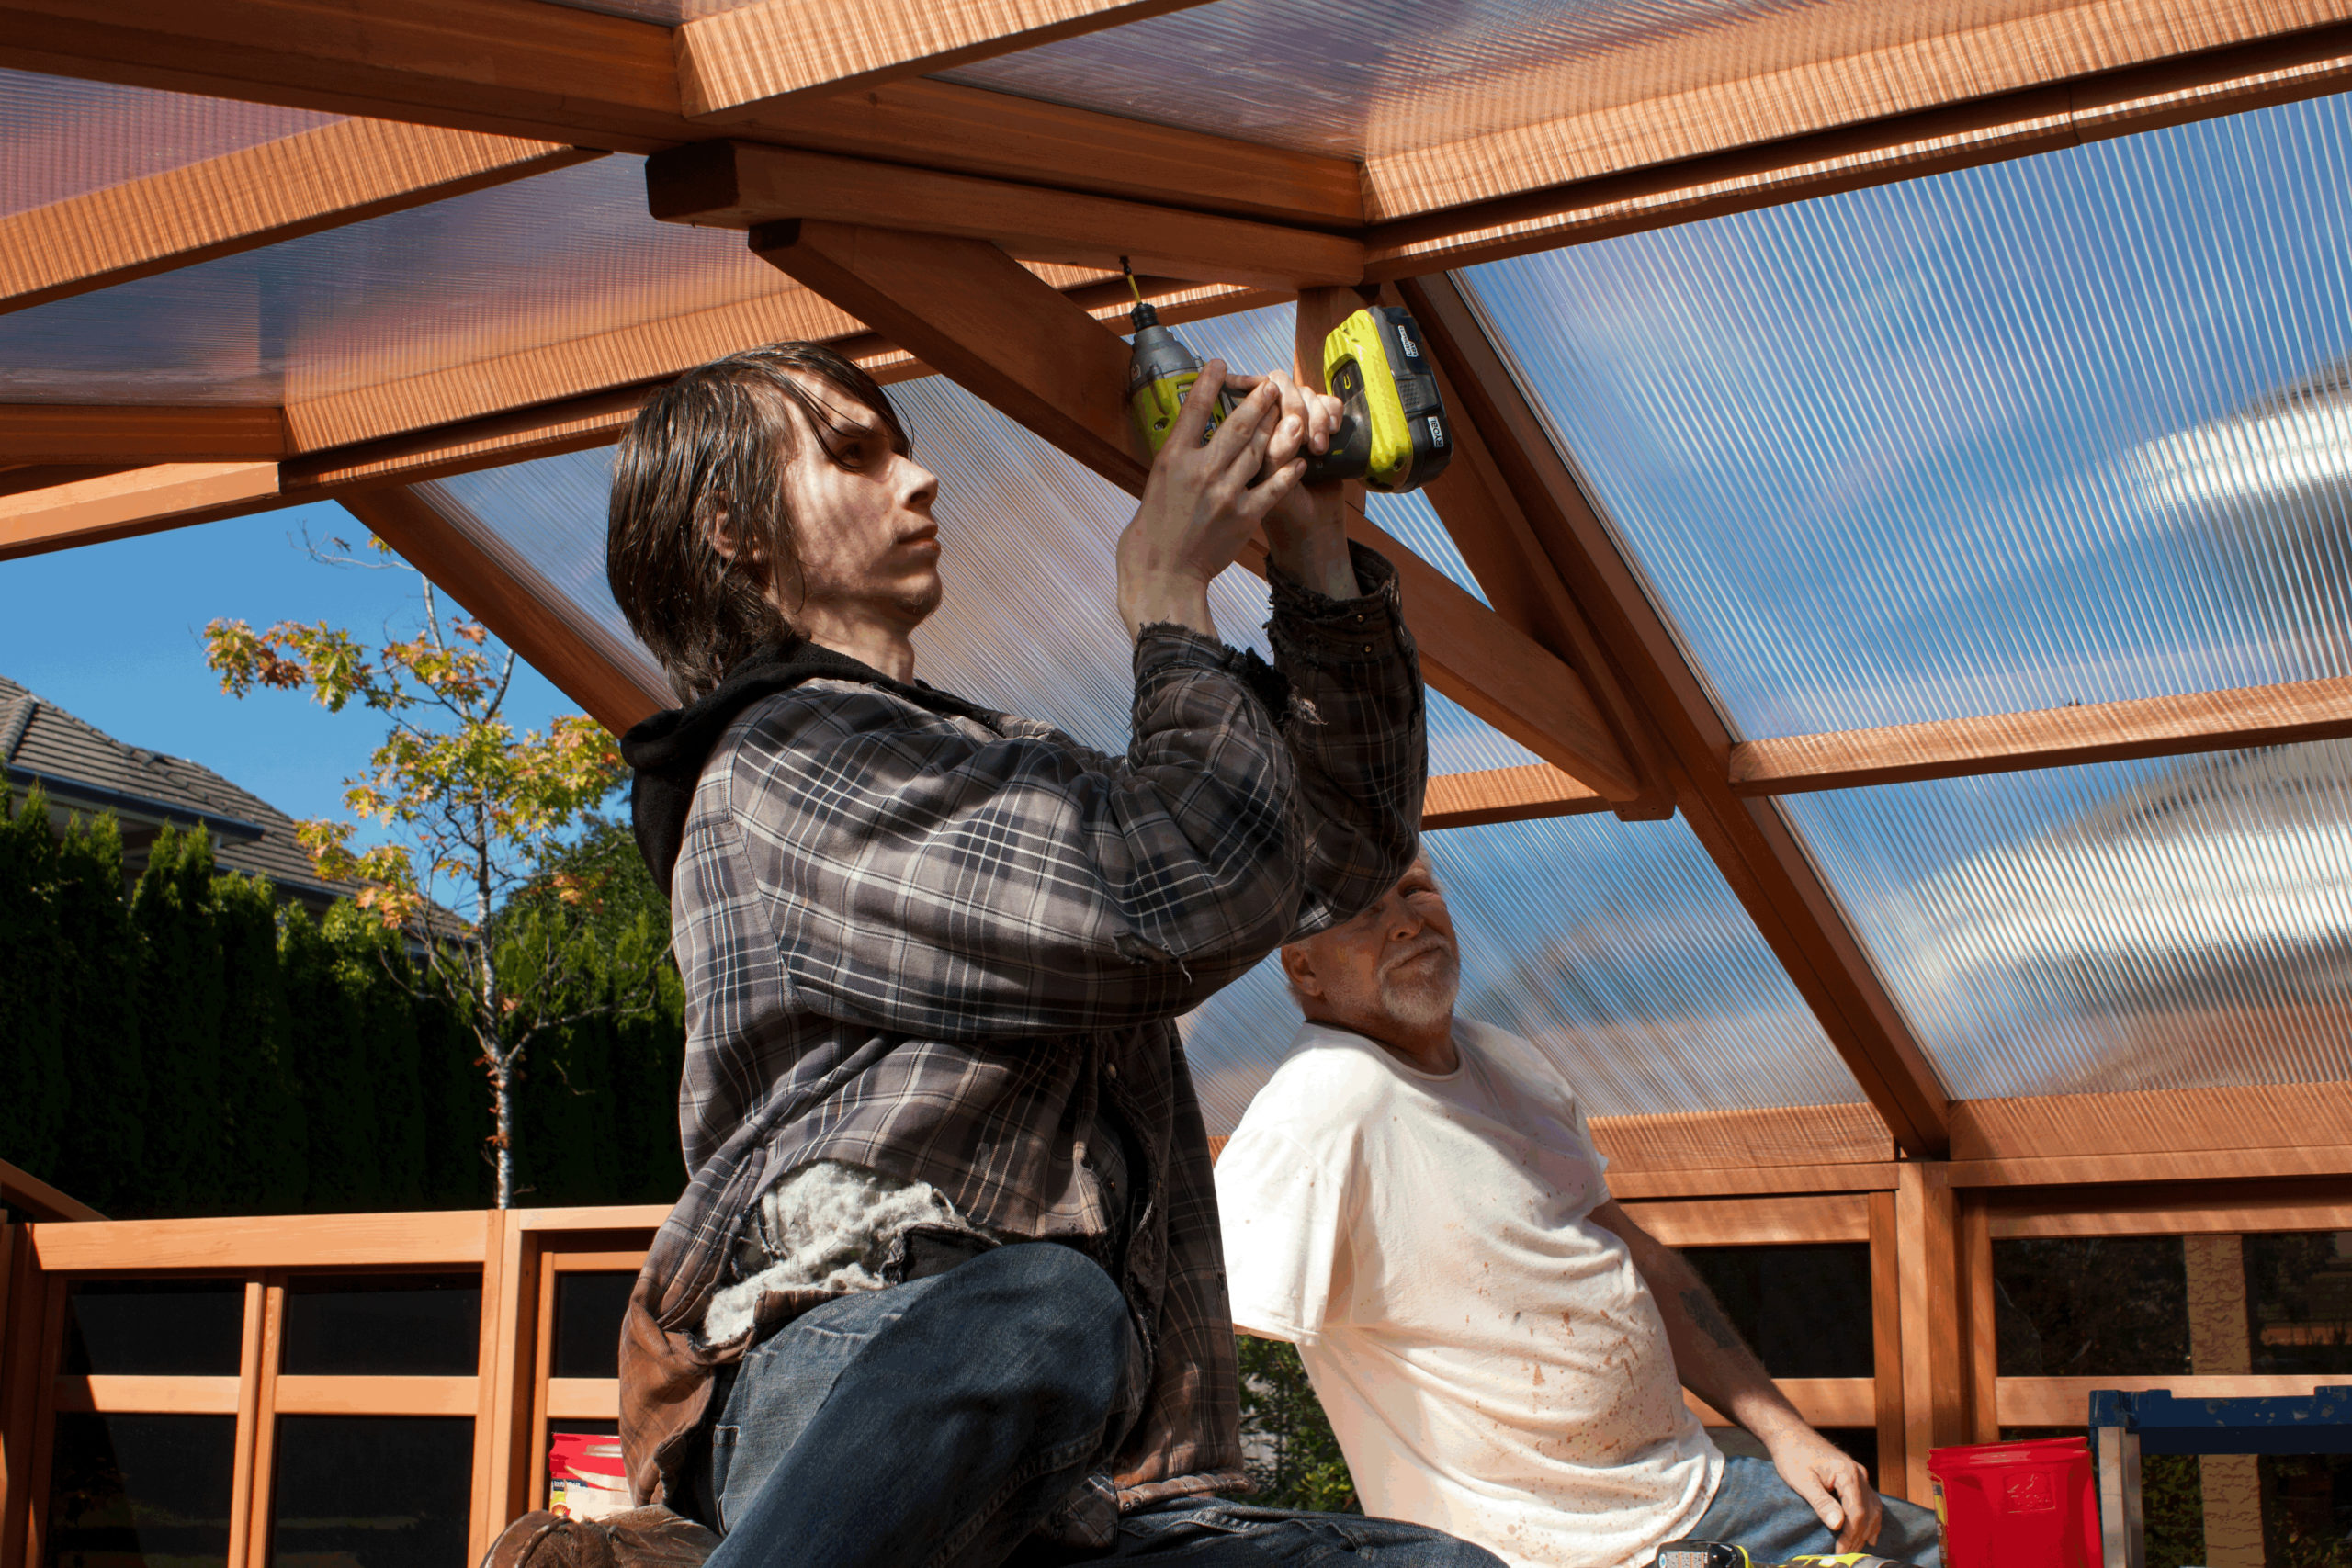
15. Attach the roof panels to the walls by screwing upwards from the wall into the roof panel.
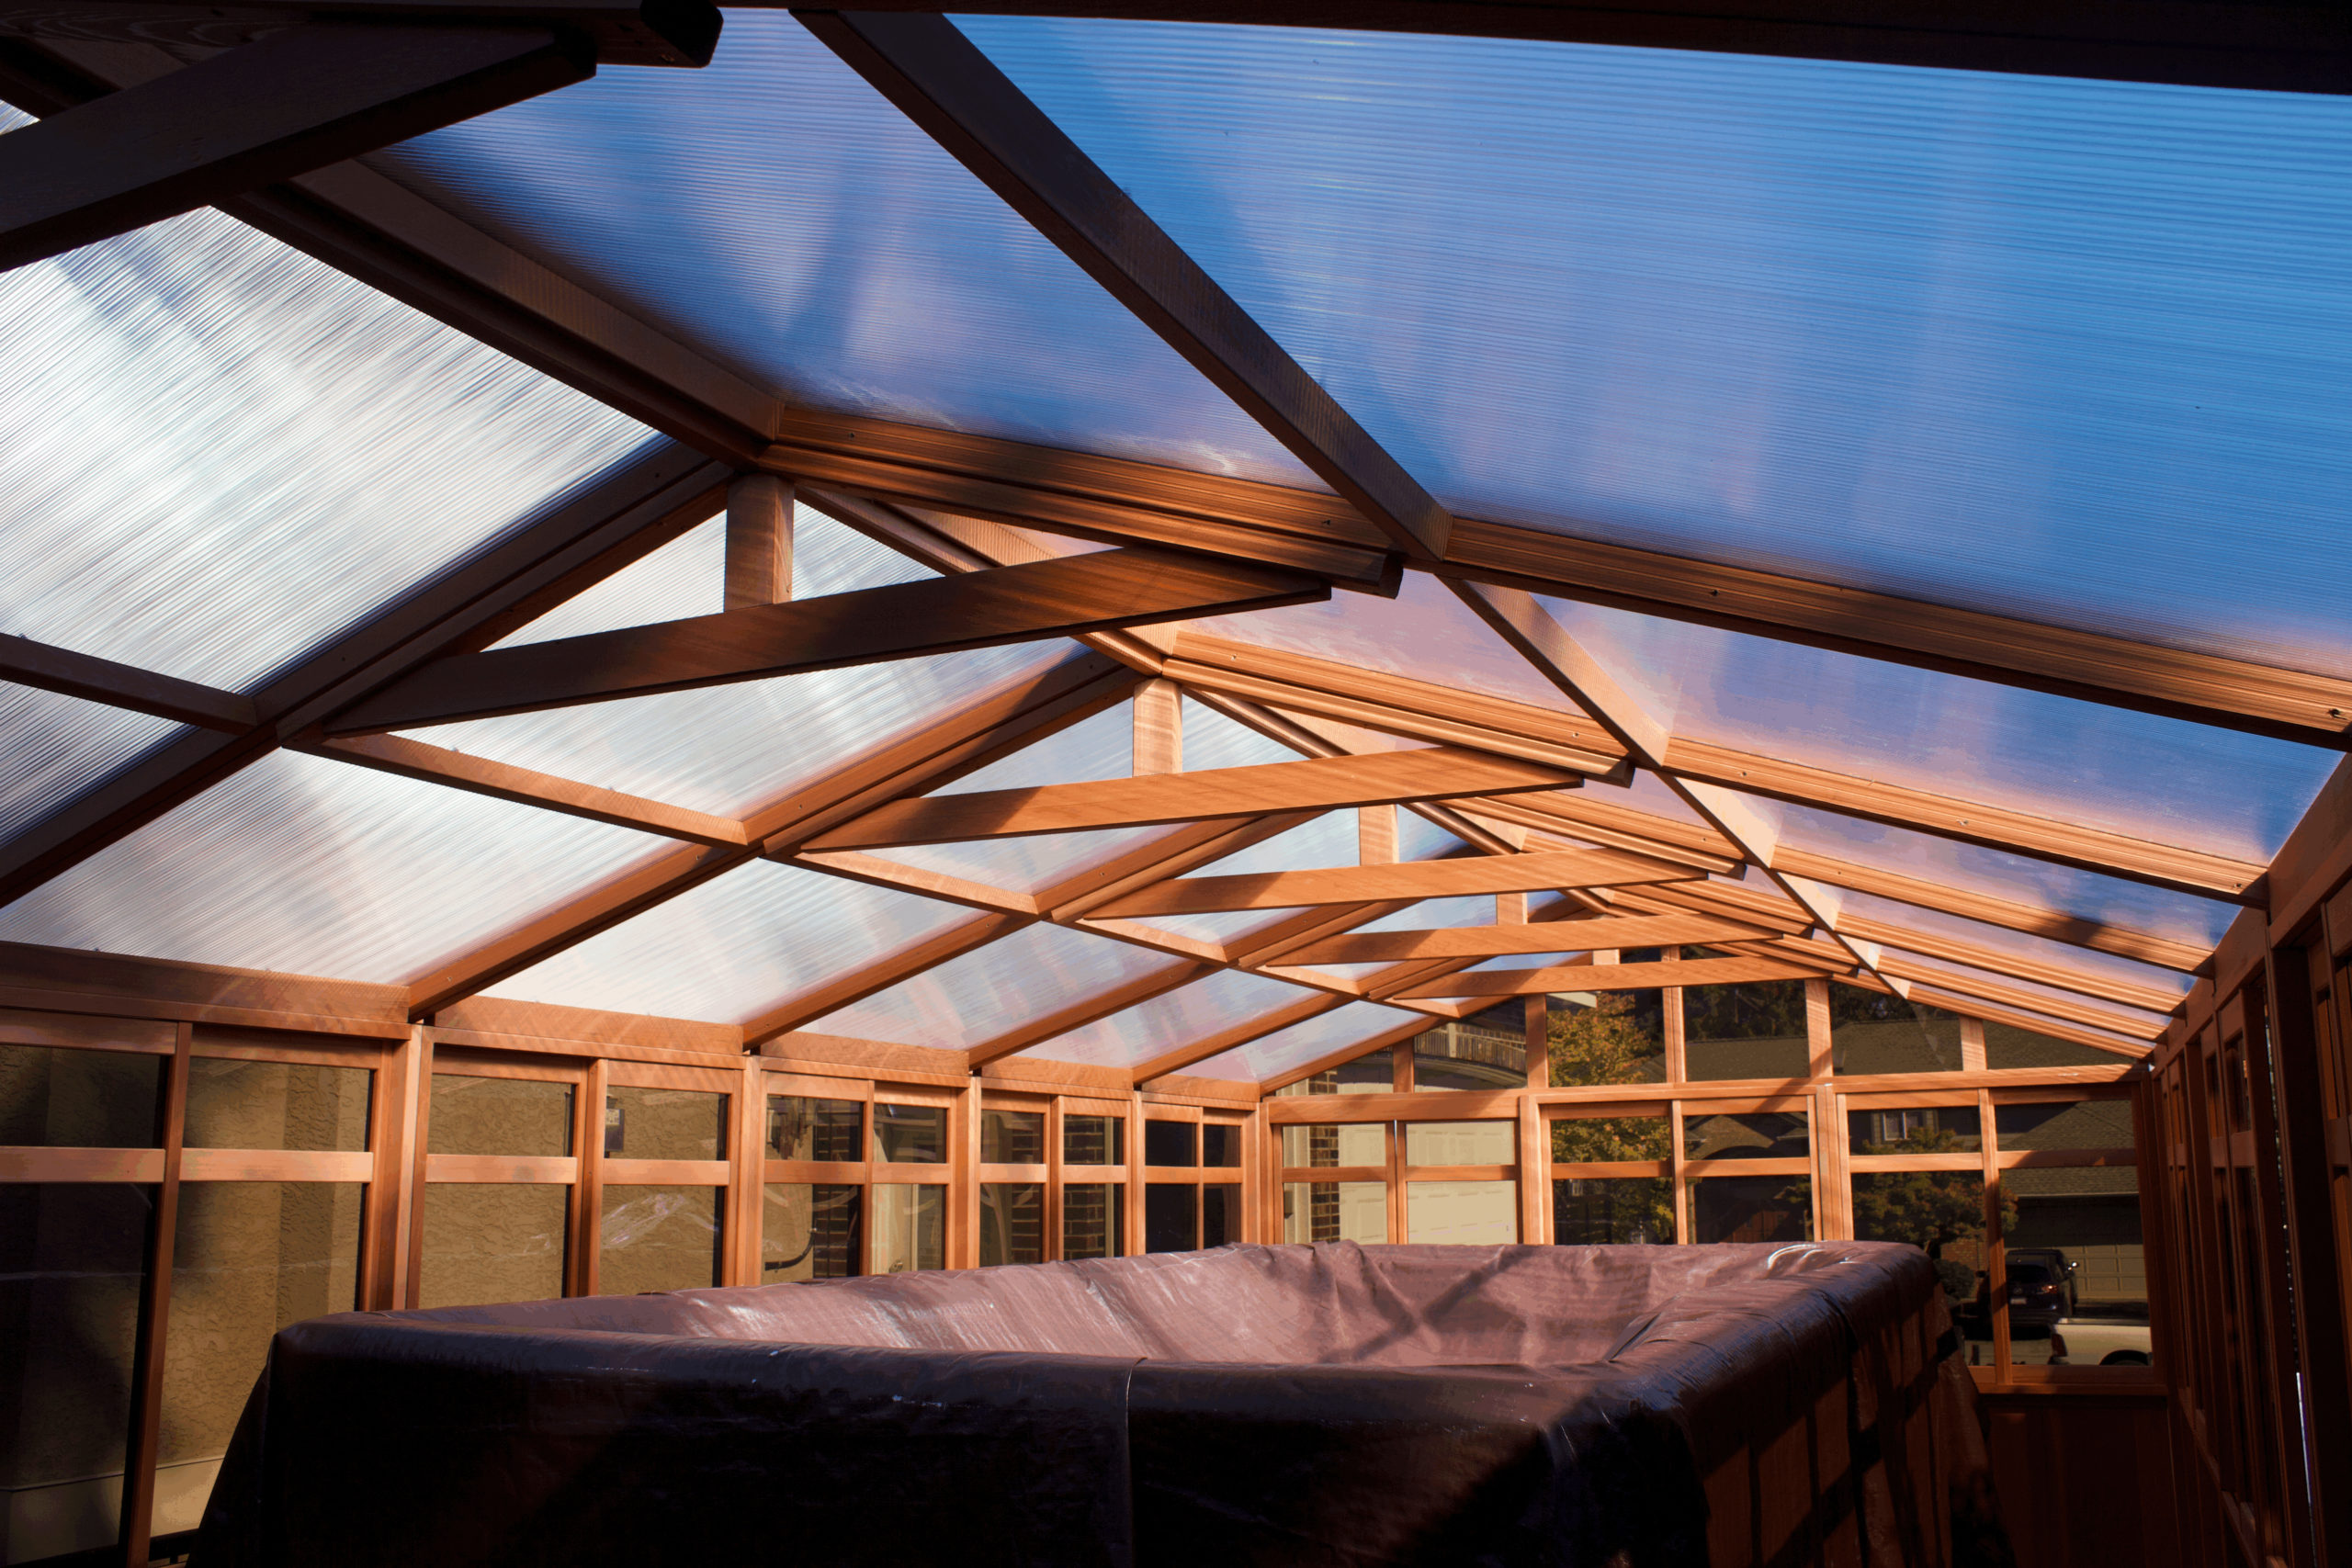
16. Once all center roof panels are attached, add the final two end roof panels and secure to the end gable.
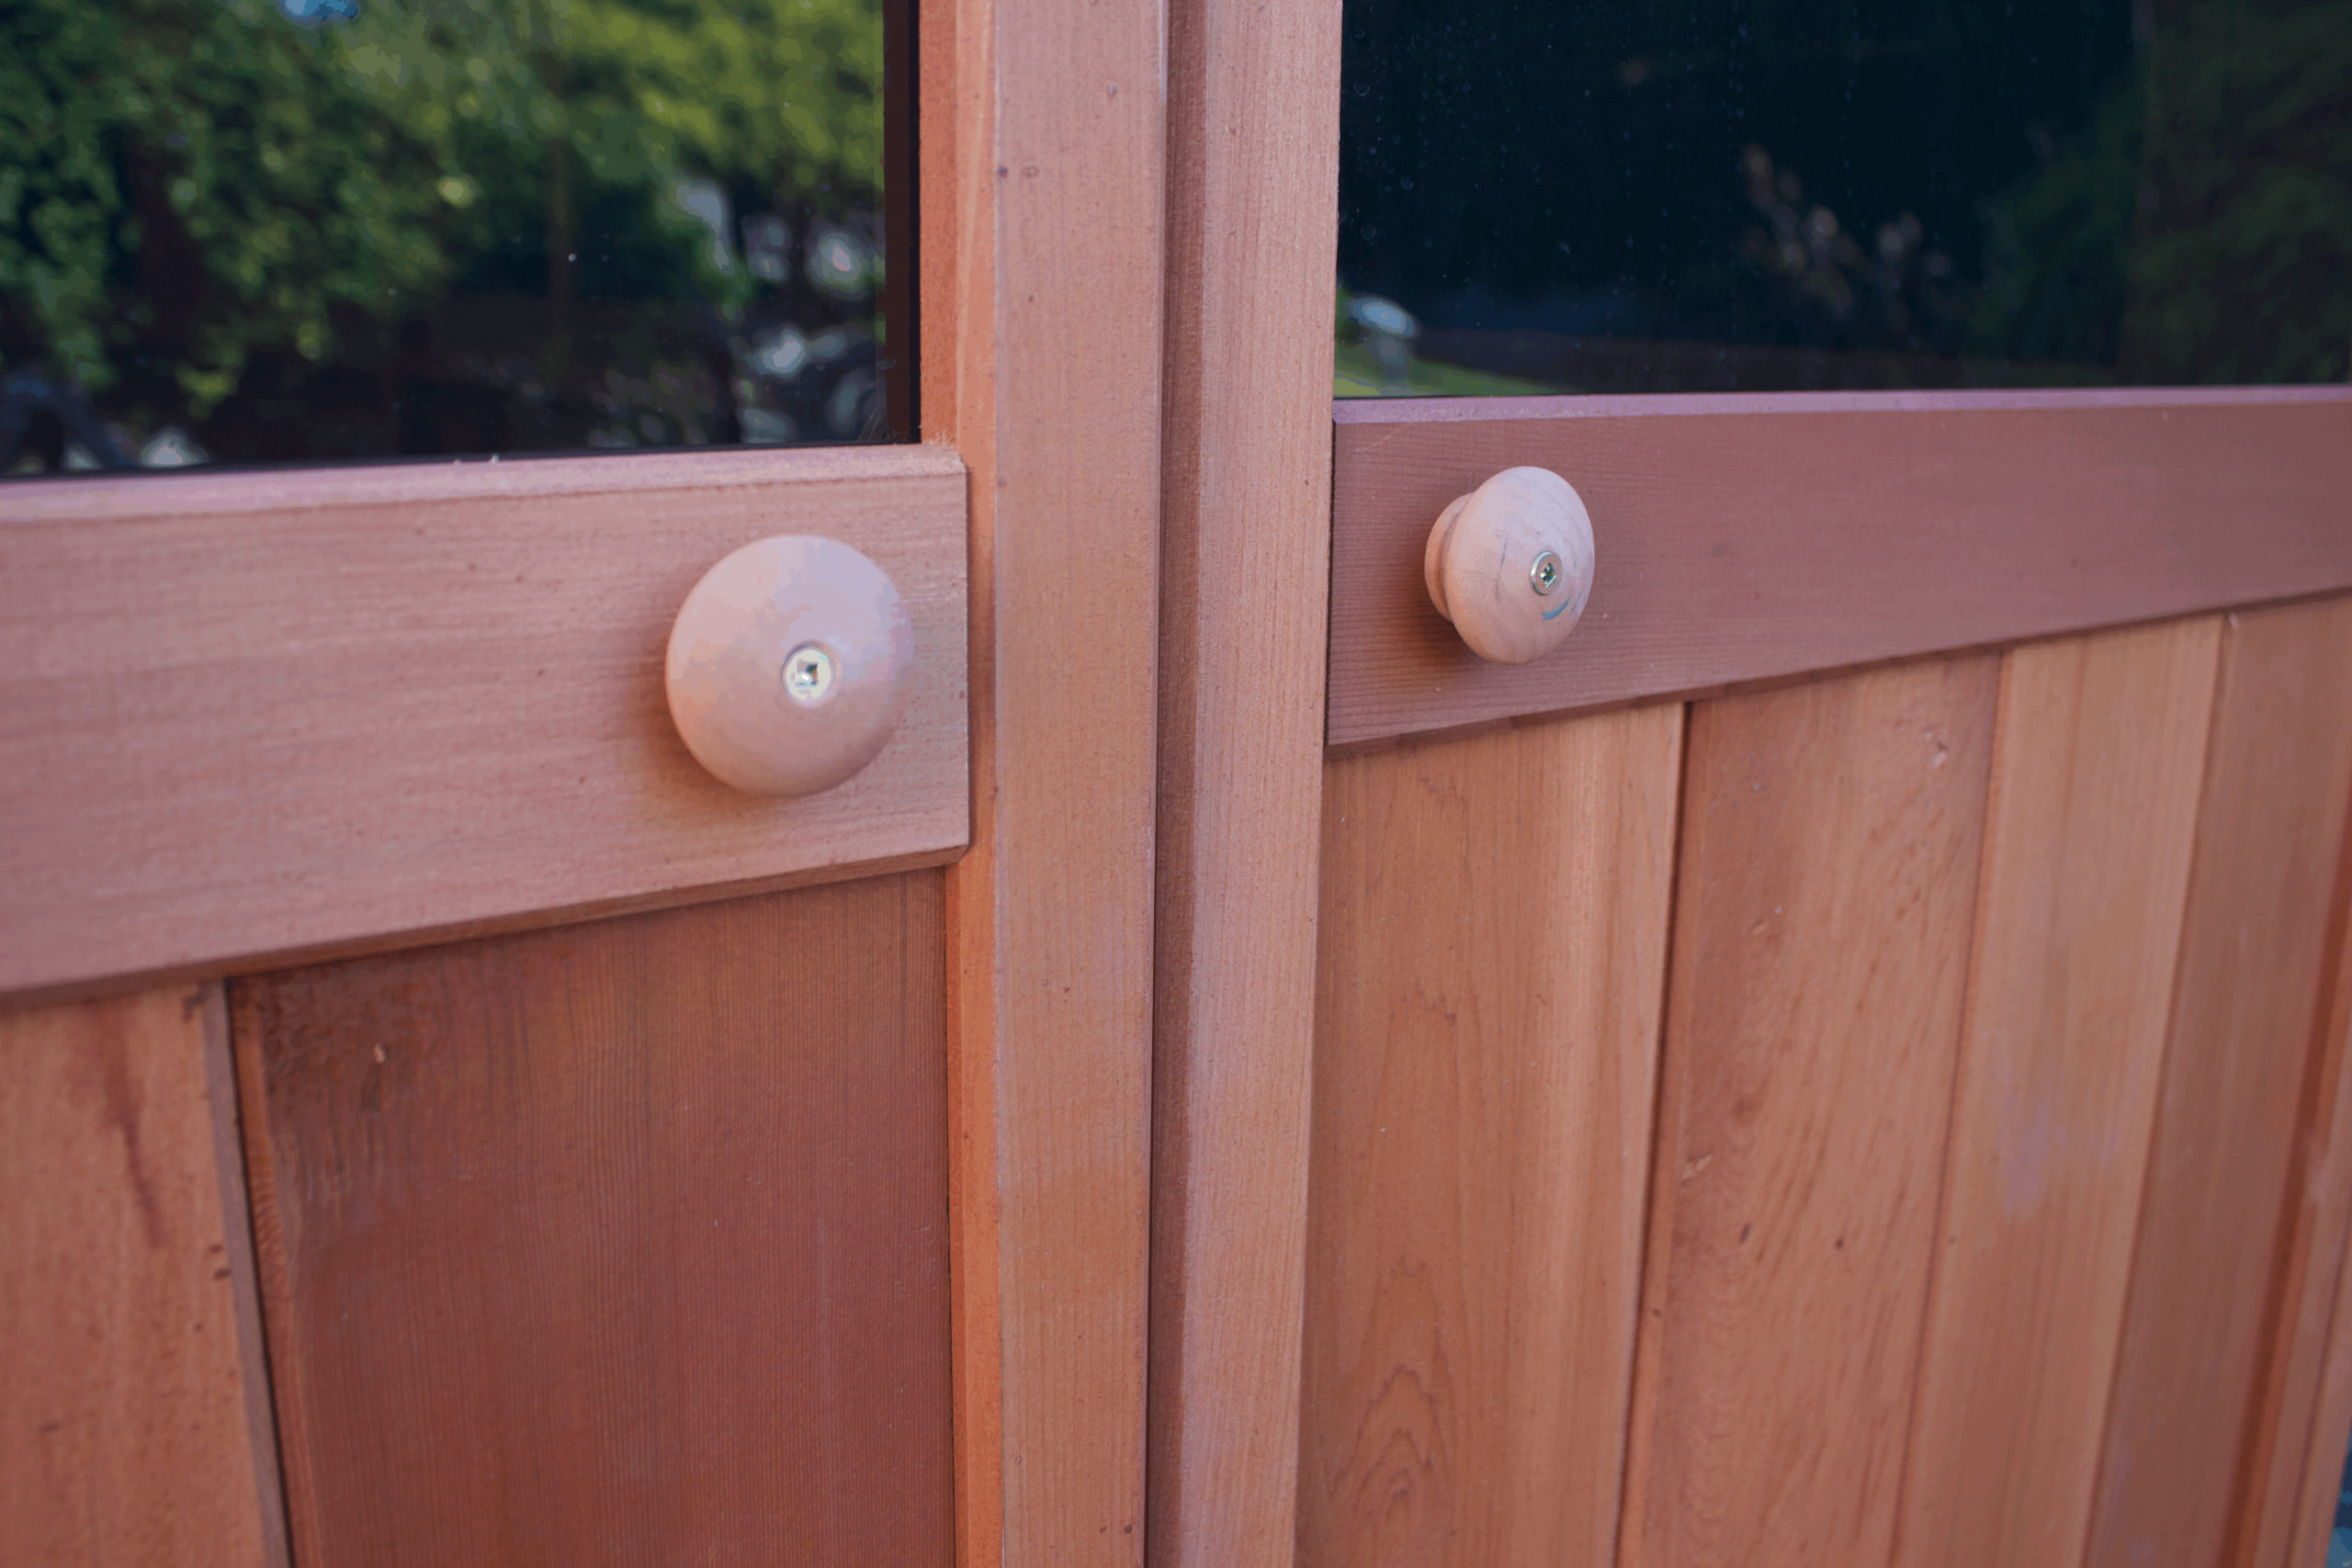
17. Attach the door knobs.
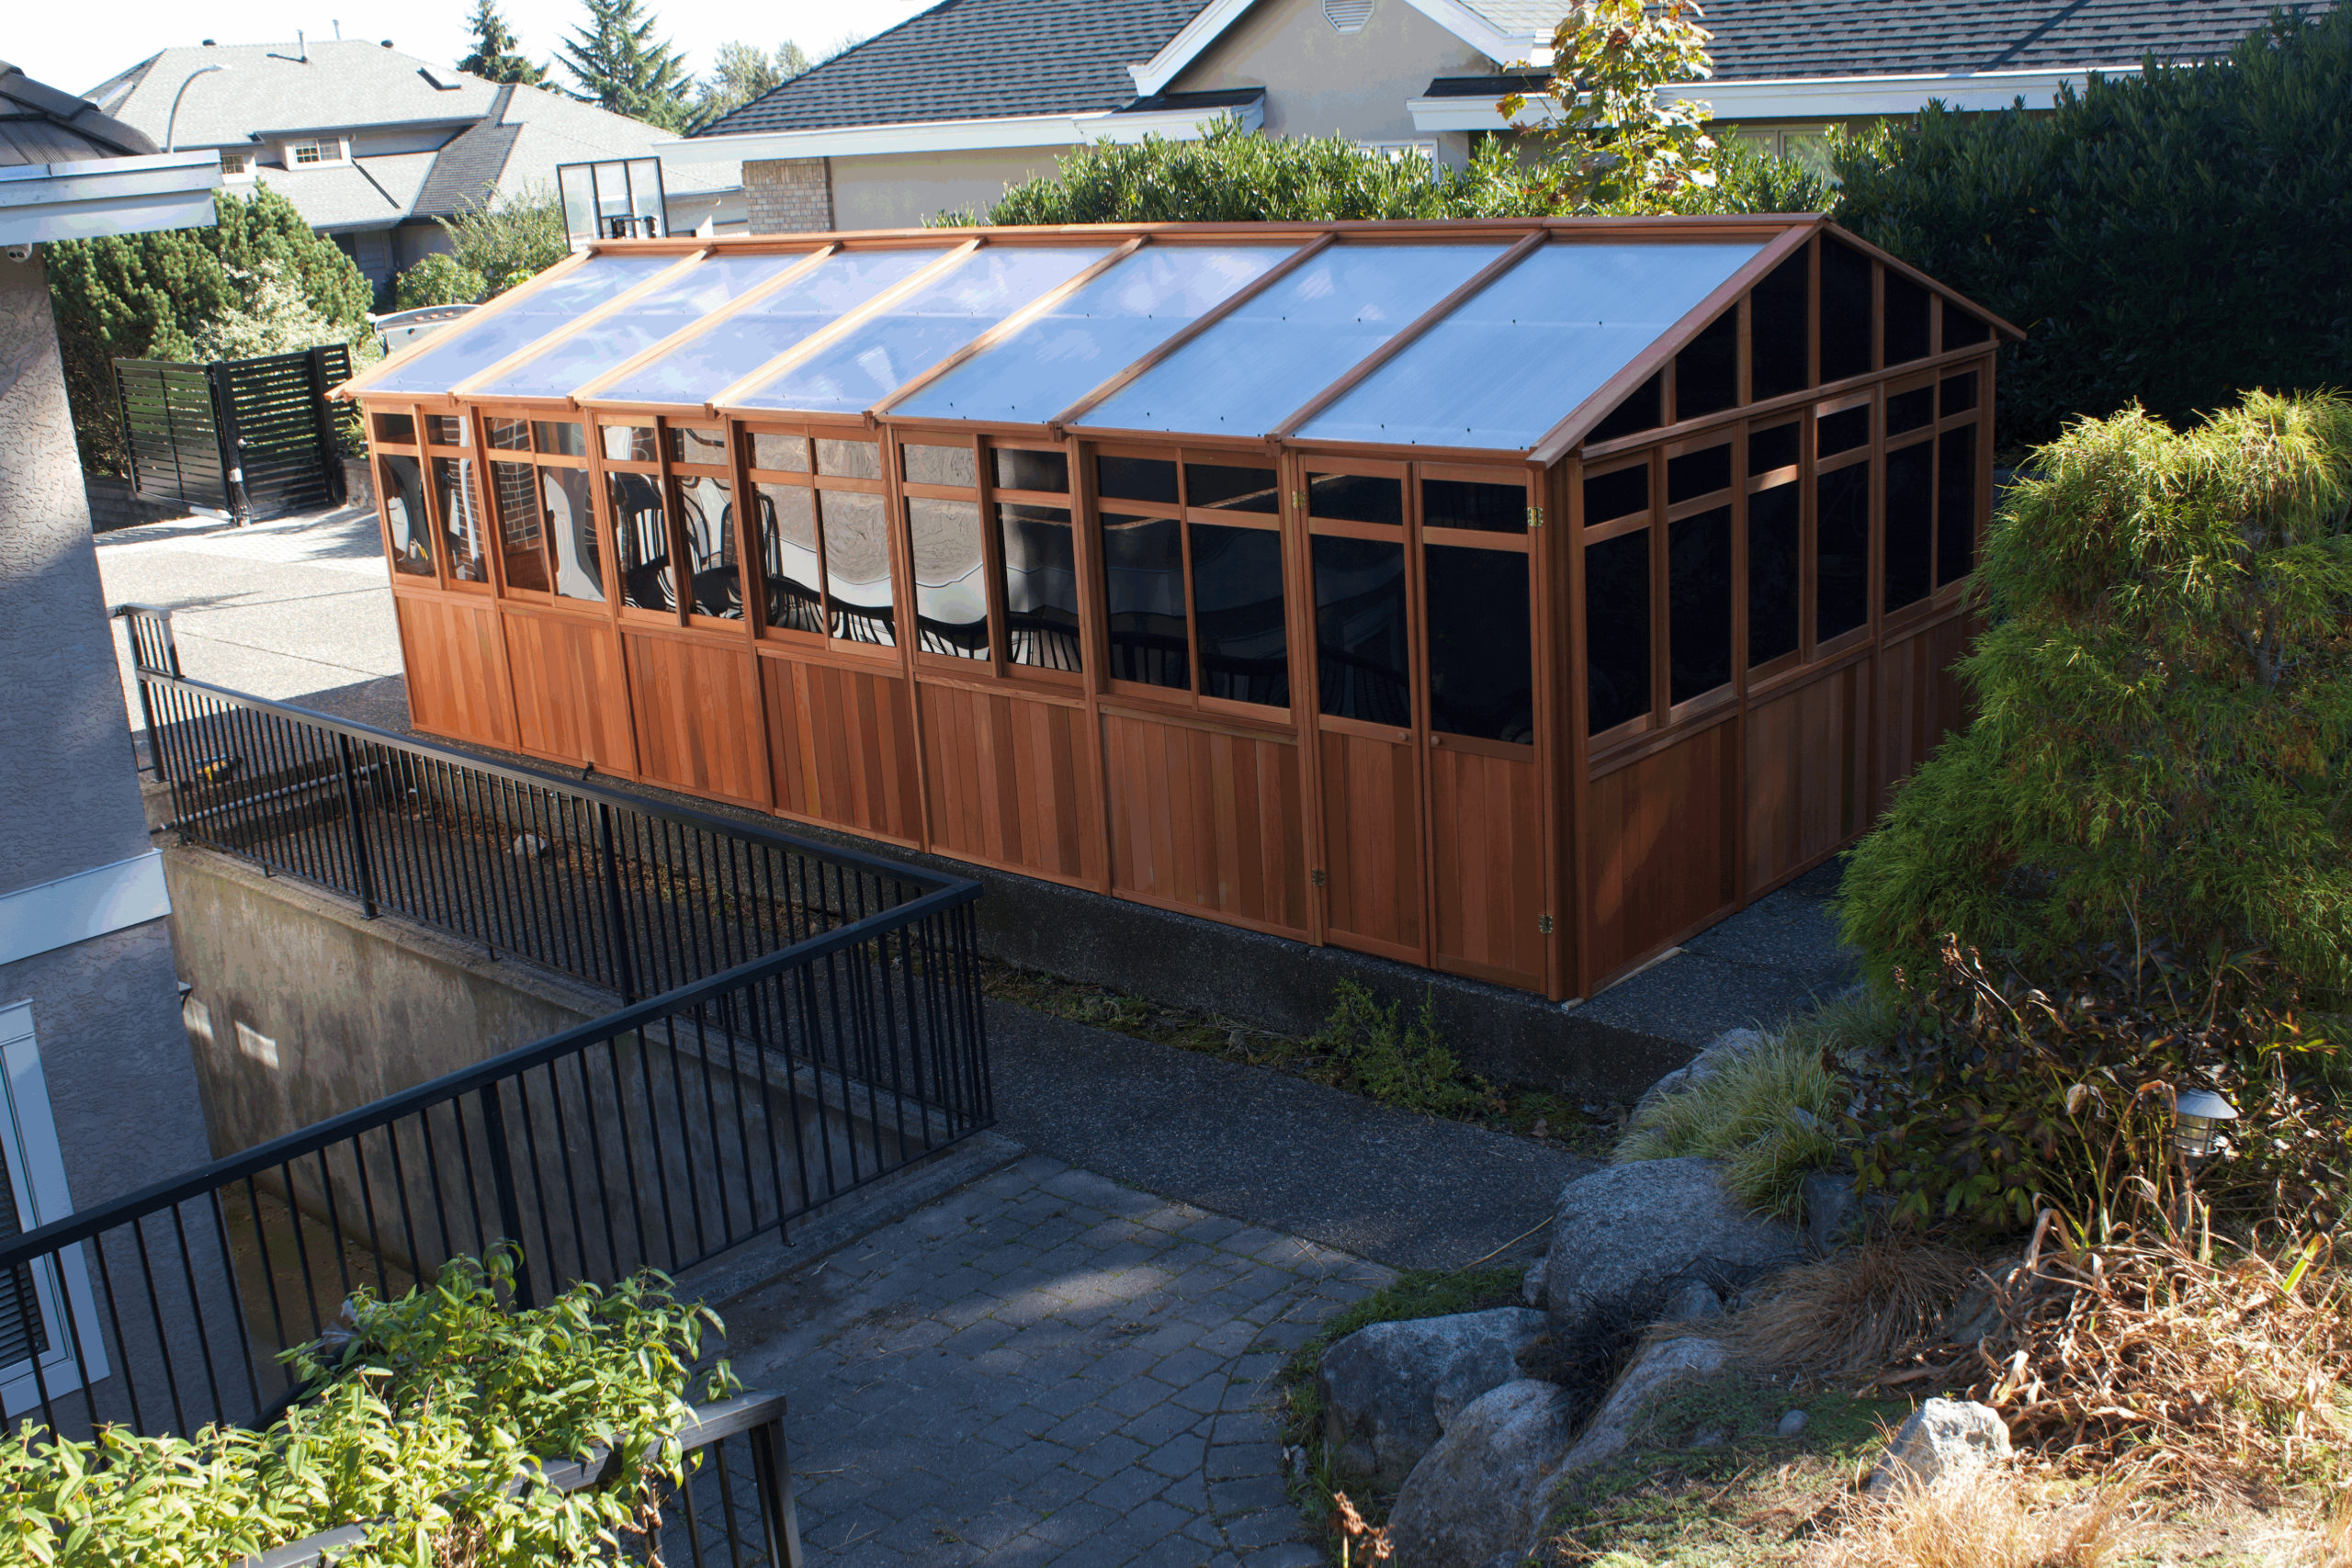
18. Congratulations you have completed the assembly. Enjoy your gazebo.